Persian Illuminations Tutorial

The start of June, I took two classes with the very talented Persian manuscripts and miniatures artist, Farkhondeh Ahmadzadeh at the Prince's School of Traditional Arts in London. I was very lucky to take those classes. I learnt so much and I loved every minute. I highly recommend the teacher and the school. I know many of you have been awaiting this blog post patiently and as I promised here it is with lots of details and photos :D This post will be written in English and Arabic, so all the Arabic underneath is only a translation and not a new information to benefit a bigger amount of people.
Step by Step Islamic Art Tutorial: Persian Illumination
Preparing the Paper
We started the day with dying the paper because leaving it white will make the colours contrast with each other strongly. All the dyes we used were completely natural. The most popular and most convenient choice is tea and it stains better than coffee. We tested other natural dyes as well such as ground nuts, plants and the dry skins of fruits and vegetables. The best way to prepare the natural dye is to boil the chosen ingredients for few minutes until the colour comes out. We used a brush to paint the paper evenly. A layer of dye is applied then left to dry. I used tea and after it dried I used chestnut dye. After the paper is completely dry, I burnished it with an agate burnisher to smooth the paper. Then the paper needed to be sized, which meant applying another layer of slippery liquid such as hollyhock flowers, cucumber seeds or egg whites. This step fills in the rest of the paper pours and smooth it further. Burnishing have to be repeated after it dries.


Paper Used: Hot Press Fabriano Artistico 300 GSM -

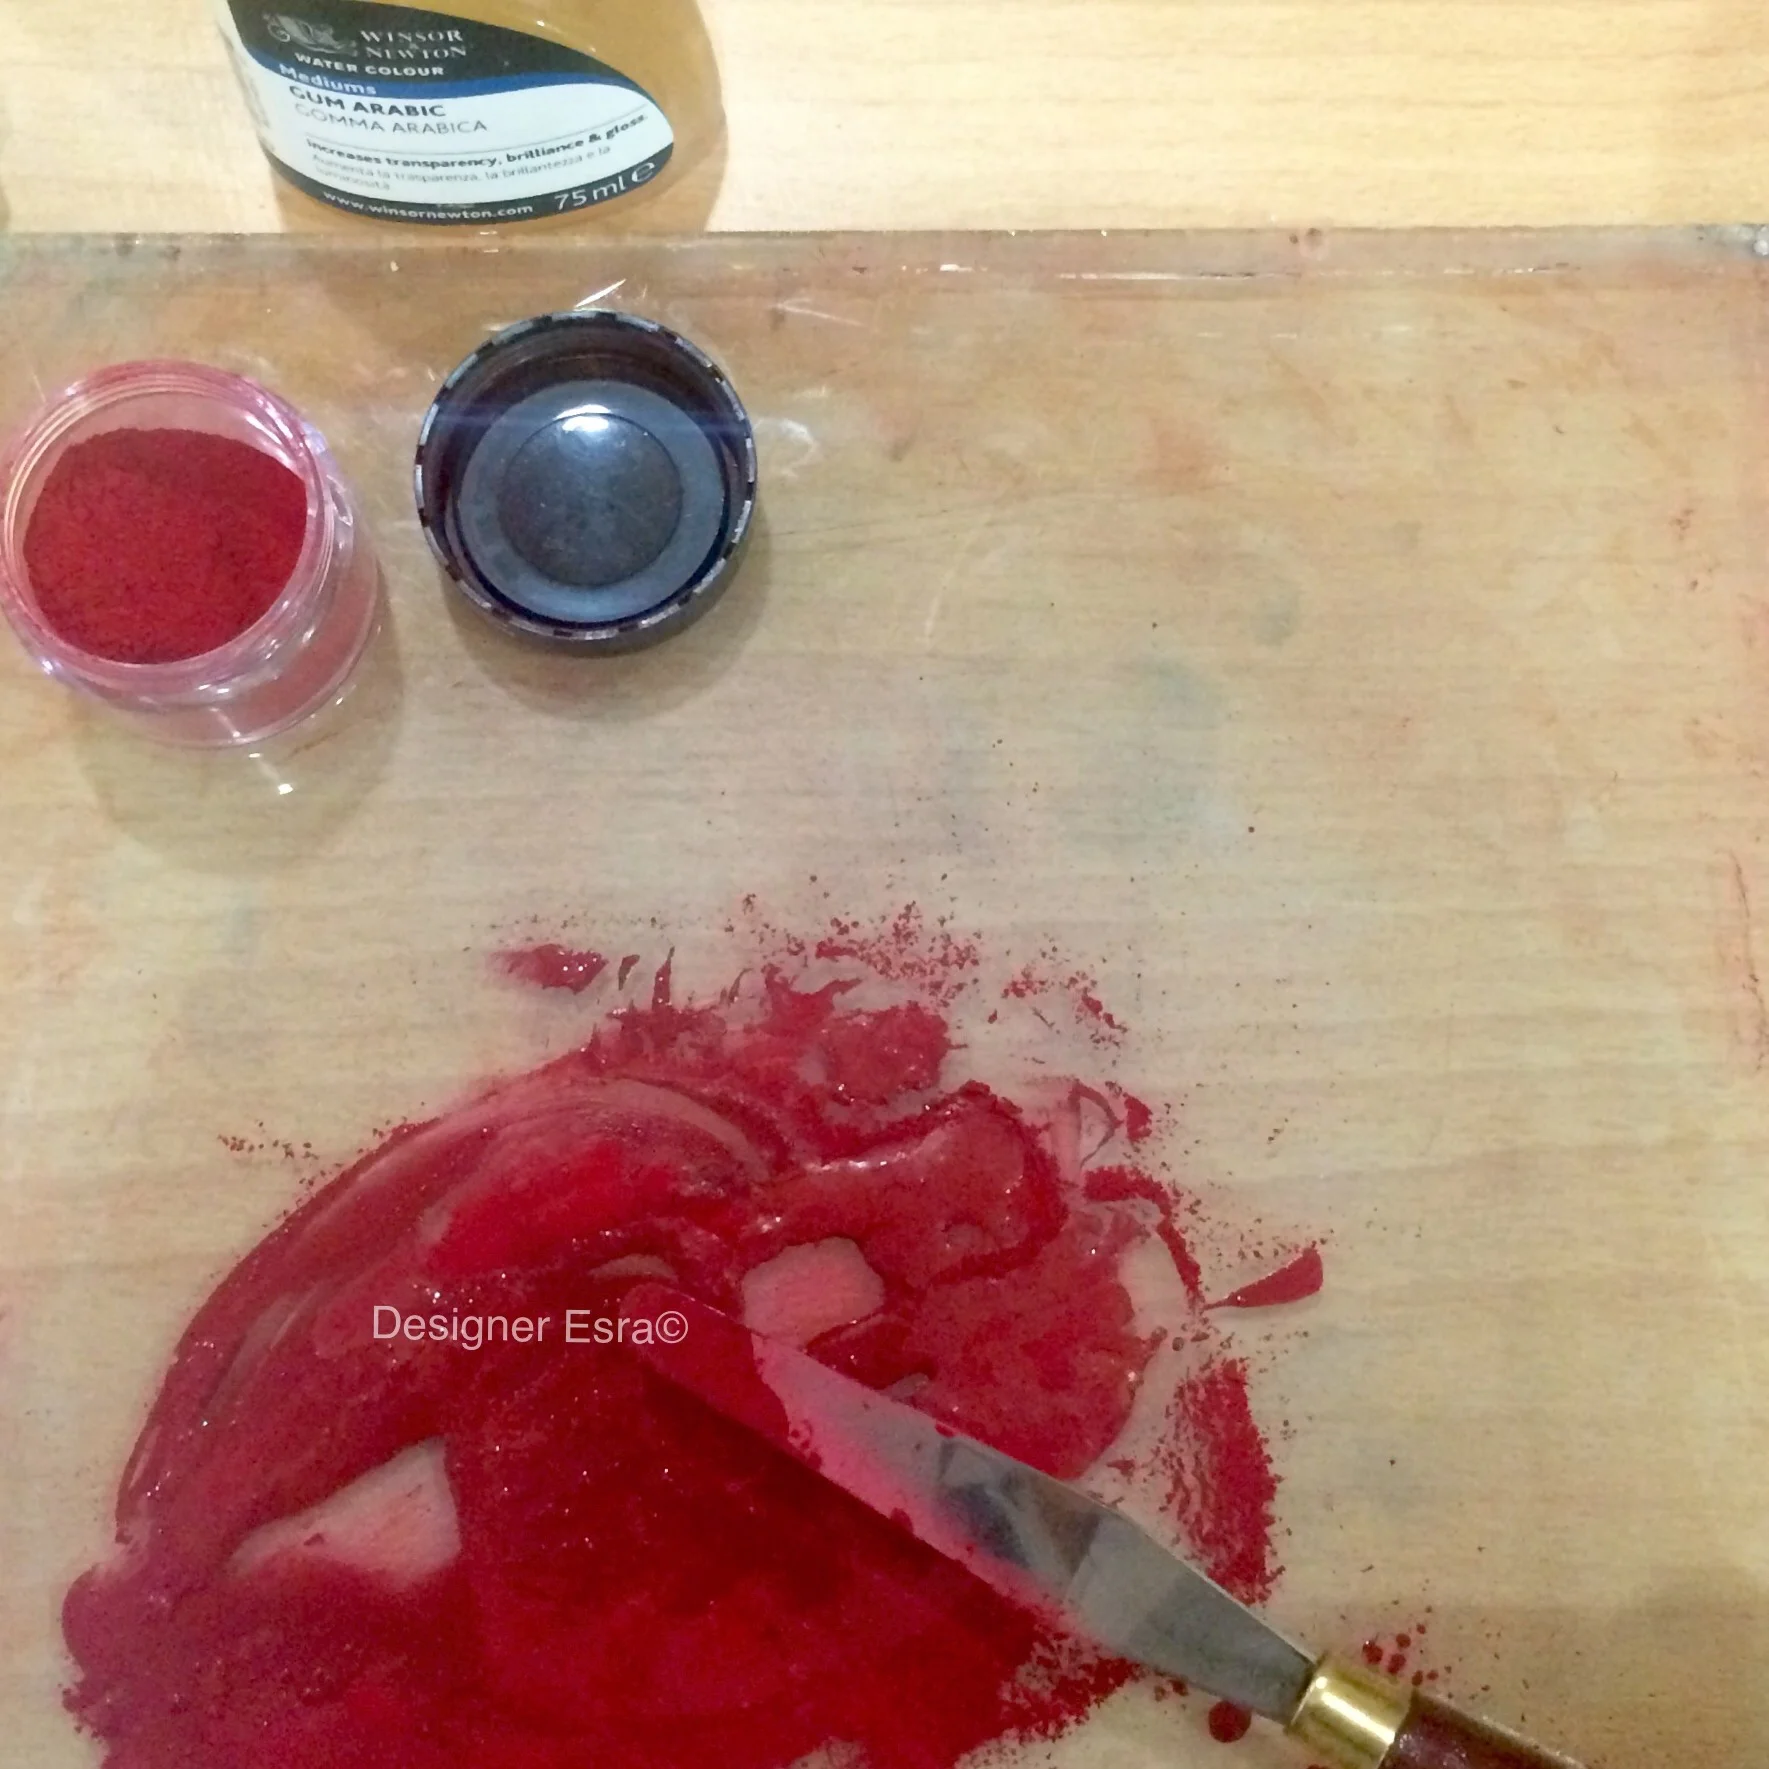
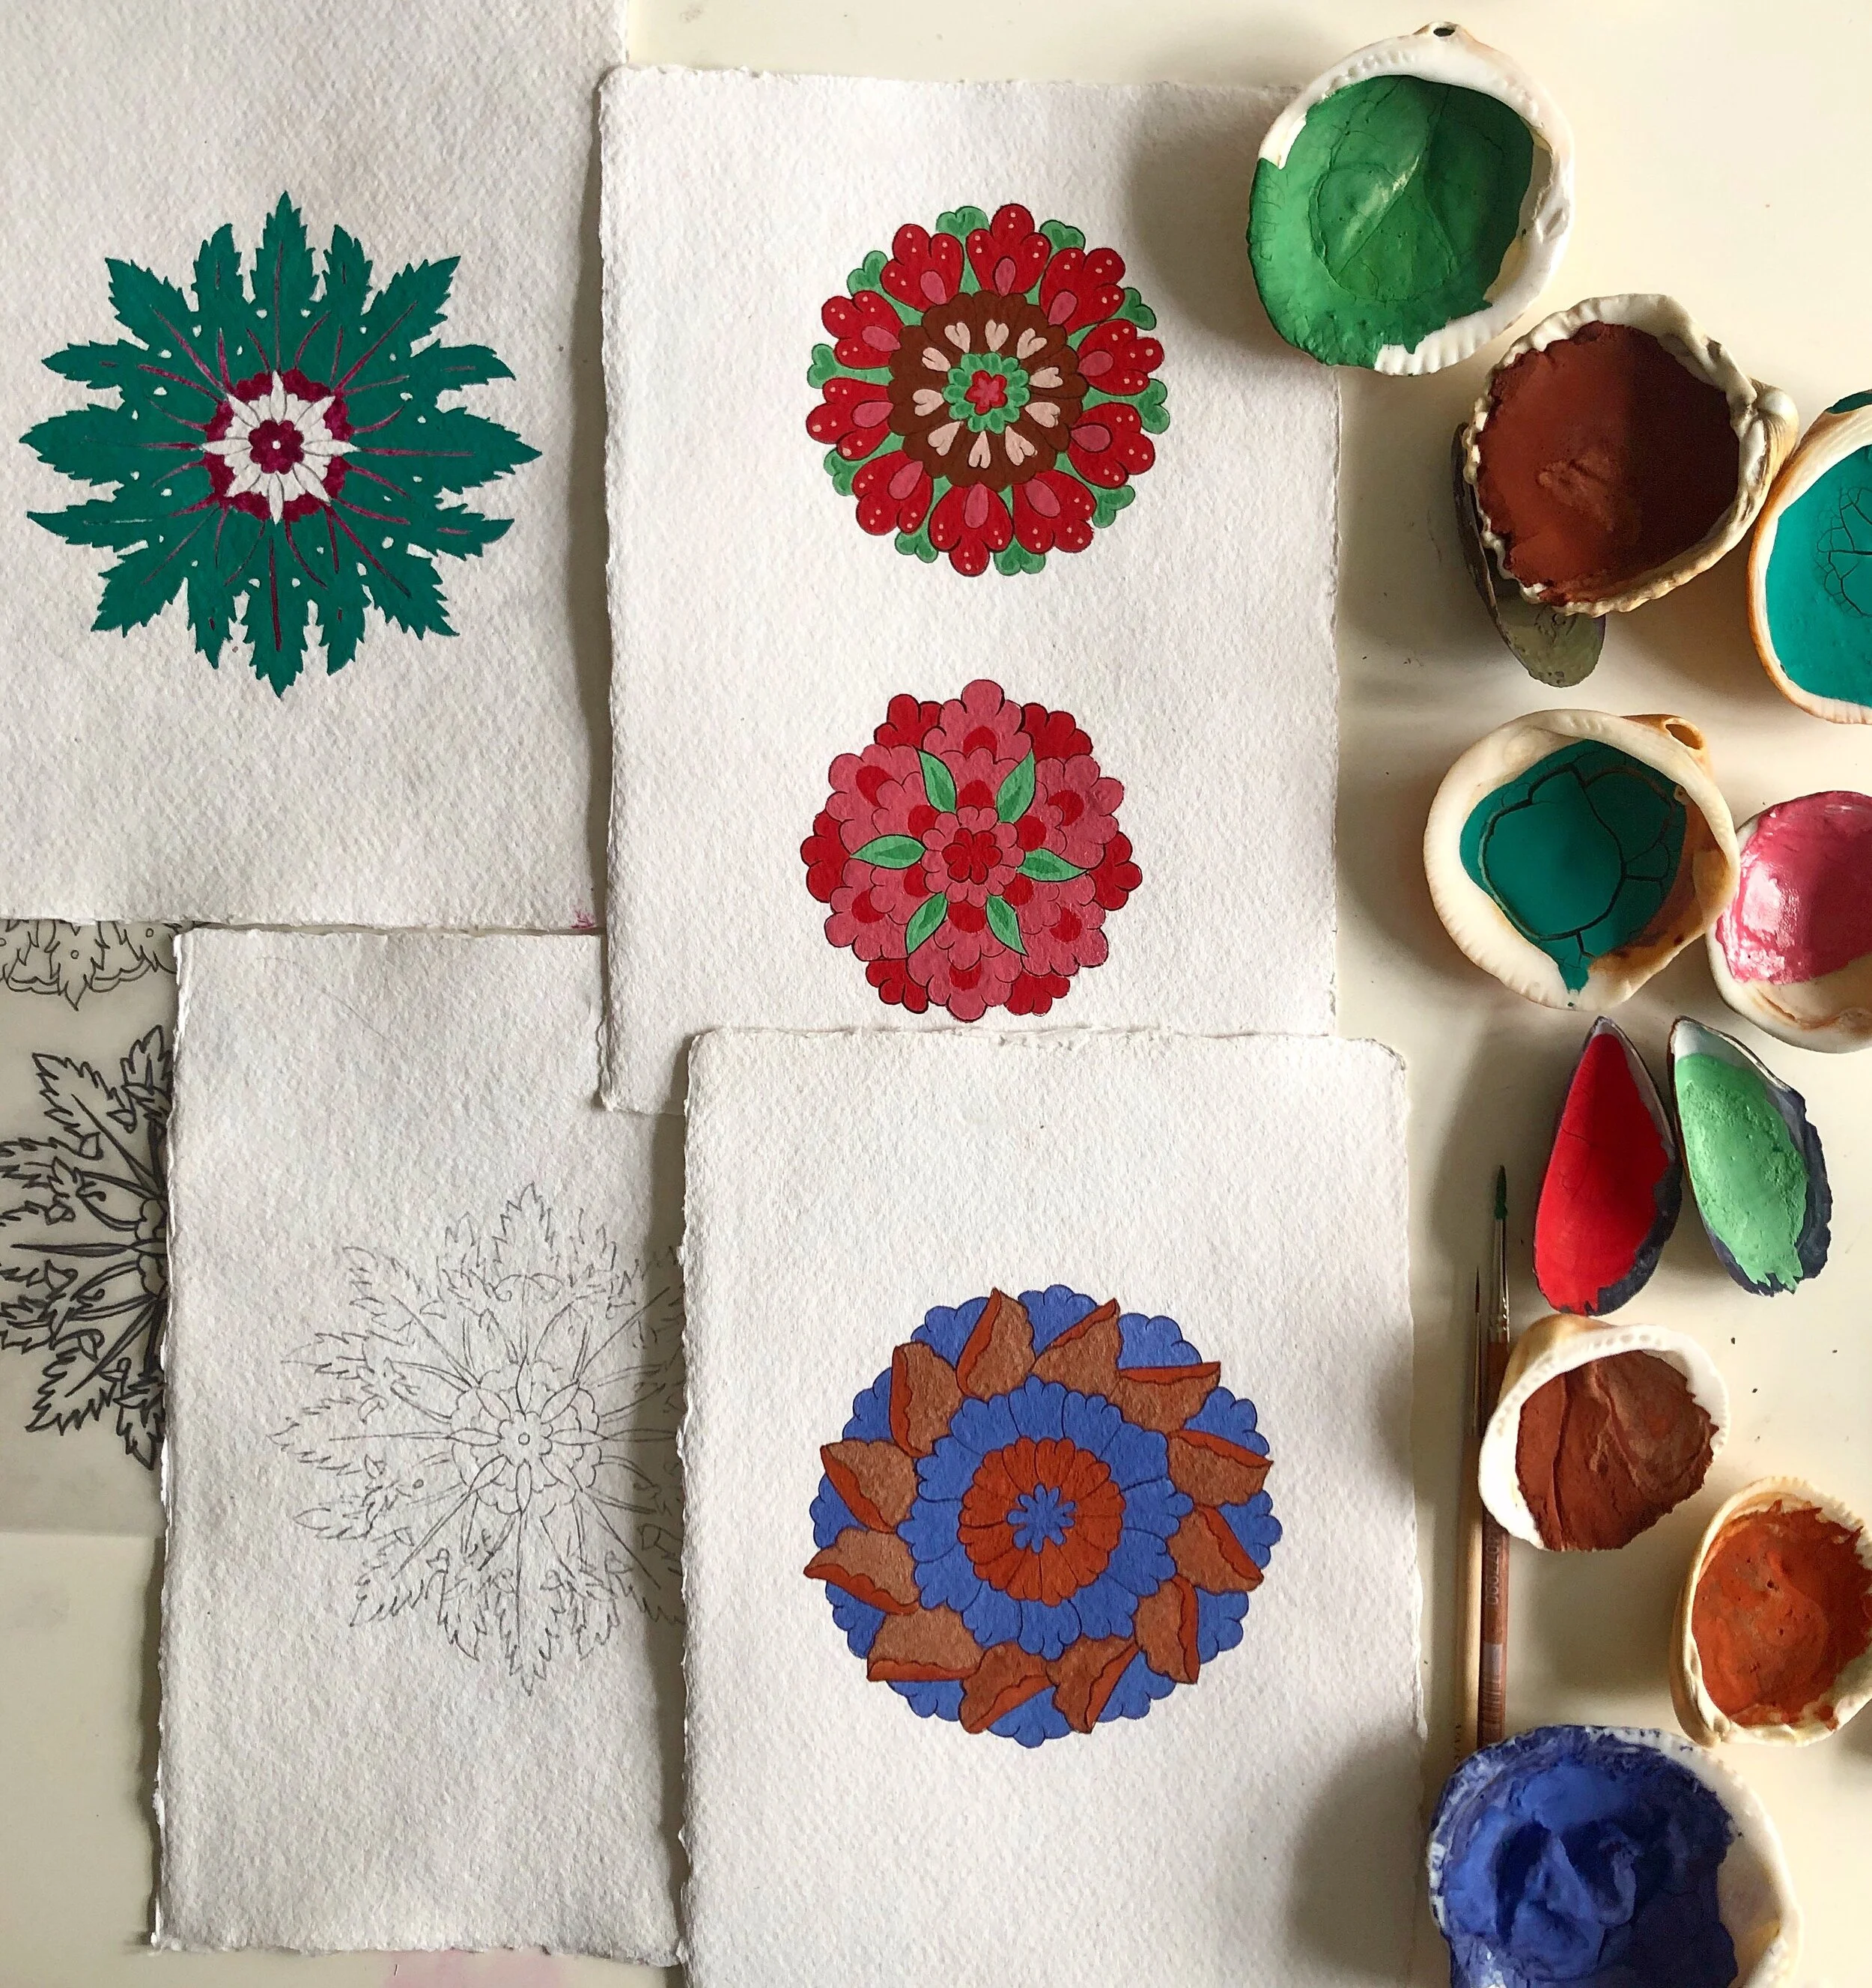
Getting the colour from the natural pigments
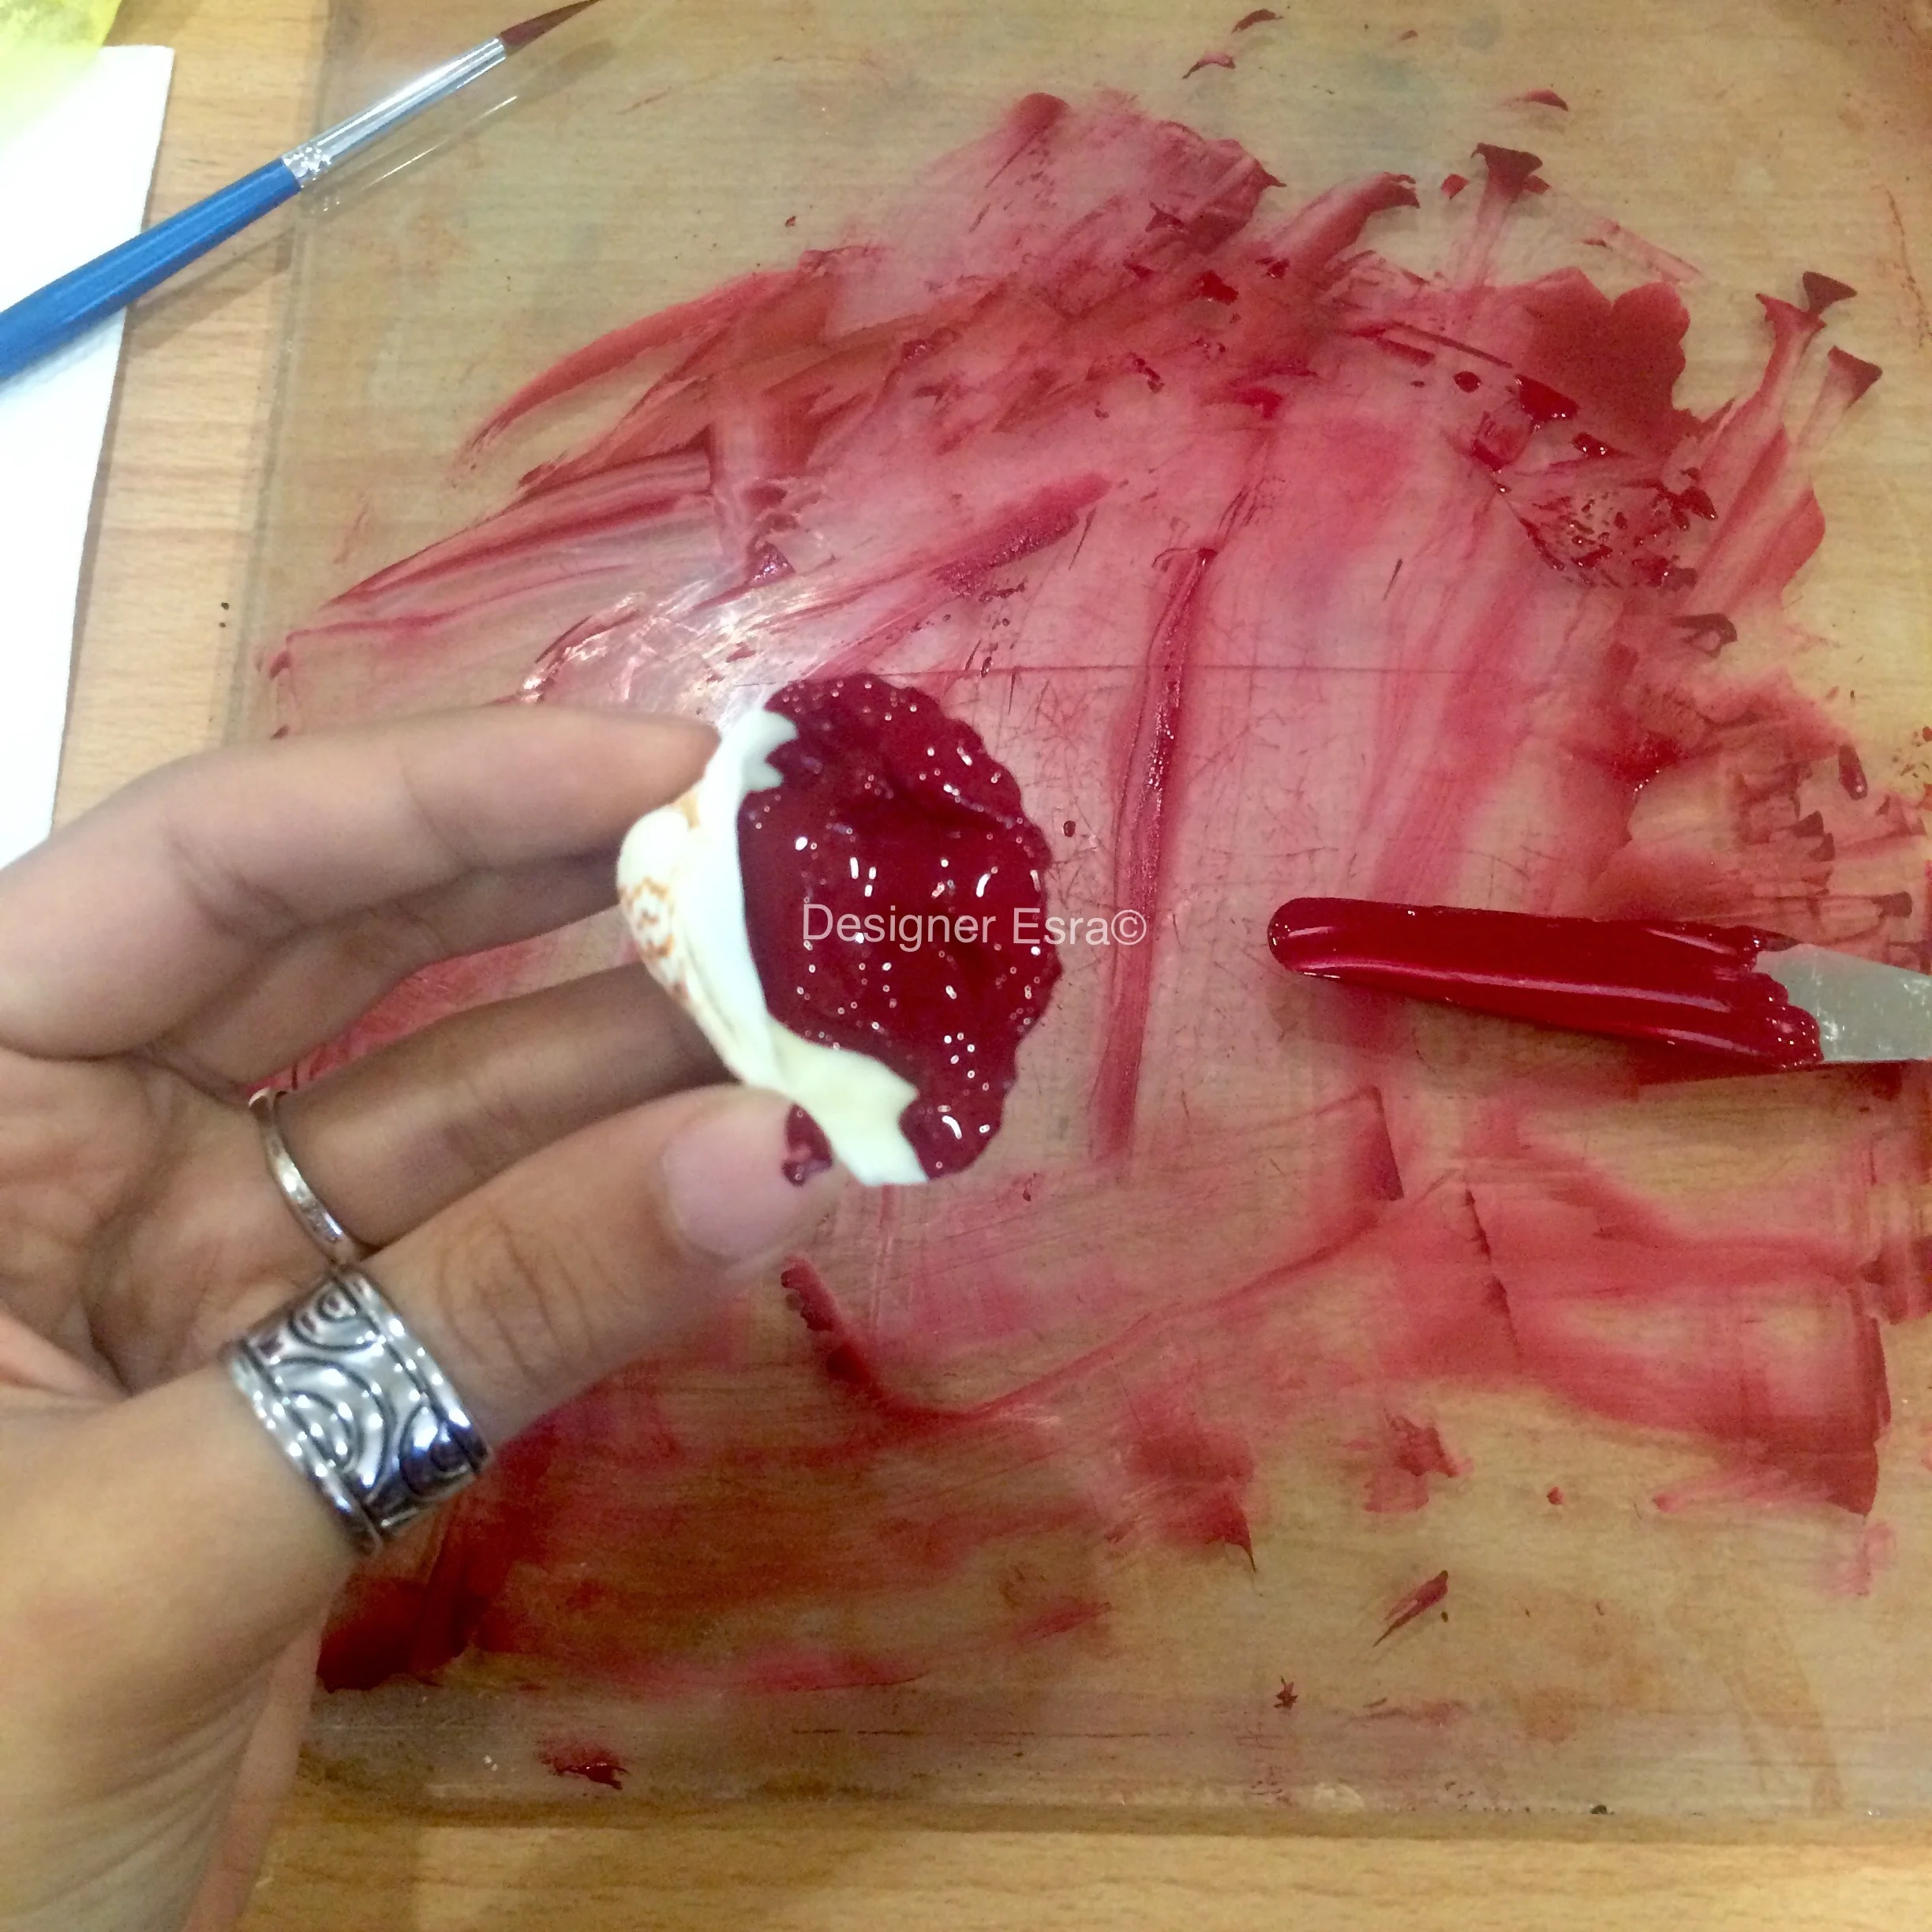
Everything in the class was made by hand including the colours. They were made from natural pigments that came in the form of a powder. I placed two spoons of powdered pigment on glass then added two drops of gum arabic and one drop of water. I kept adding accordingly. Please note that this ratio is not fixed and it changes from one pigment to the other. I used a glass muller to grind the pigment. The secret is listening to the sound of grinding, when it's quiet then it means it's fine enough. The time differs from one colour to the other. To test the colour, a line is painted on the paper. If it dries with cracks then there is too much gum Arabic. Also rub the colour, if any comes off then there is not enough gum arabic to hold it together. When the colour was ready, we transferred it to shells, but it could be transferred to any other container like the second photo below.


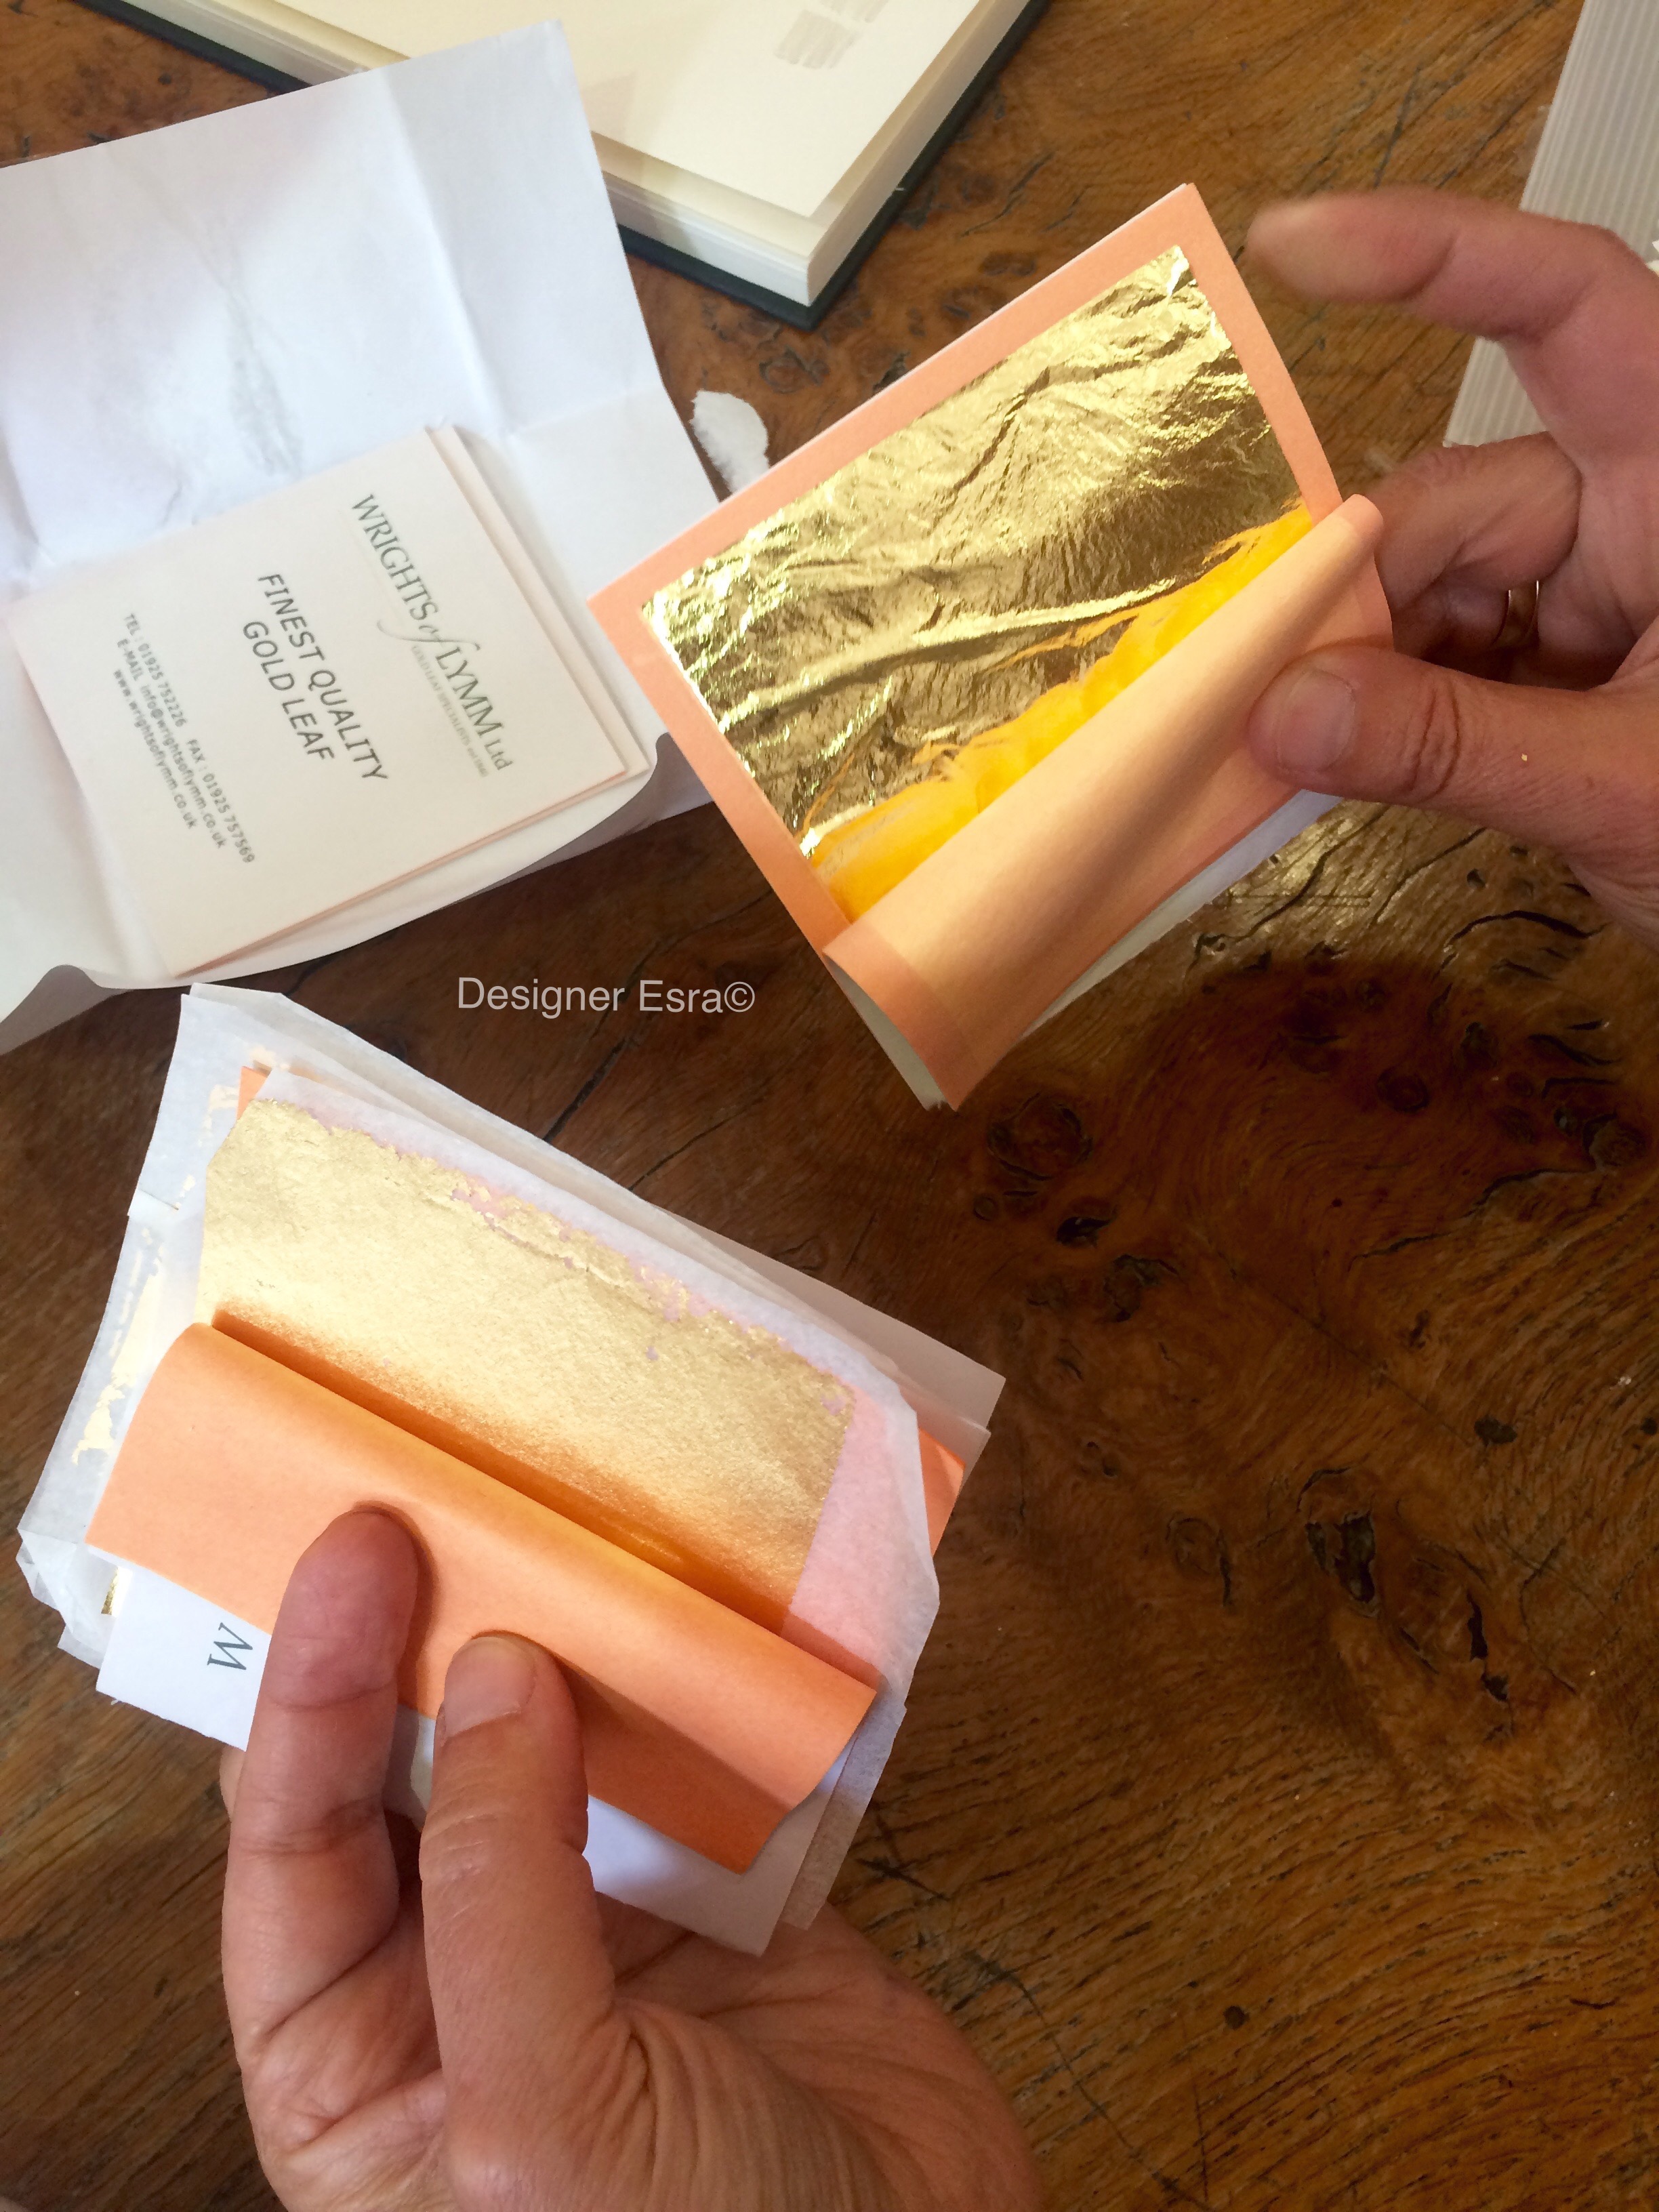
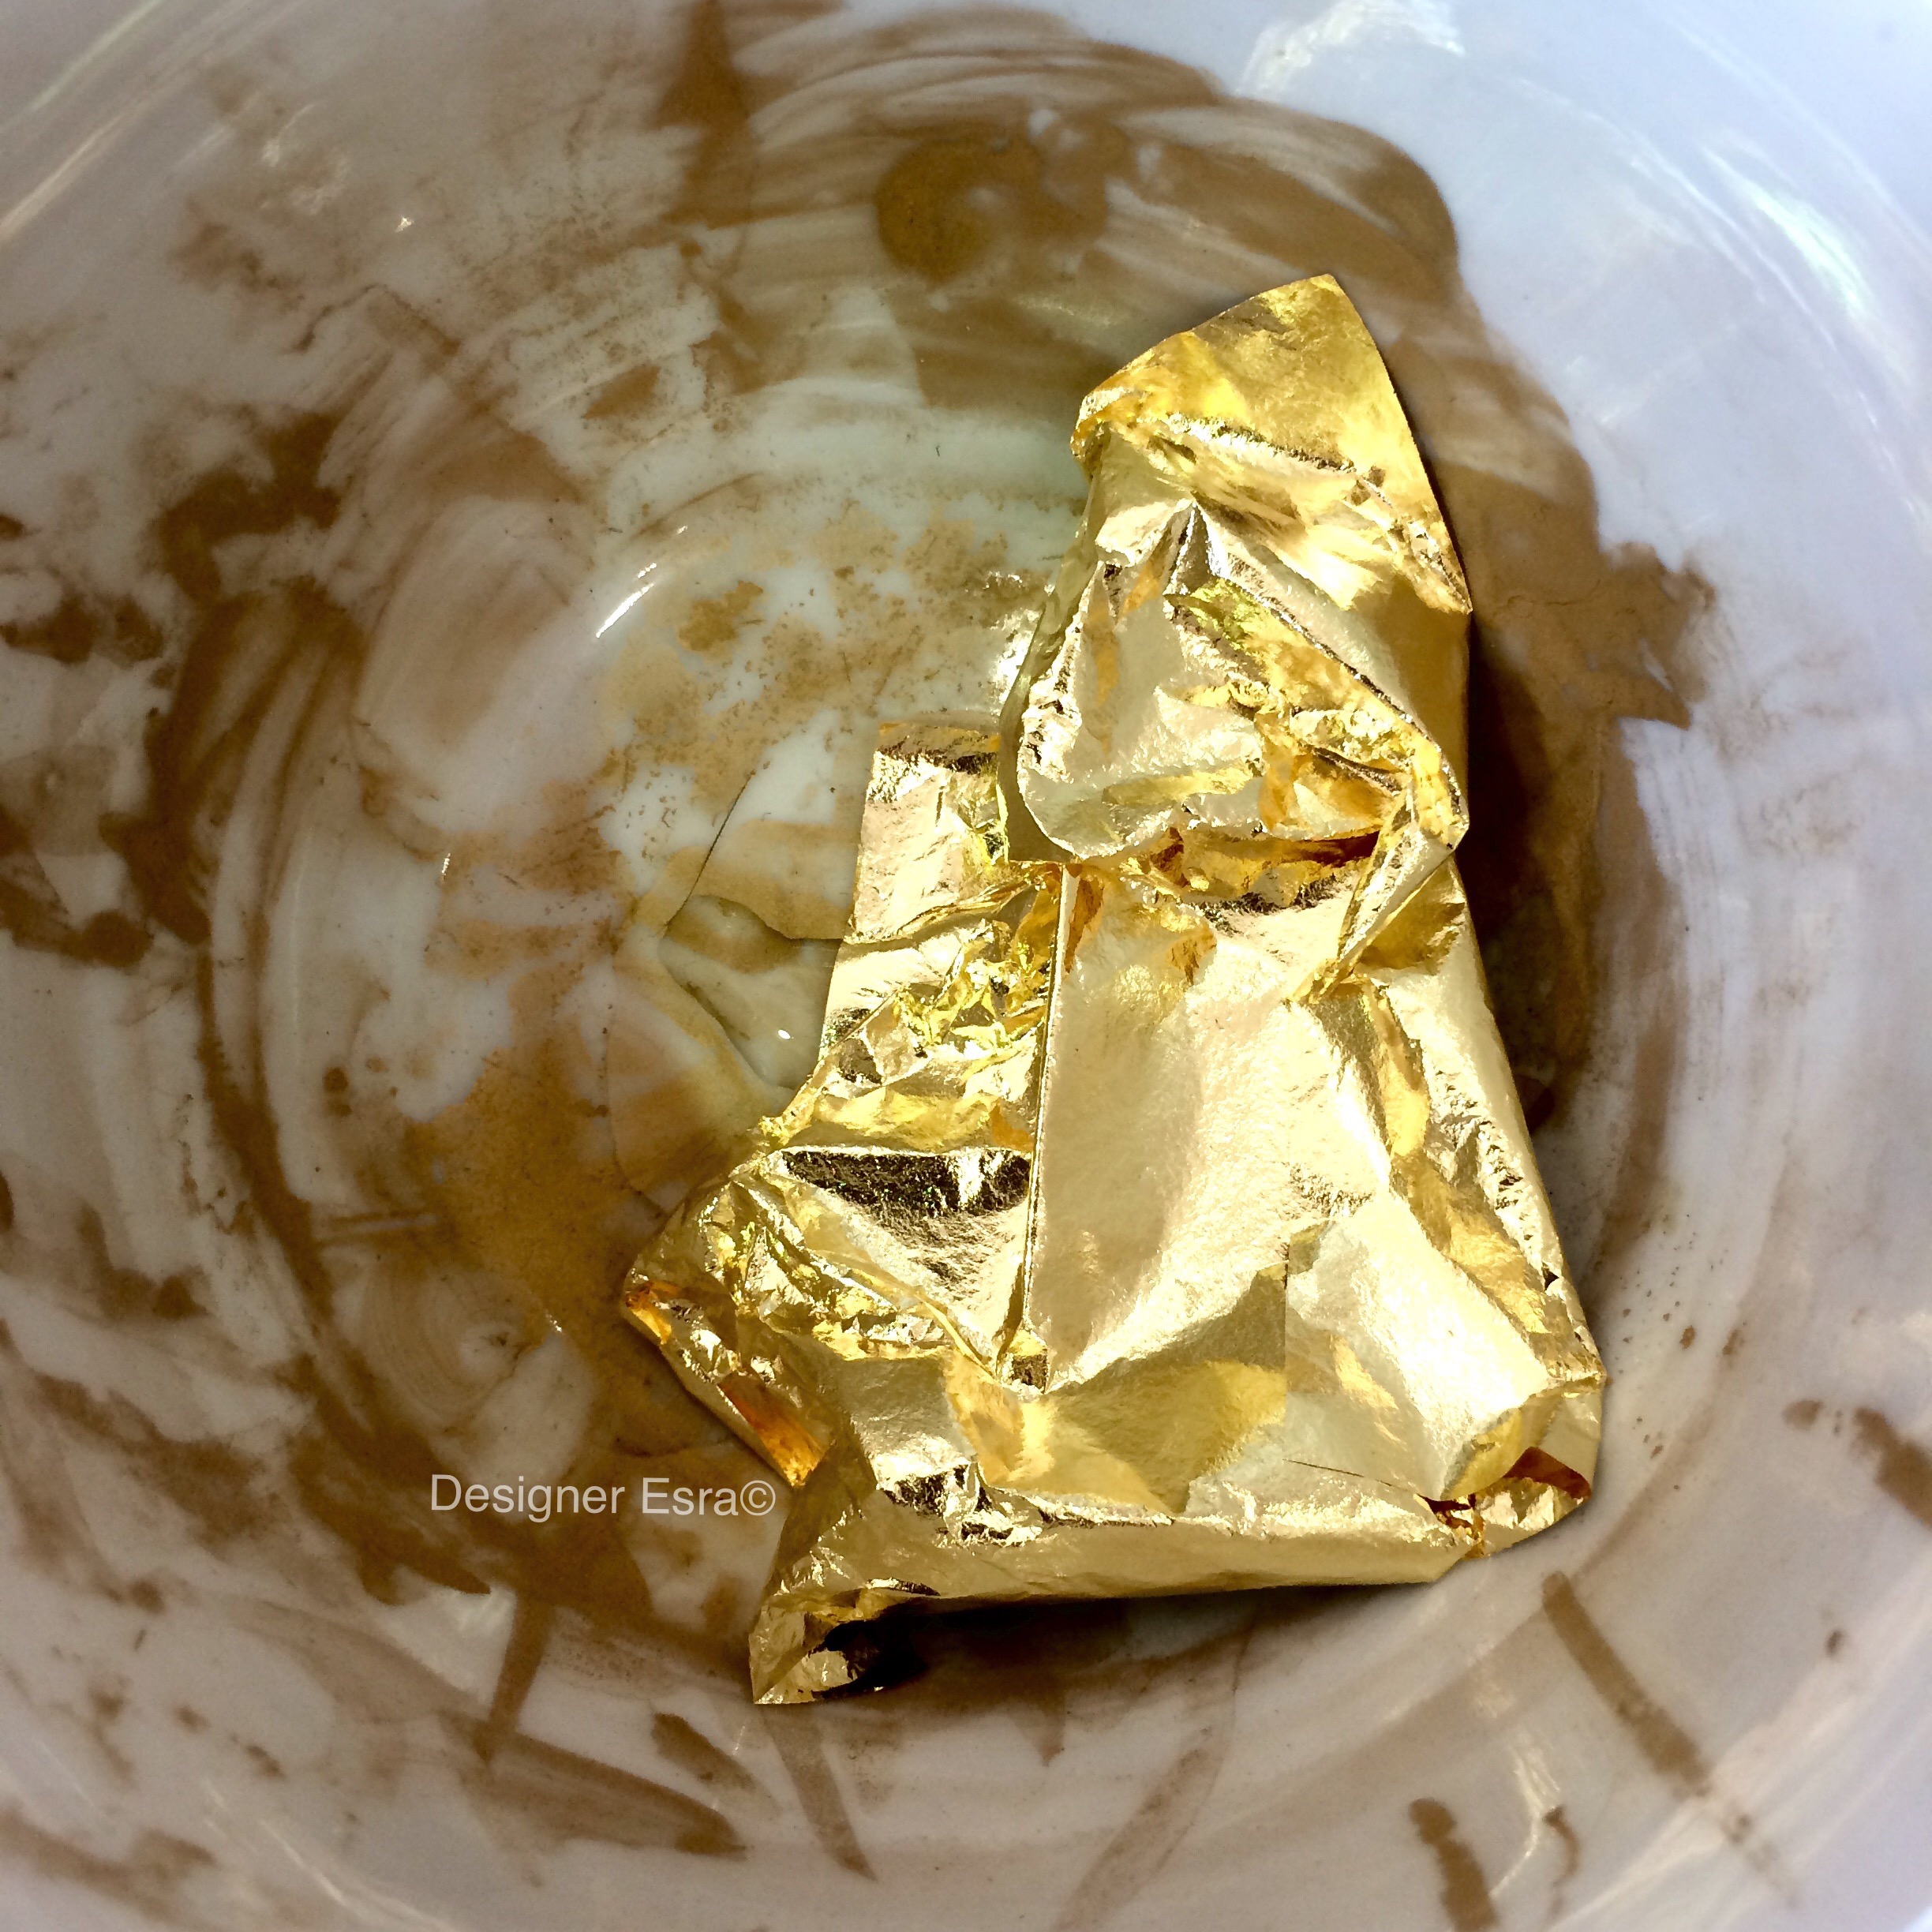
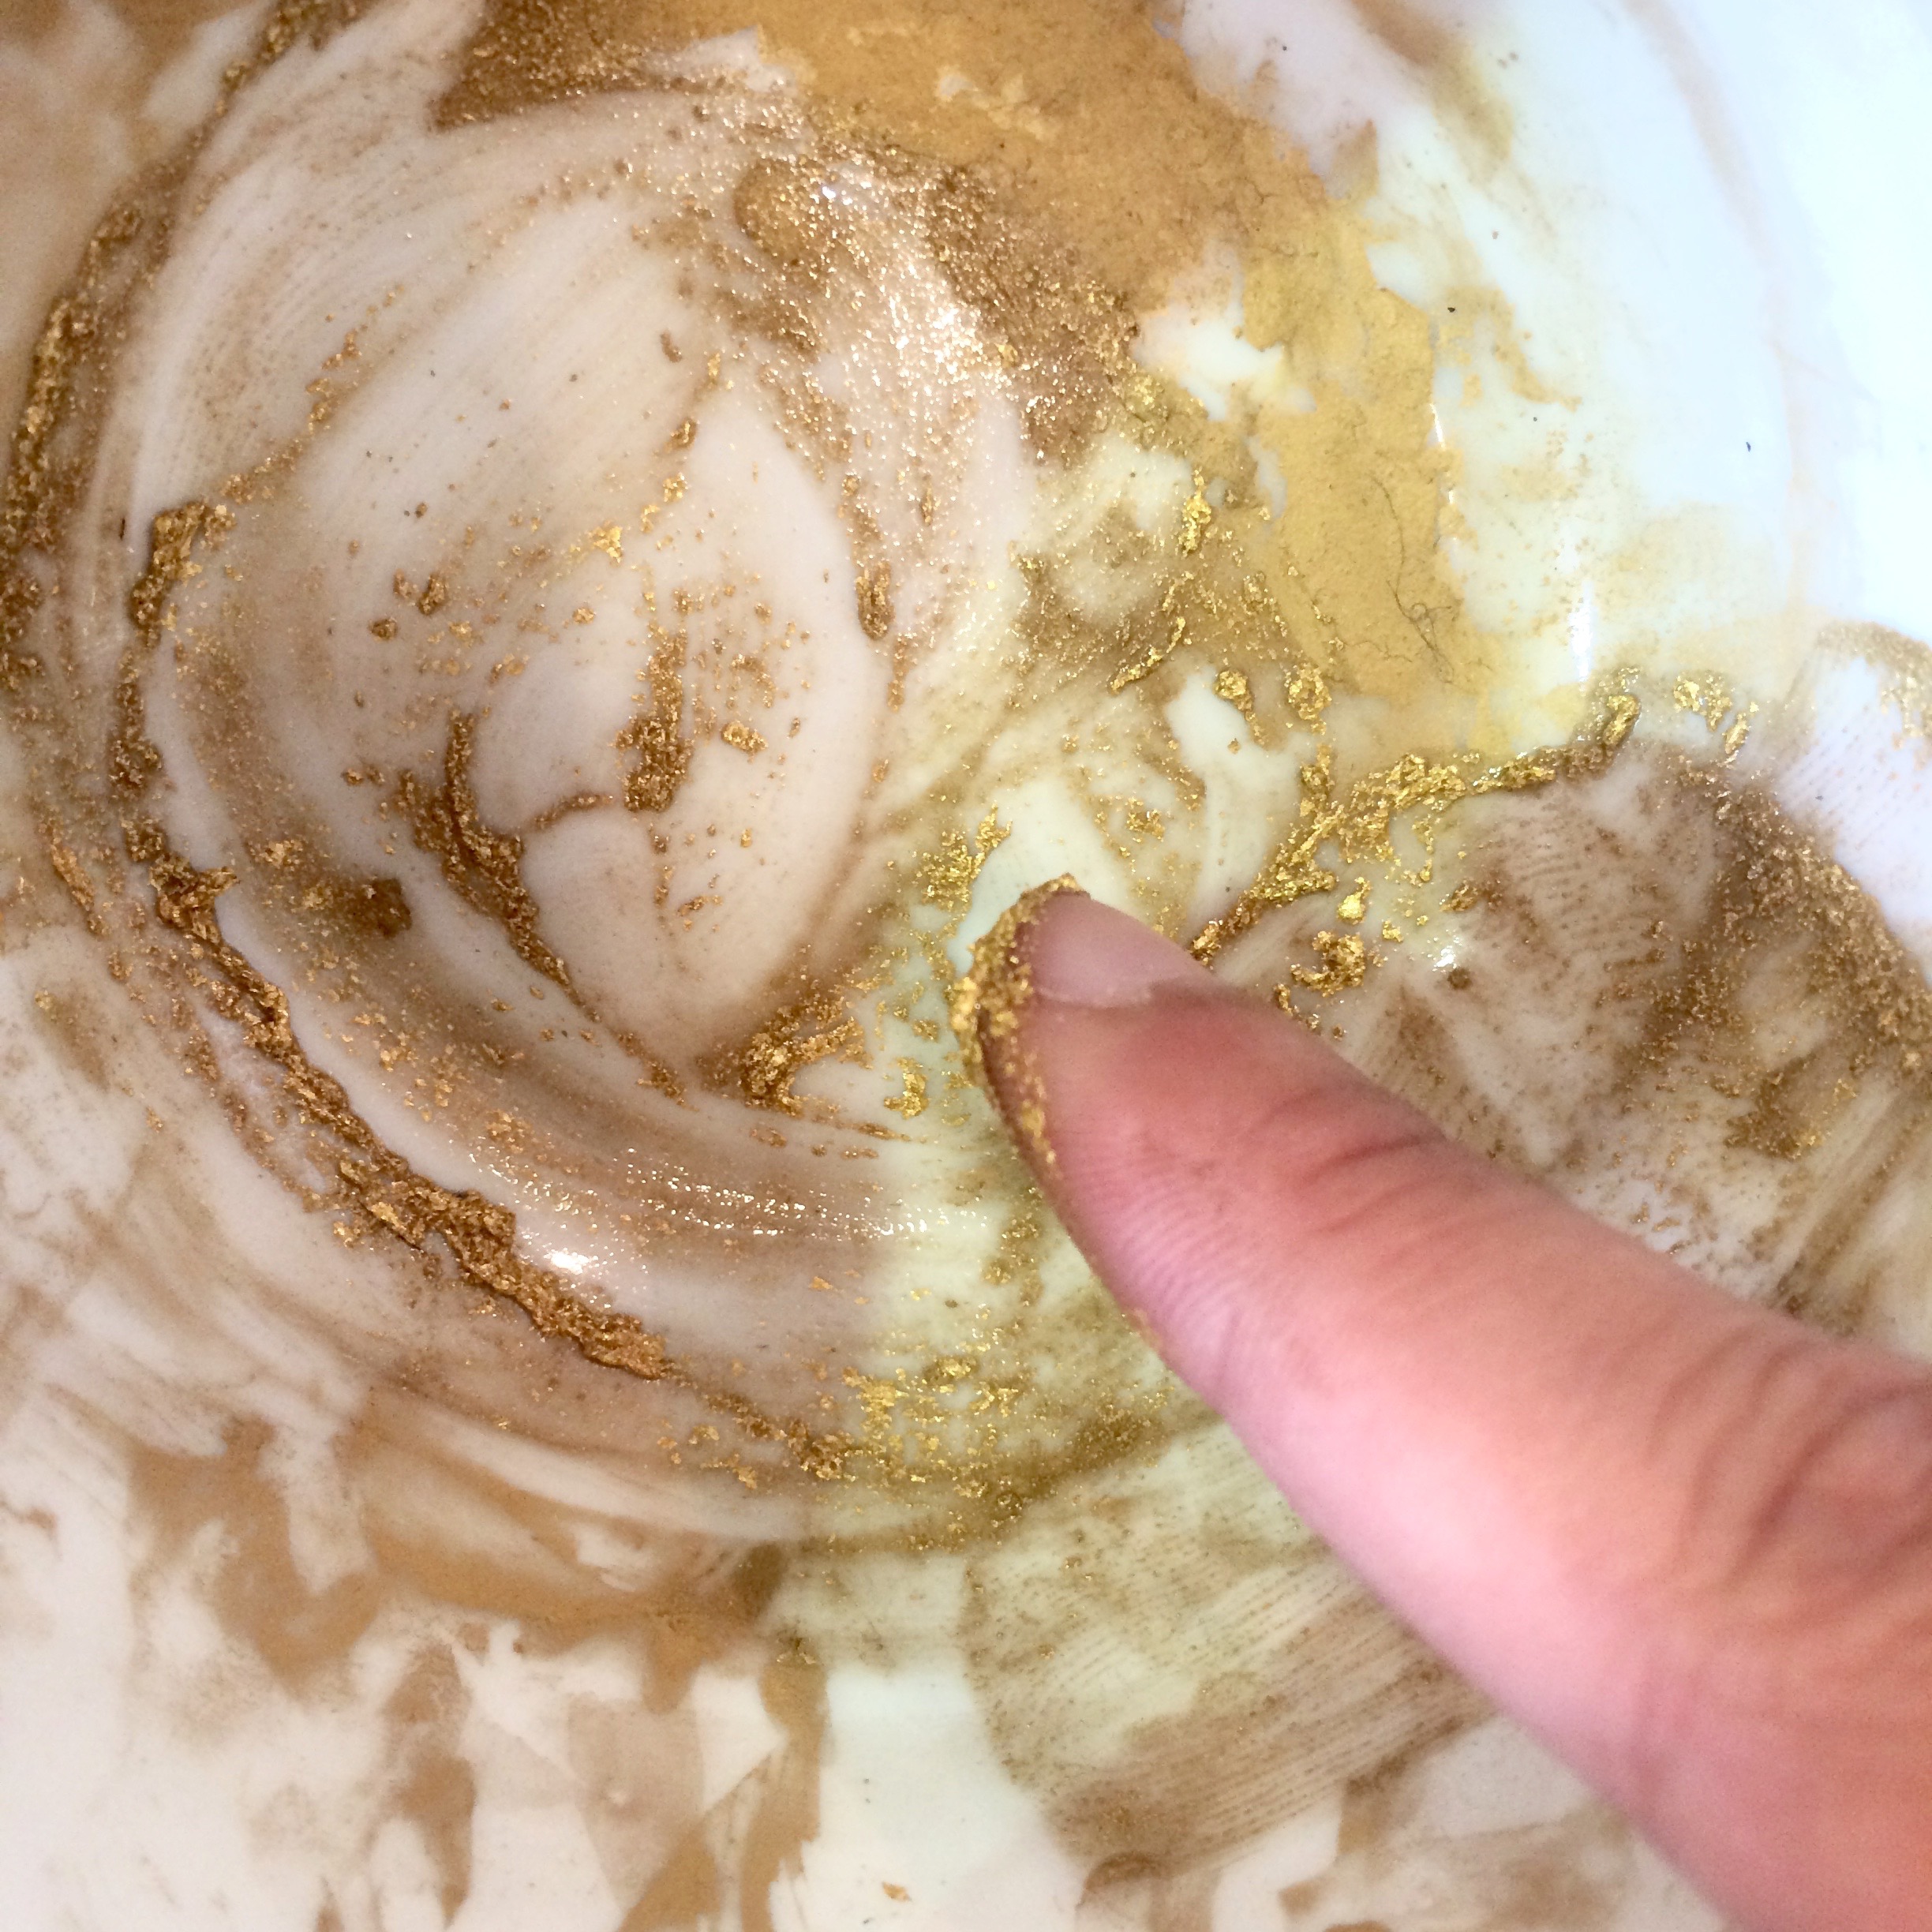
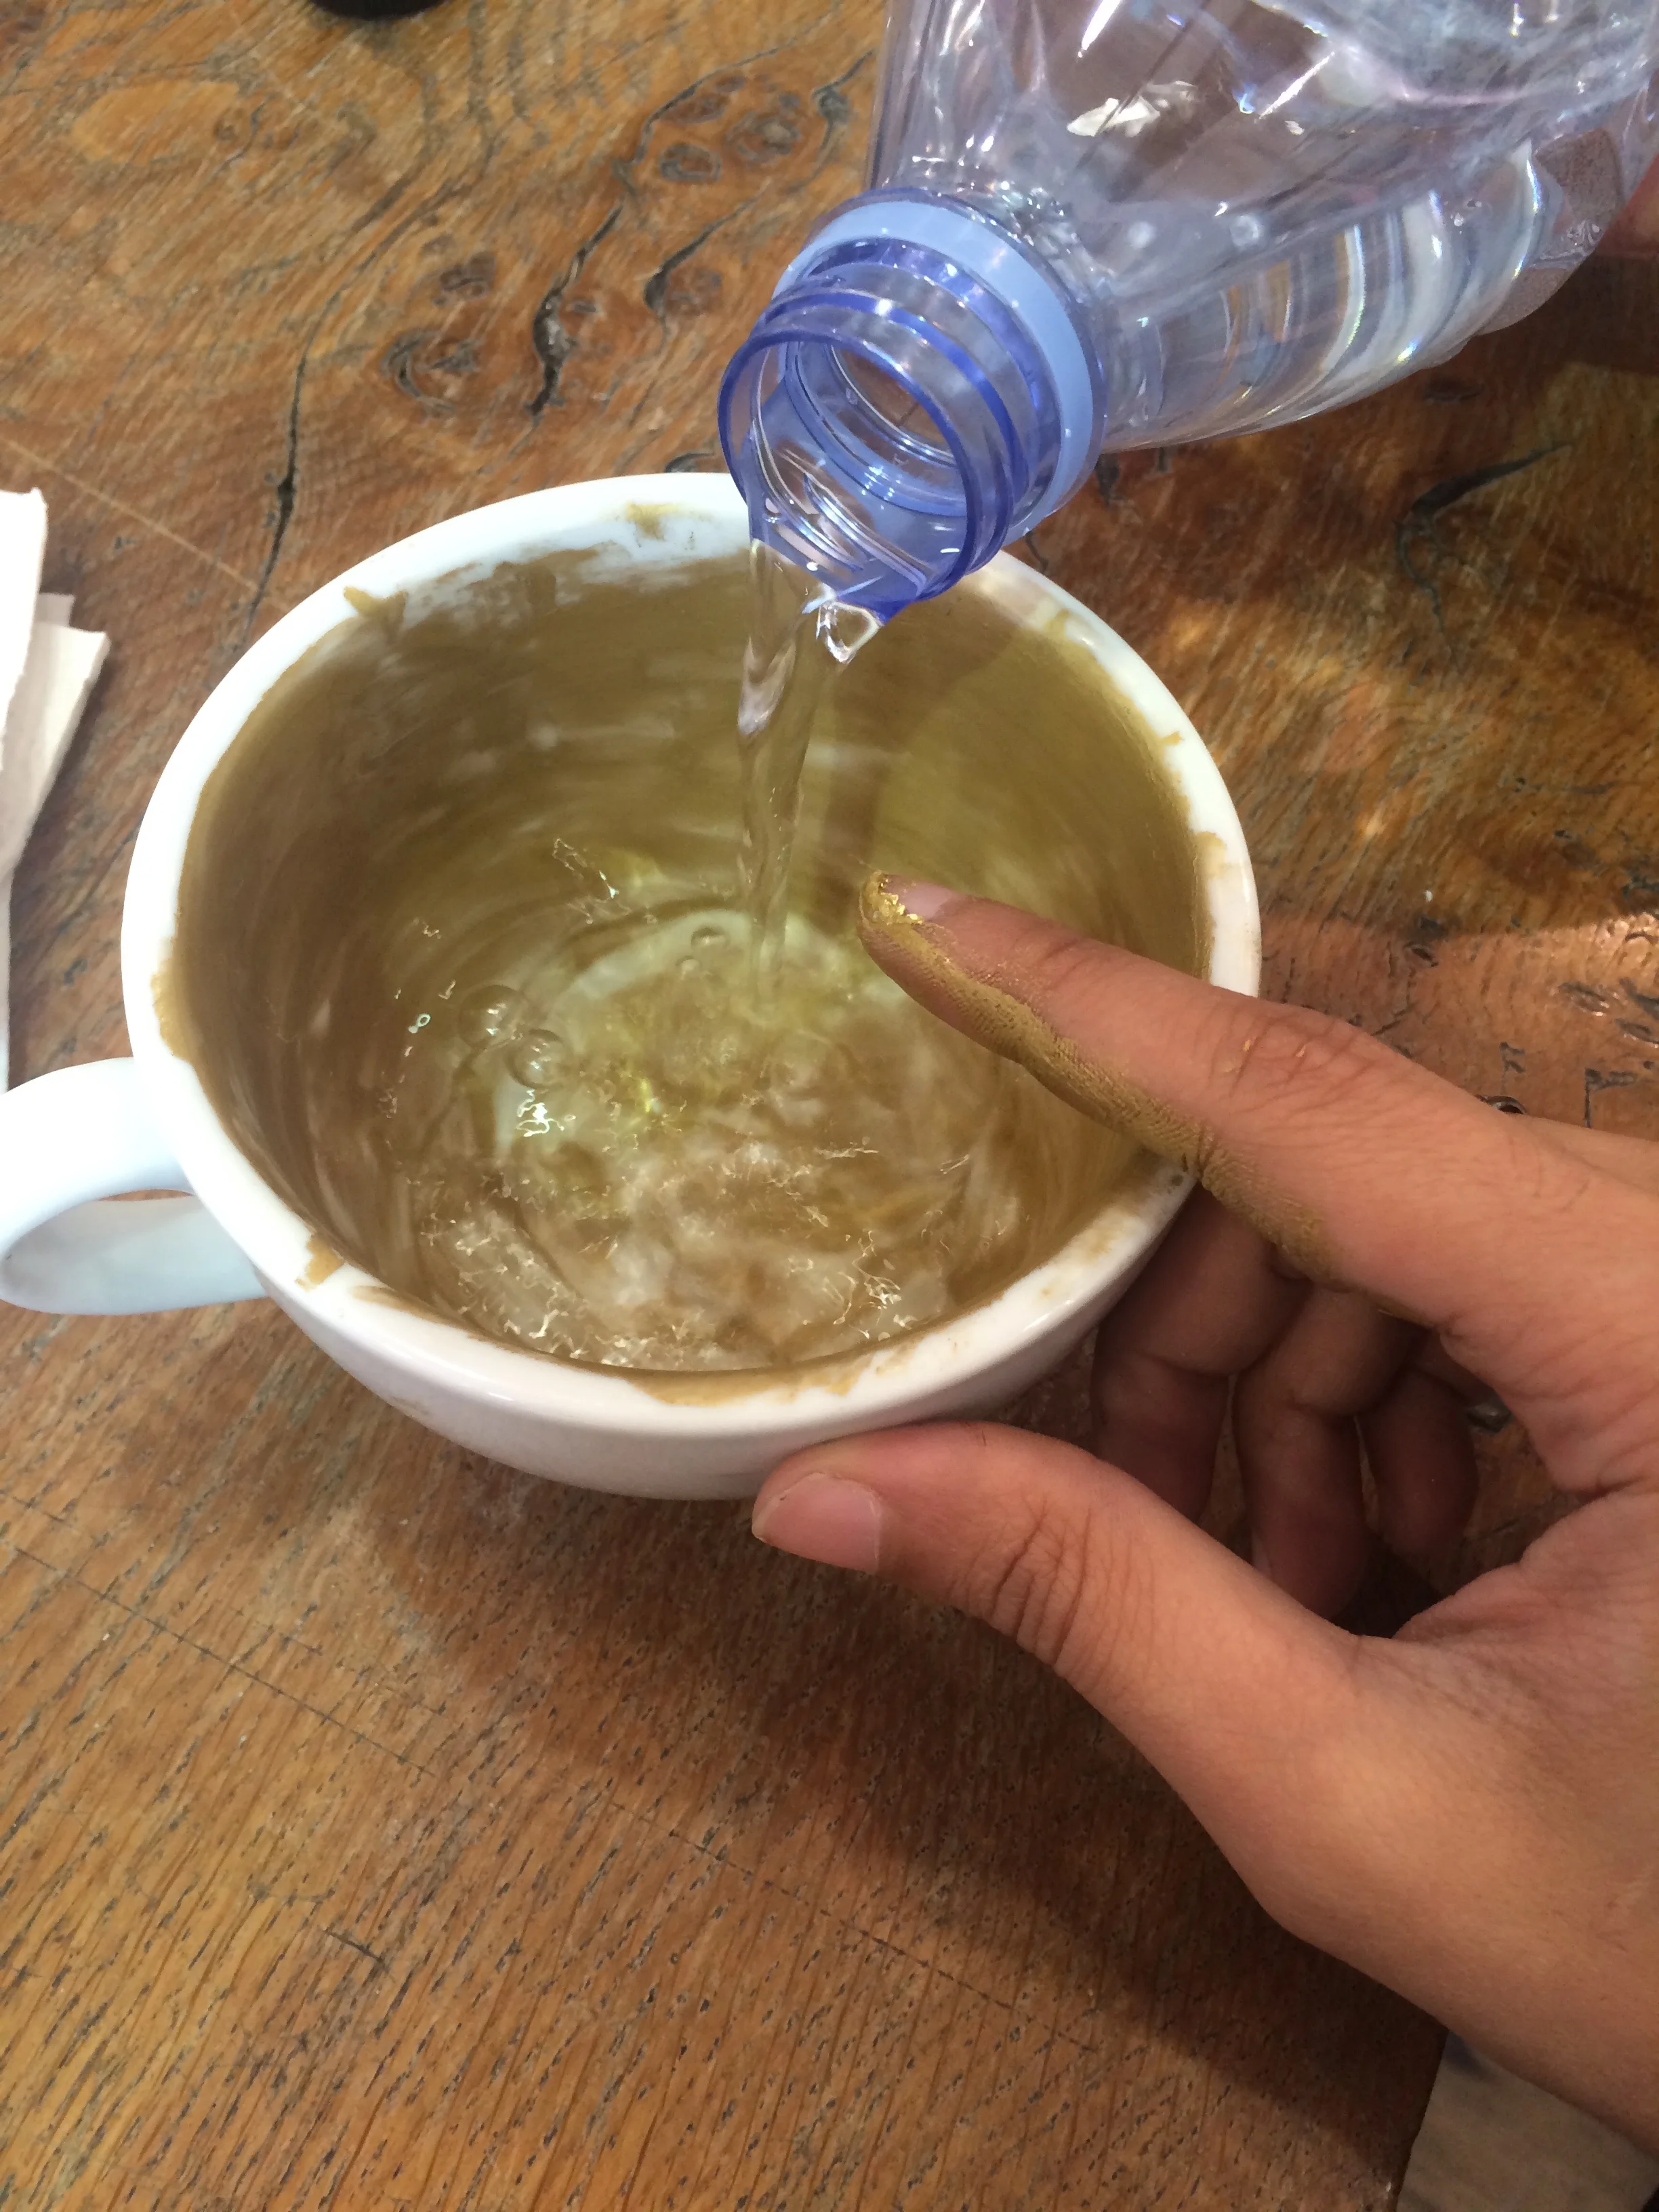
Making the gold

Note: use filtered or bottled water because it really affects the gold making process.
Gold Leaf Supplier in the UK is Wrights of Lymm Ltd -
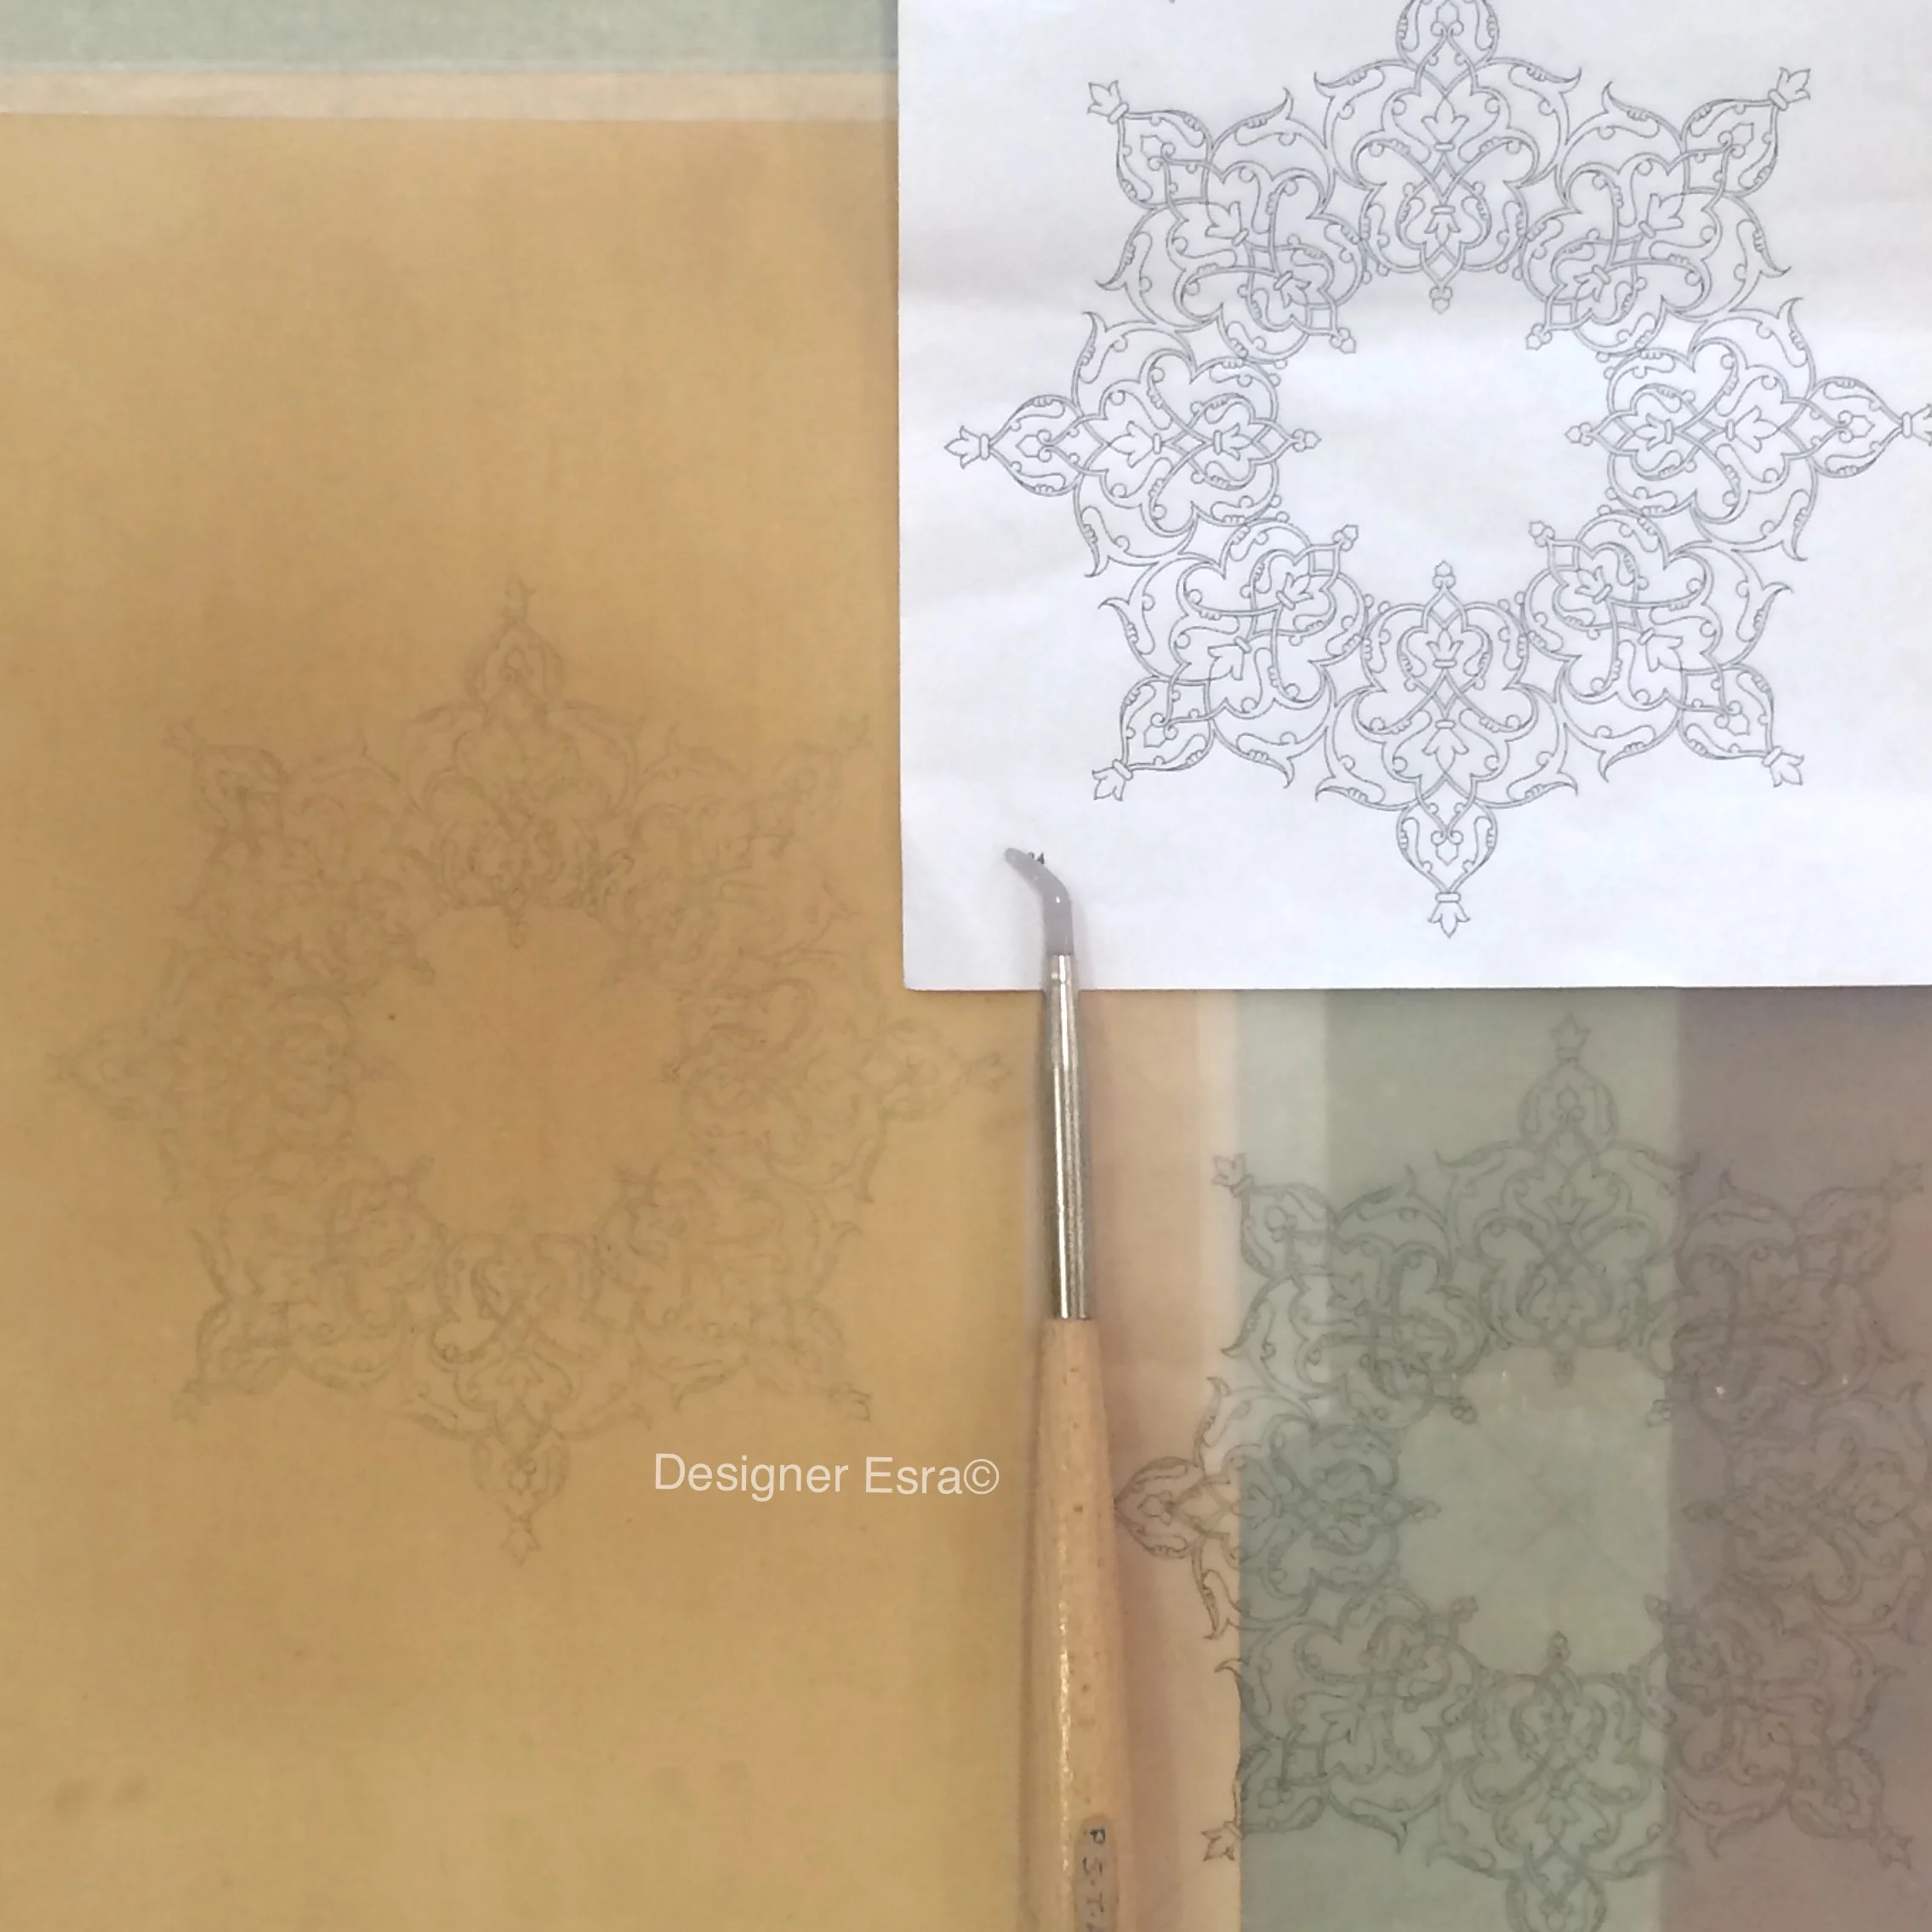
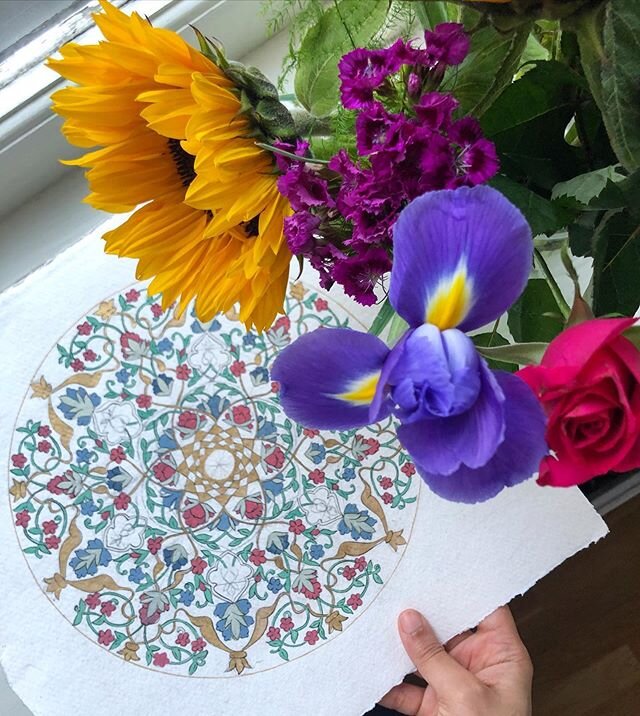
Choosing a design and transferring it to the paper
In this class, I chose a ready computer generated design that was taken from a Persian book that belonged to the teacher because the focus was on the techniques rather than the design. I traced the design on a tracing paper with an HB pencil. I then flipped it and tapped it to my final paper. I used the burnisher to transfer the design.
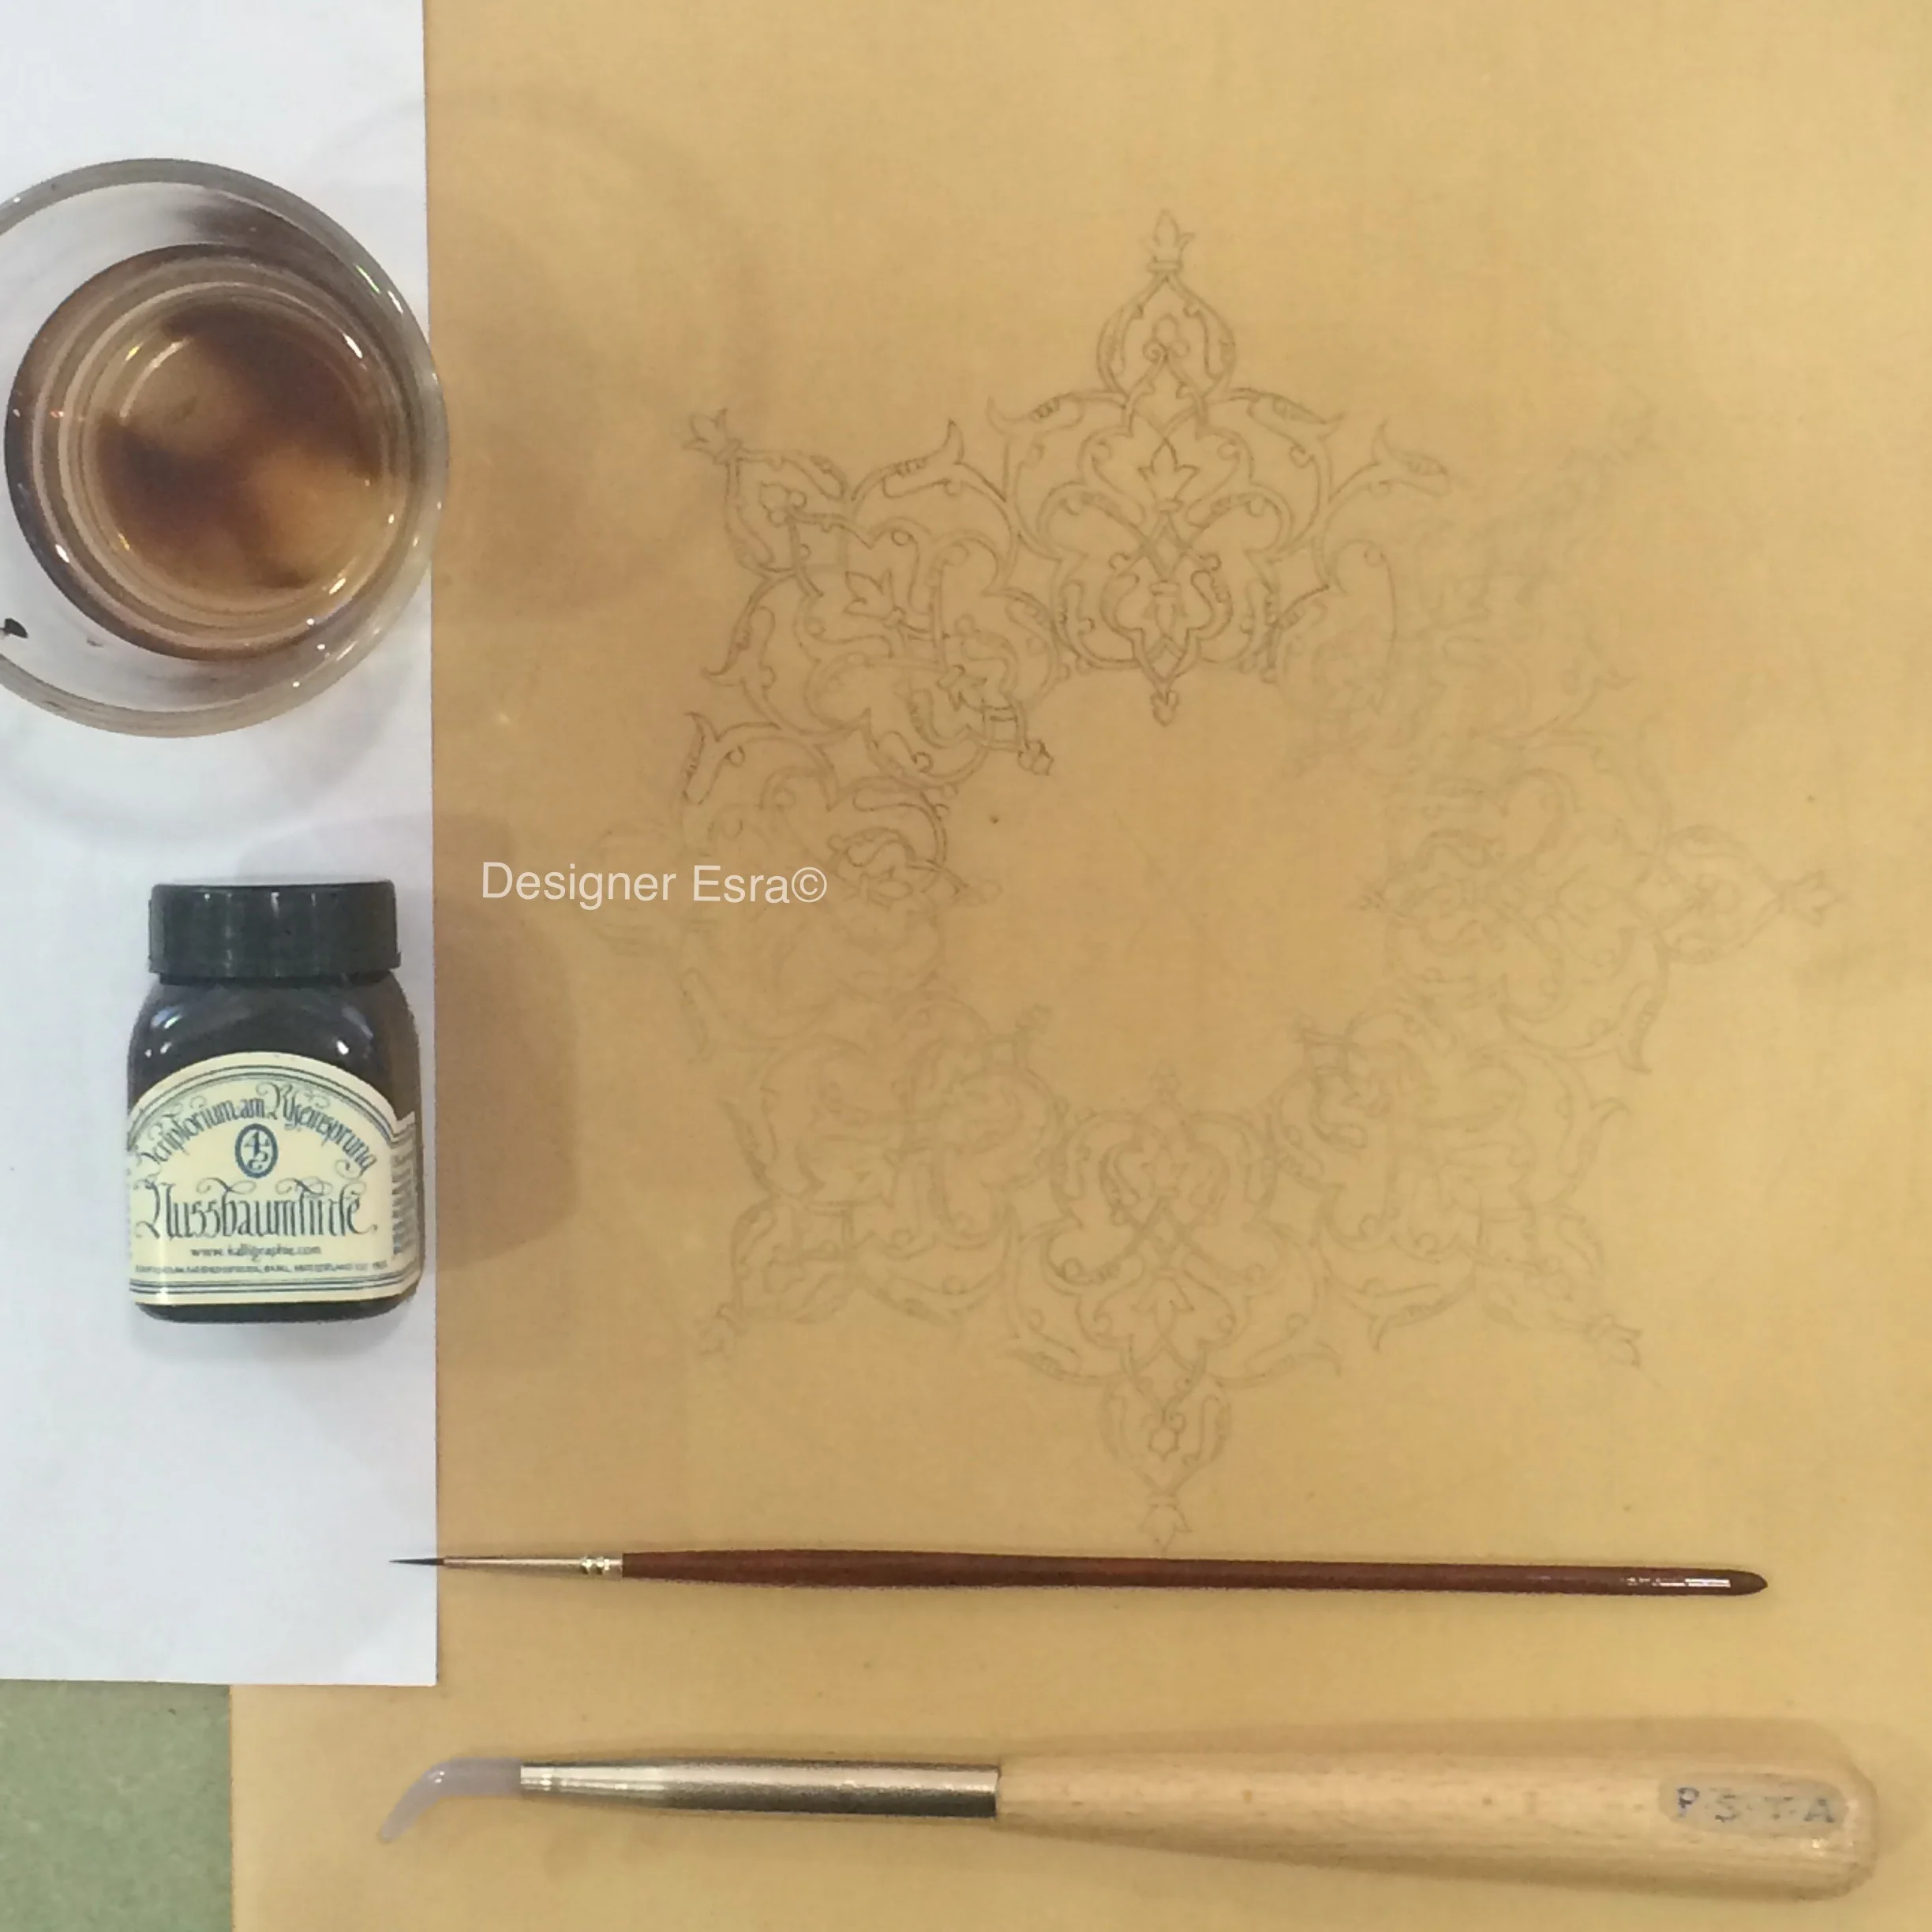
Marking the design with walnut ink -
After I transferred the pencil marks to the final paper, I painted over it with walnut ink and a super thin brush (double zero) to keep the design in tact so it does not rub off if it stayed in pencil.
Brush Top Tip: make sure it's long with a fine tip. I used double zero.
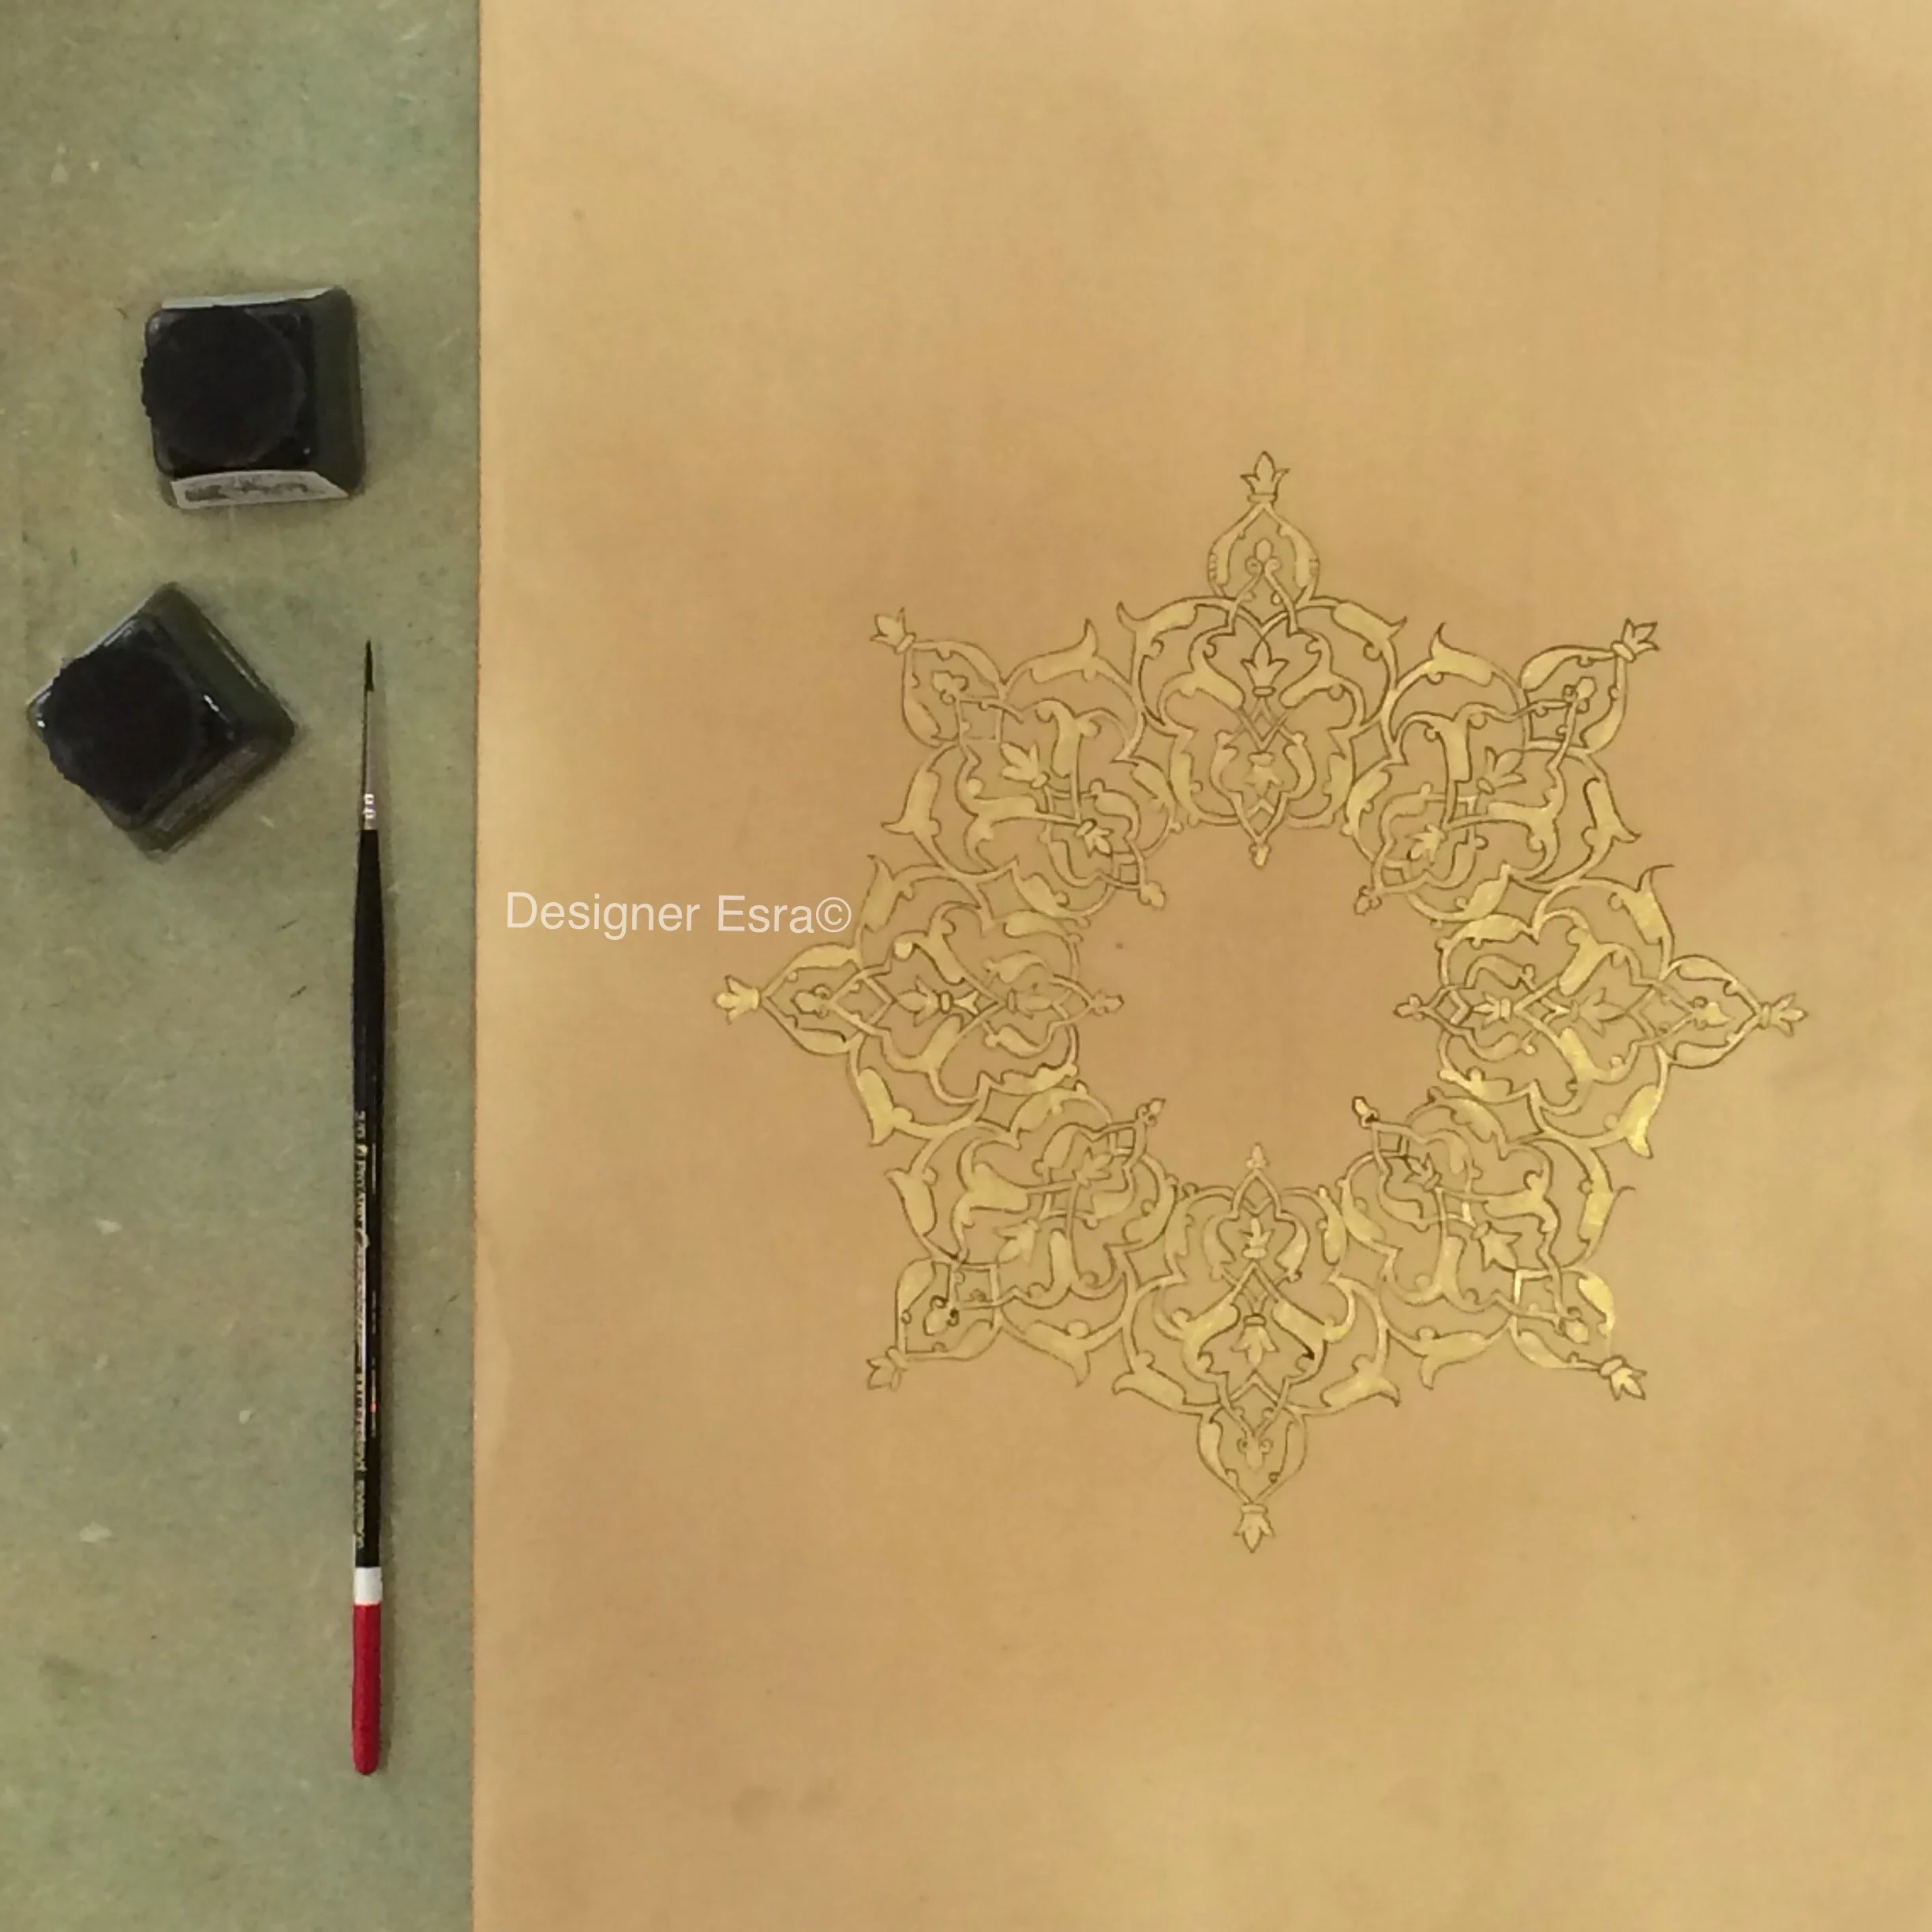
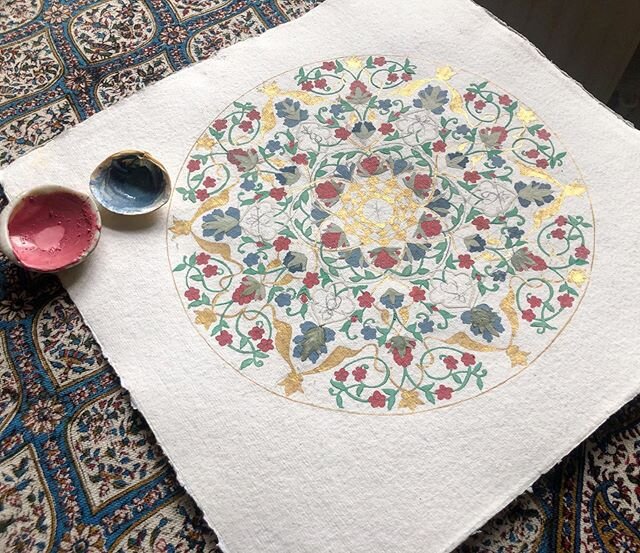
Painting with gold
The first colour to be used is ALWAYS gold. I wanted most of my design to be in gold, so that's what I started with and I nearly finished the four leaves I ground earlier. After painting carefully with the gold, I burnished it to shine.

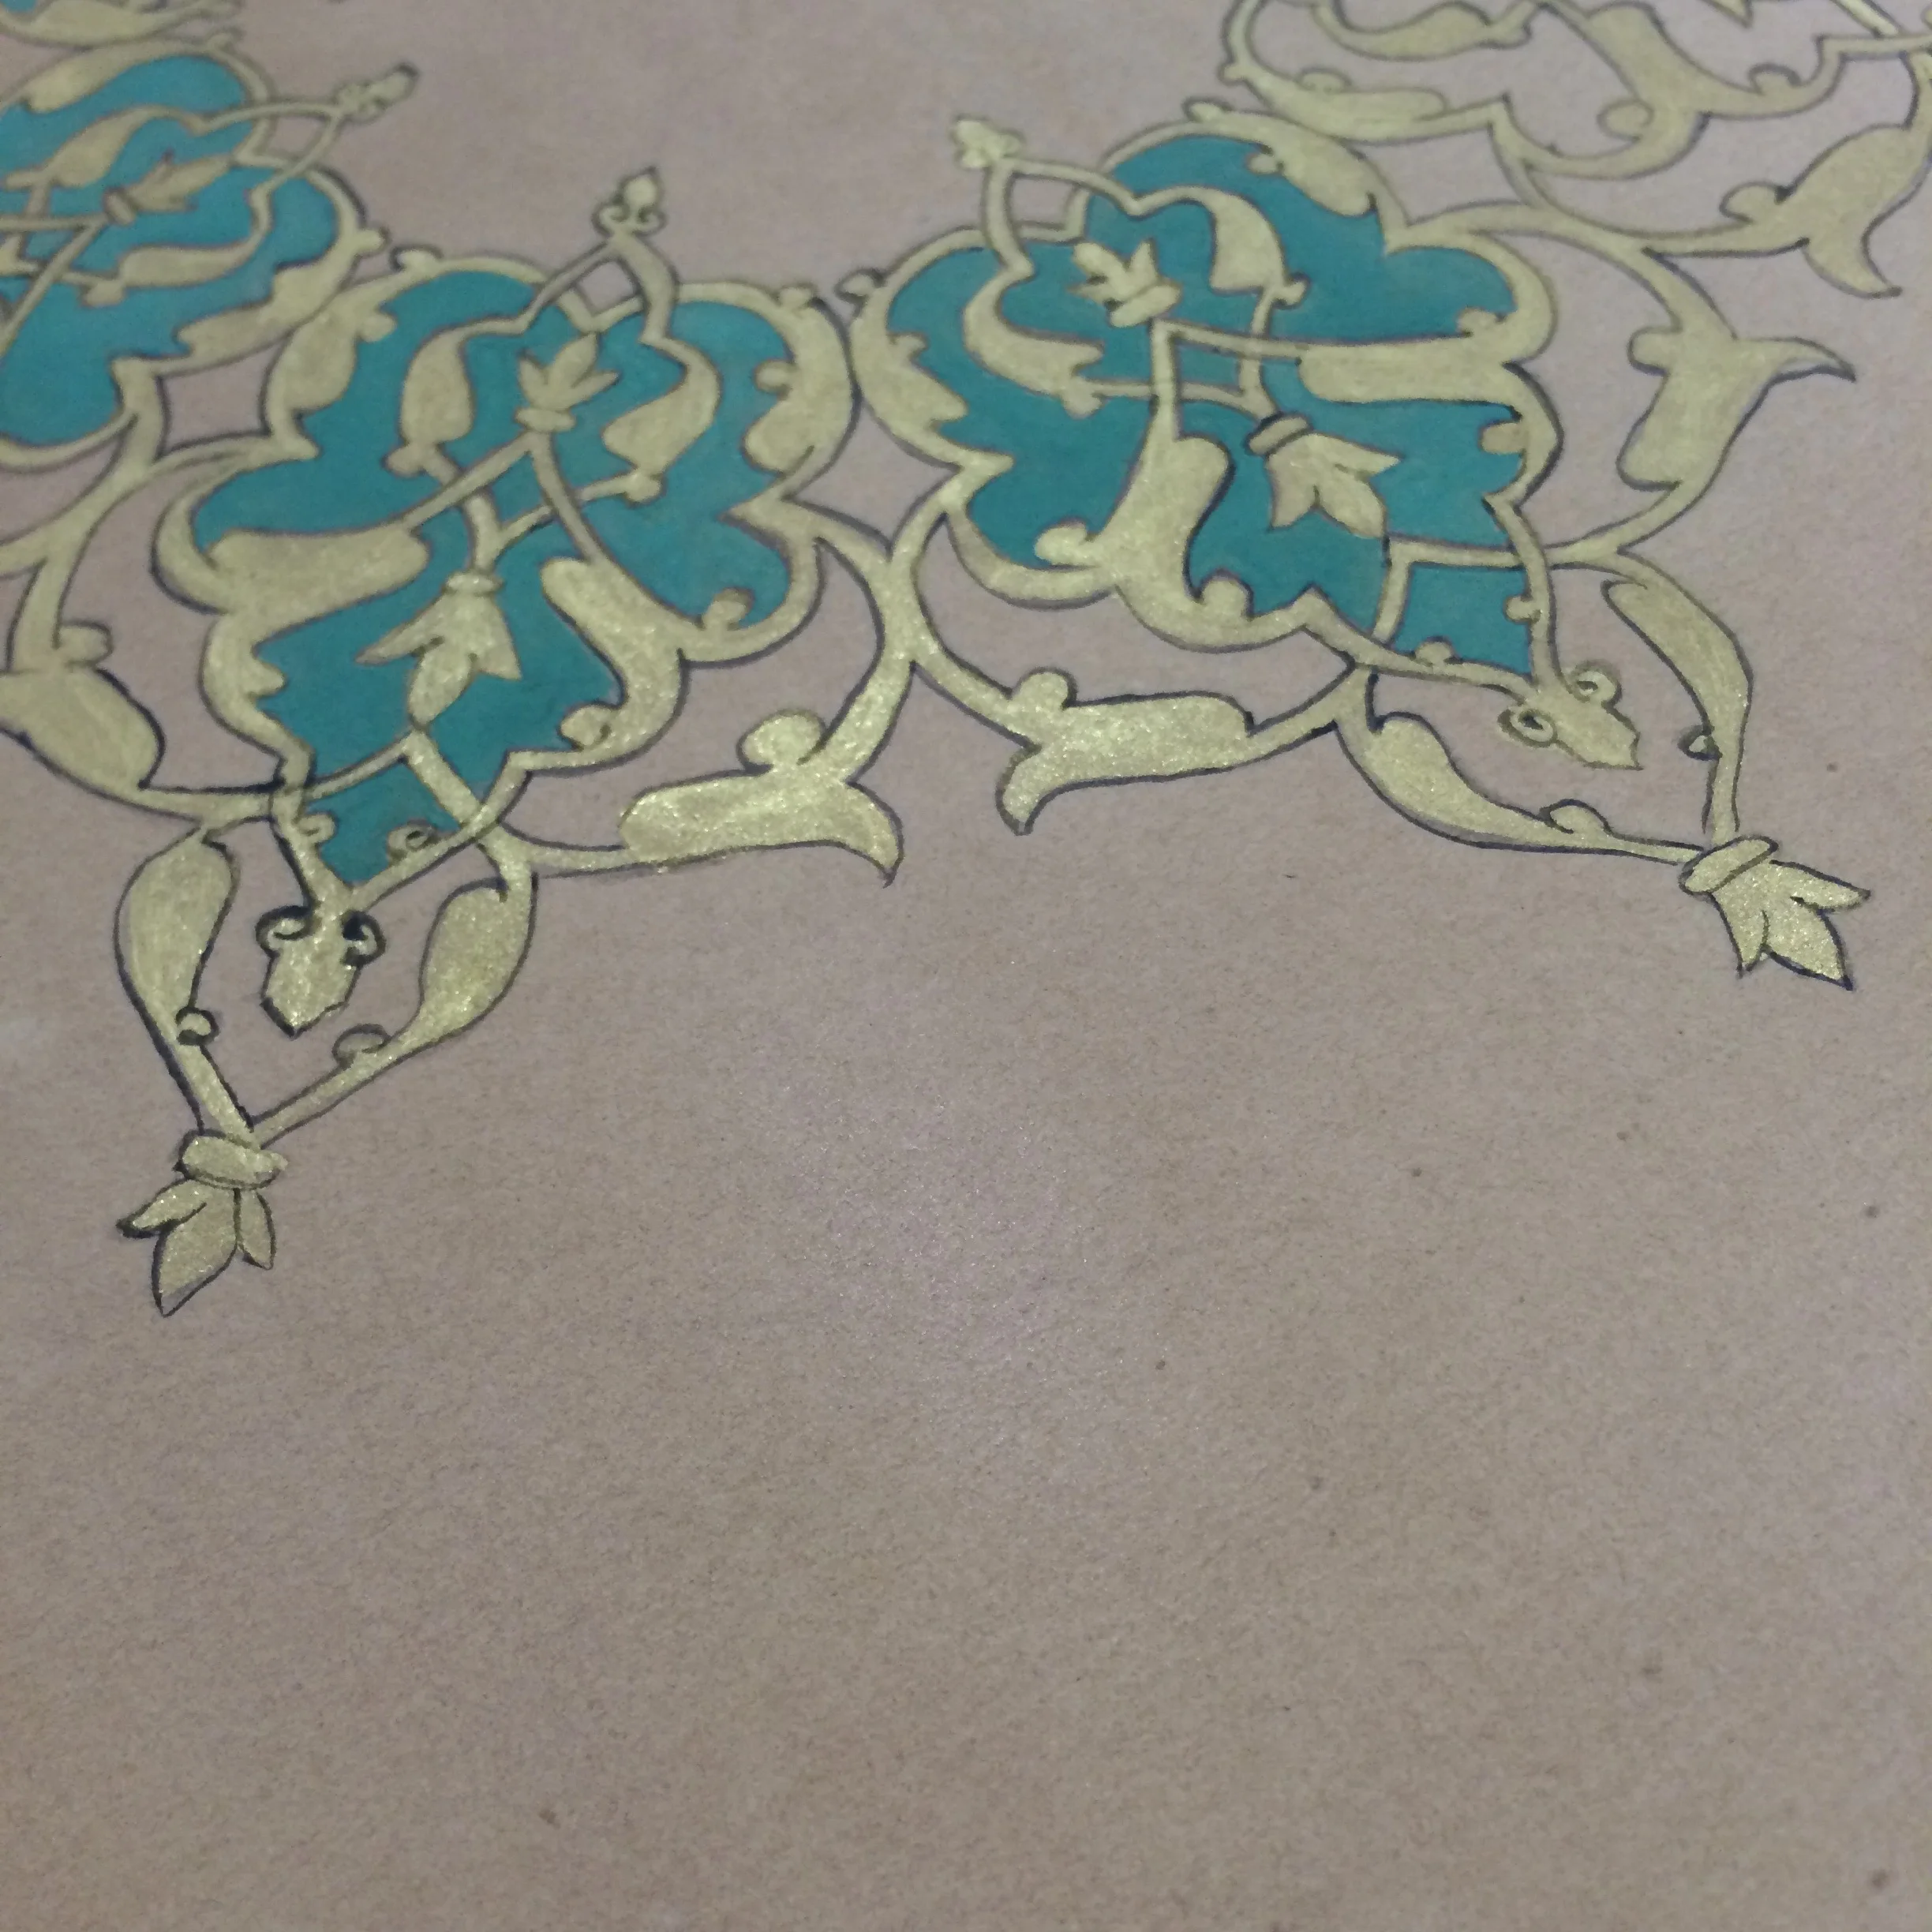
Outlining with black ink - مرحلة التحديد بحبر الخط الأسود
After the gold, it's the outlining with the black ink. It was the hardest part and I spent hours doing it. It's a real challenge.

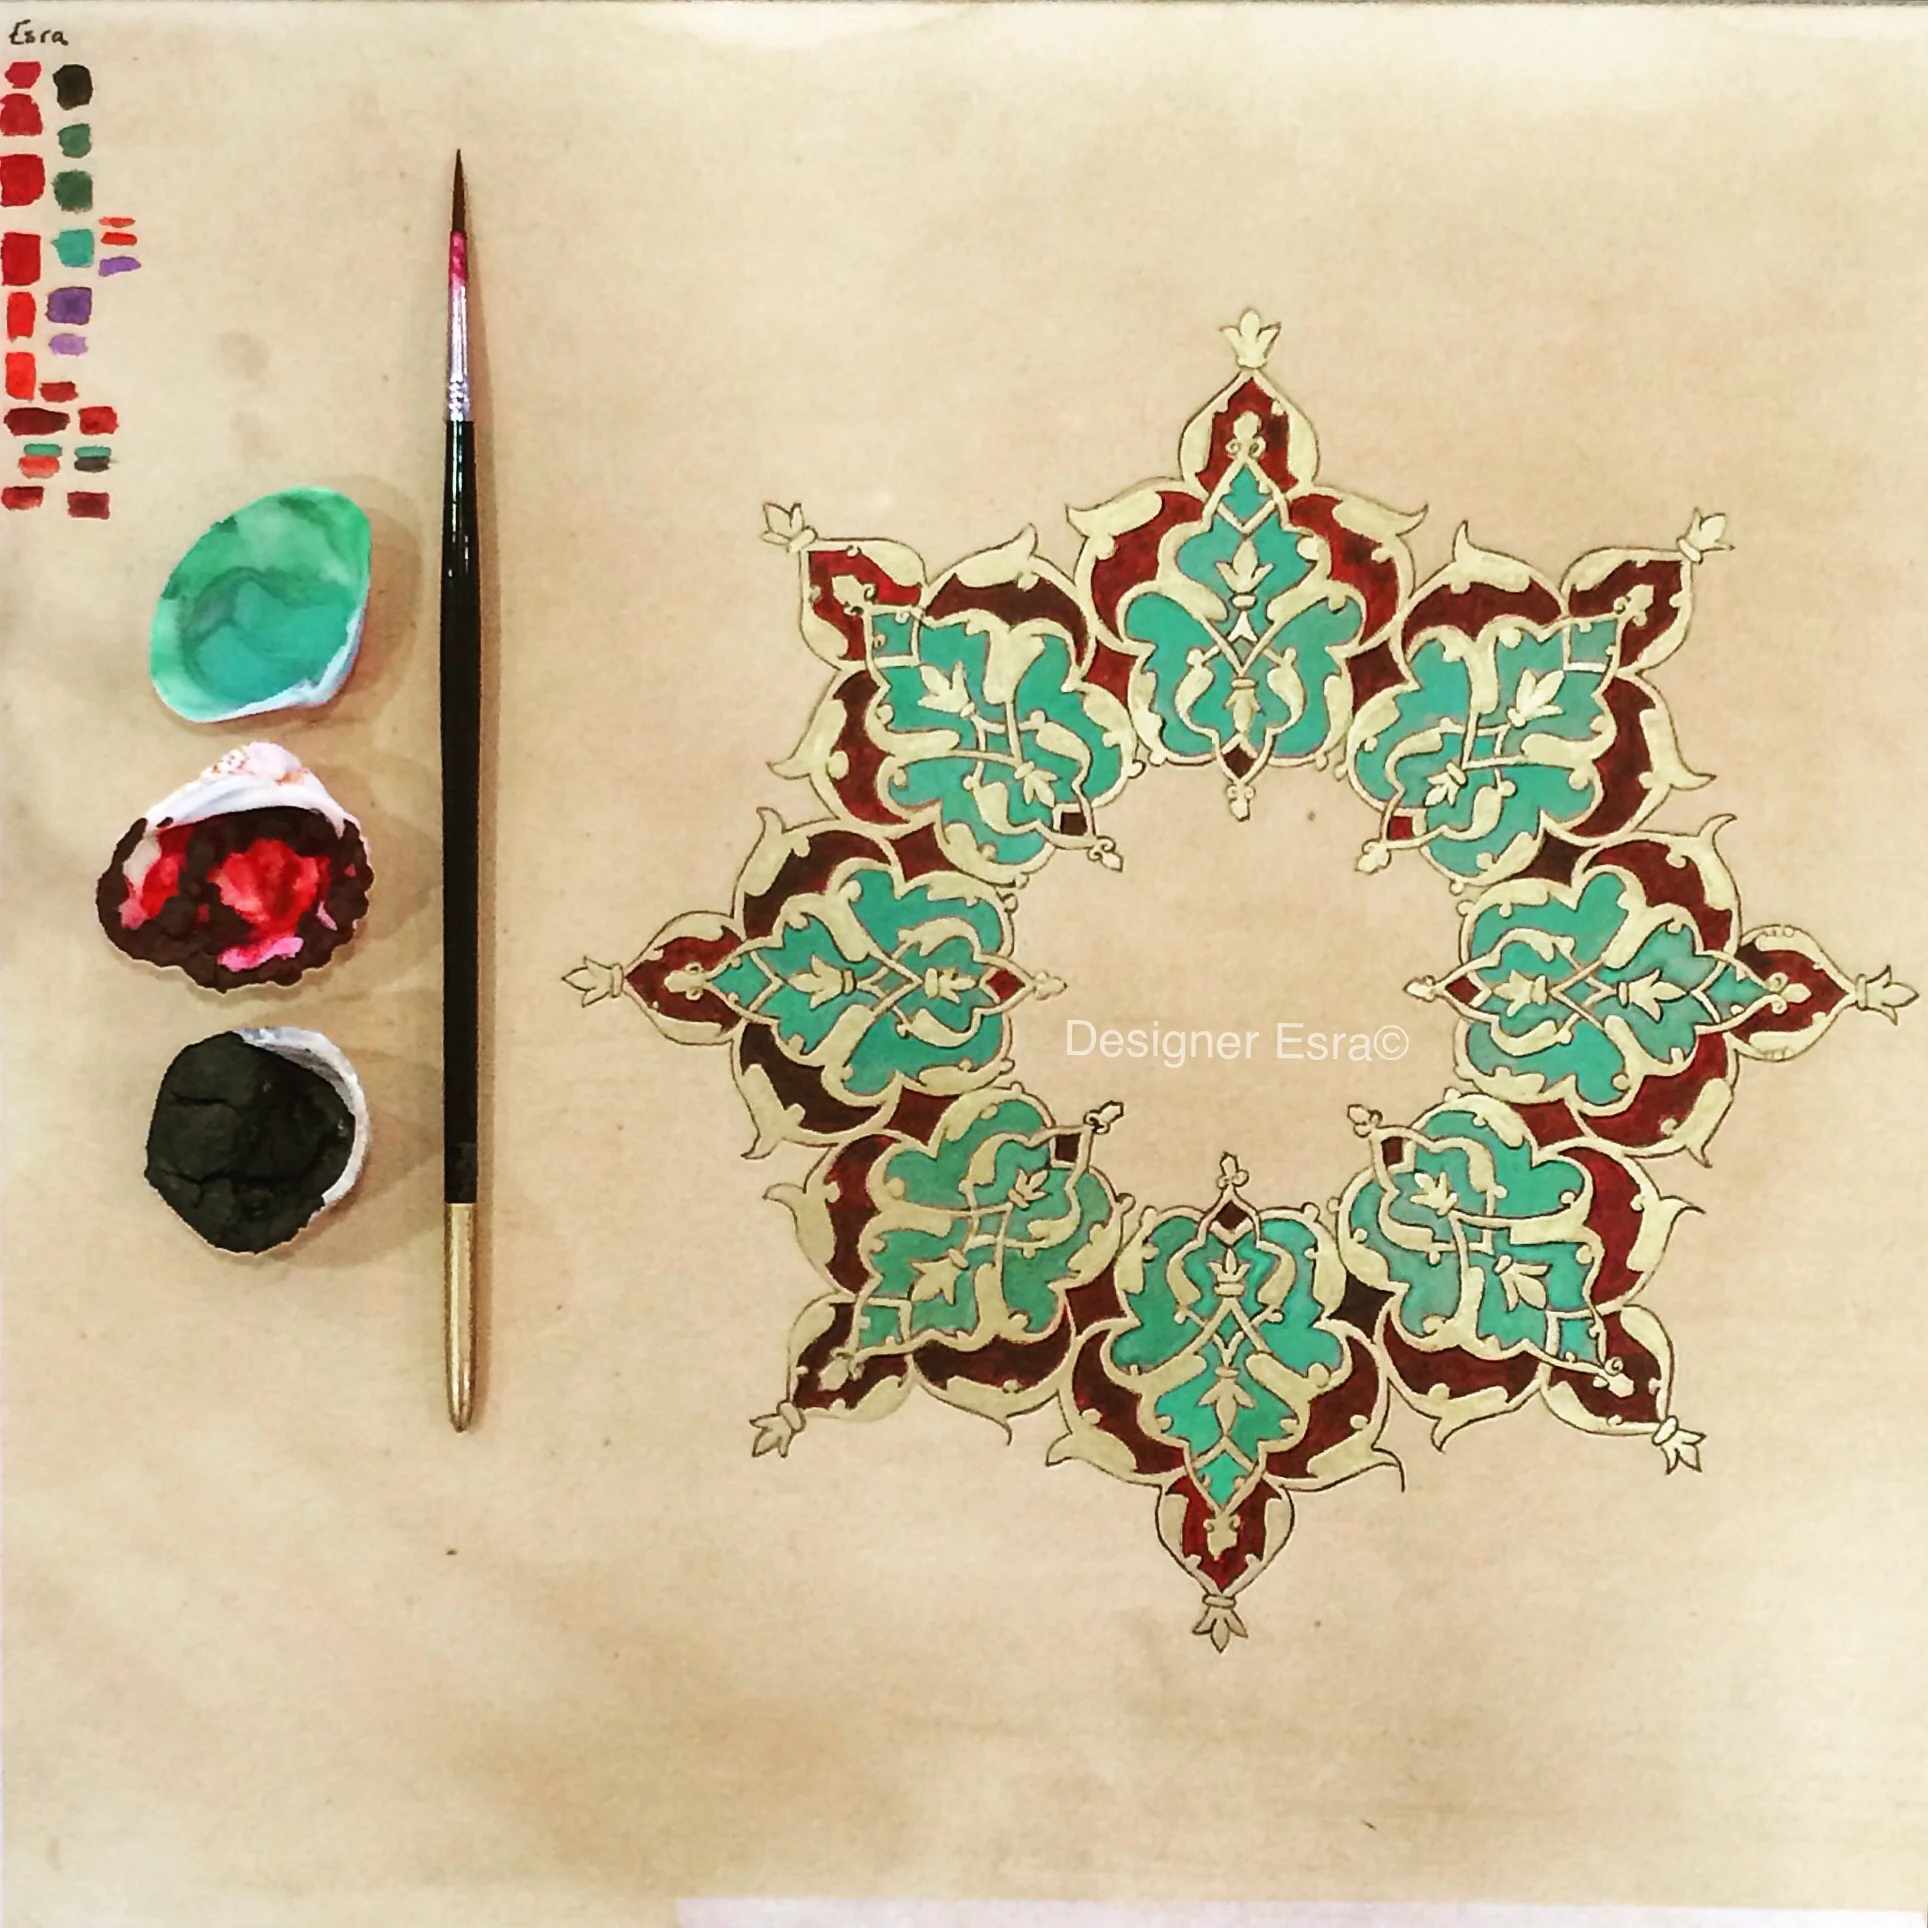
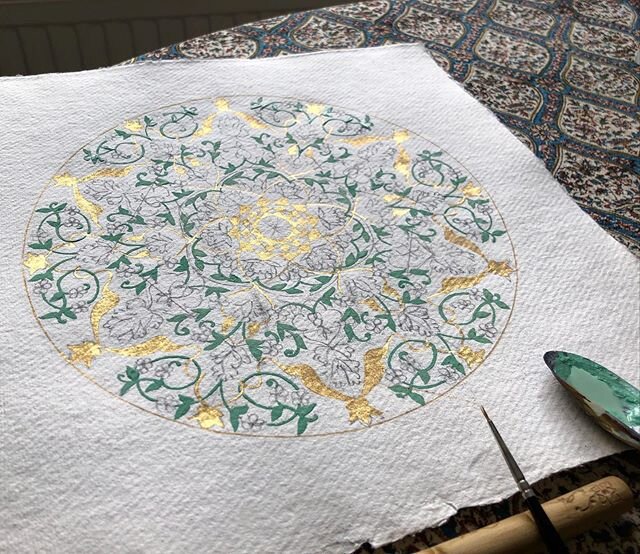
Painting the rest of the colours in
After the gold and the outlining, the colouring follows. Before I chose my colours I tested few ideas on a copy of the design as you can see in one of the photos above. I chose two colours only because I wanted the design to be consistent and simple.
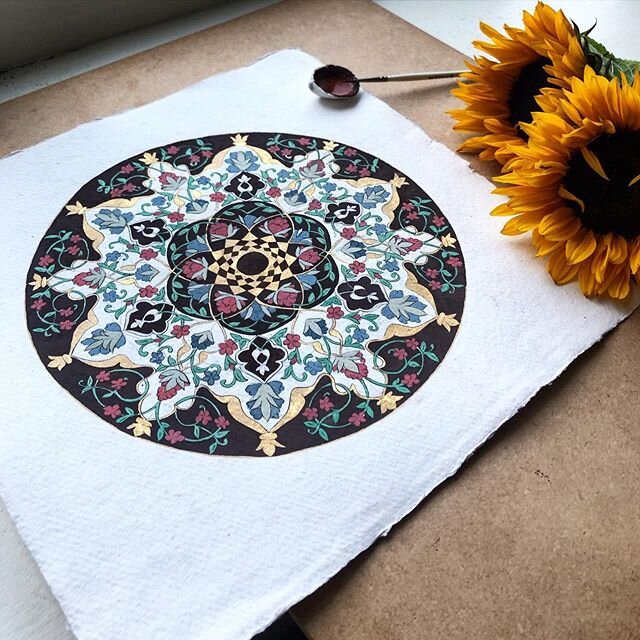
Final touches
Few more additions could be done on the final design.
Summary: How to paint a Persian Islamic illumination?
Prepare your paper with tea and burnishing.
Make your colours from natural pigments and gum arabic.
Make your shell gold by hand.
Choose a design, transfer it then ink it with walnut ink
Paint it with gold first then burnish it
Outline everything with the black ink
Add the rest of the colours in the background.
All thanks go to the artist Farkhondeh Ahmadzadeh for allowing me to blog about all of the above and sharing it with you all. I know I have included lots of great information, but I would still advice you to attend the classes at the Prince's School of Traditional Arts because you get to learn even more and try your hand at everything before making the investment of buying all the expensive supplies we used above.
Feel free to share your thoughts and methods in the comments below! :D
Happy Art-ing :D
Relevant Posts:


![[Pigments & Handmade Watercolour]
The first time I was told about making my own watercolours from pigments, I was confused and thought why would I ever need to do that with such an abundance of choices out there in the shops, but something clicke](https://images.squarespace-cdn.com/content/v1/5723e7f53c44d8676af44a5a/1593364075353-5E6JVA2WRDFXW55RLU86/image-asset.jpeg)
![[Copyrights & watermarks] ⤵️
.
.
22ct gold added✨ & this lovely brush stand is made from the garden rosewood by @fidget_one 💛🙏🏻
.
.
“You should put a watermark” someone told me, but it’s not the first time I get told &ldq](https://images.squarespace-cdn.com/content/v1/5723e7f53c44d8676af44a5a/1591790274366-15MOG8GA6UAJXTH7SWW9/image-asset.jpeg)