Botanical painting
I am motivated to learn new skills for the sake of flowers. I wanted to learn to crochet to make flowers and now I am learning more about painting to paint better flowers! I just find them so fascinating and relevant to everything including sacred geometry!
In the art of Islamic illumination, I paint a lot of flowers, but I wanted to up my game. So, I am taking the art of painting flowers back to basics. I want to understand the figuration and the painting, which lead me to botanical painting, which is something I have been focusing on since the start of this year.
Last month, I shared two botanical workshops that I attended in London: Introduction to Botany and Botanical painting and taxonomy. They were both so interesting and I learnt more about plants. I still need to read the few botany books I bought to get the biology basics down. If only they taught me biology in school using flowers I might have had a completely different career!
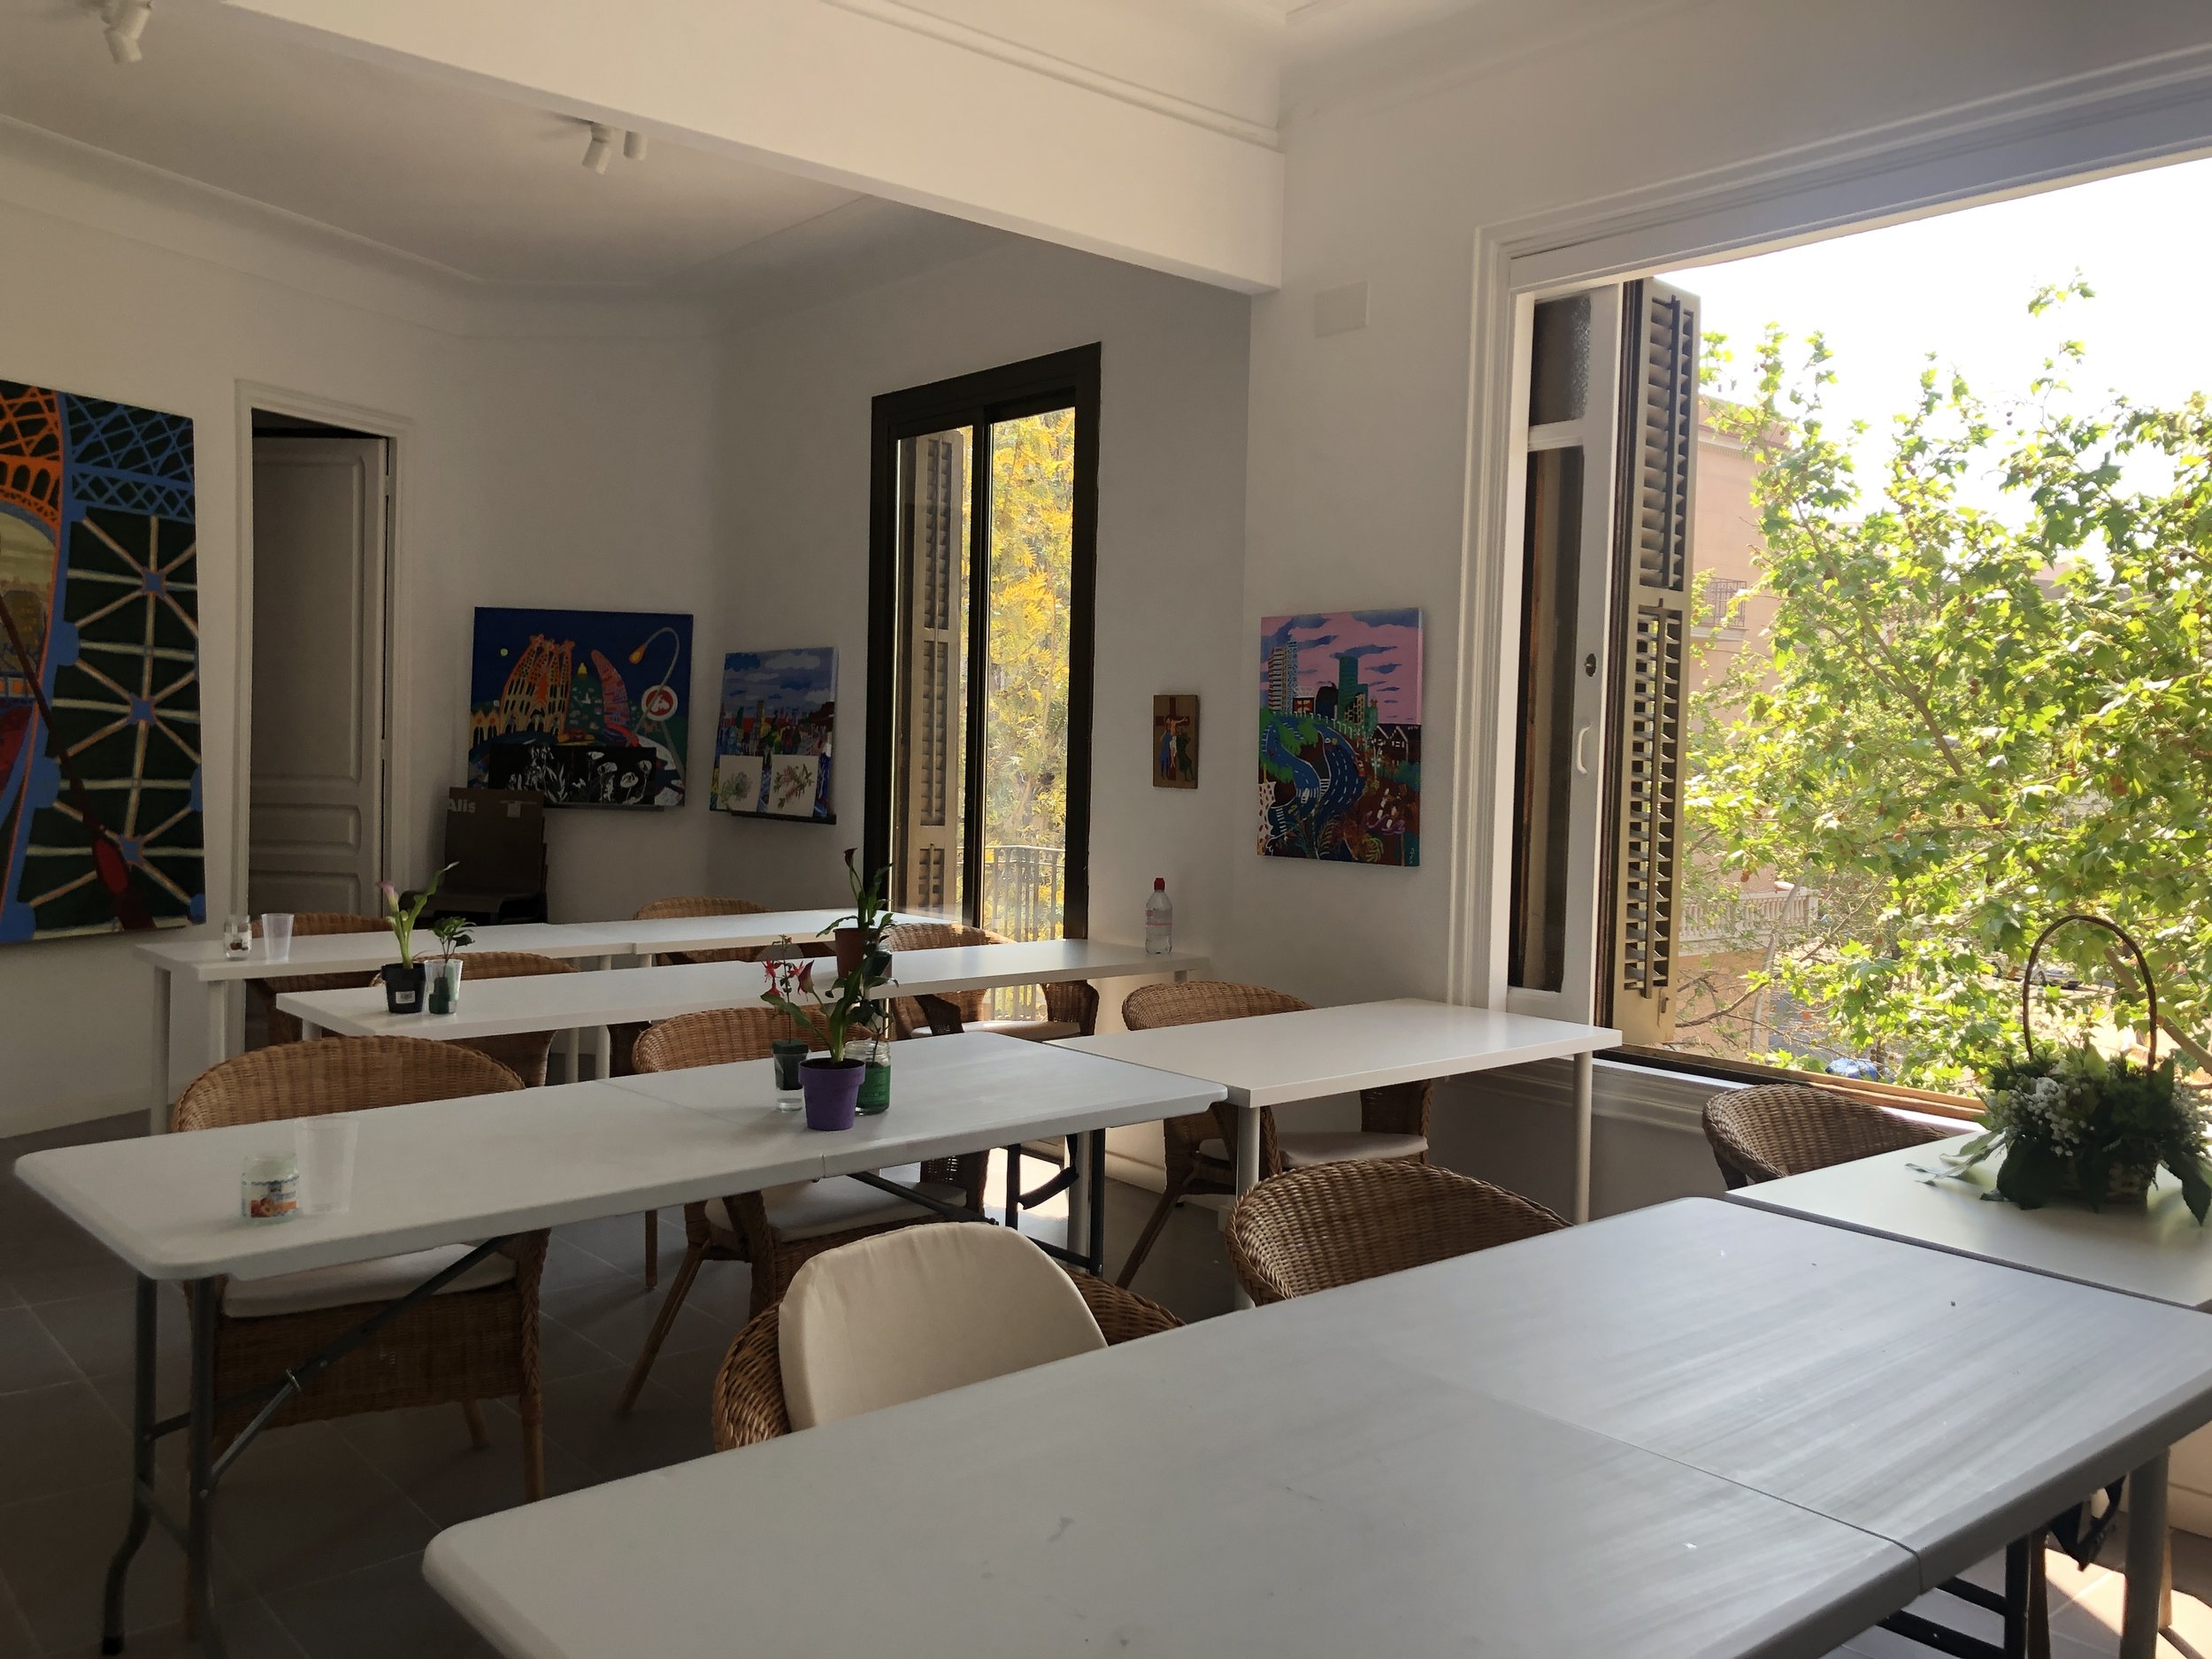
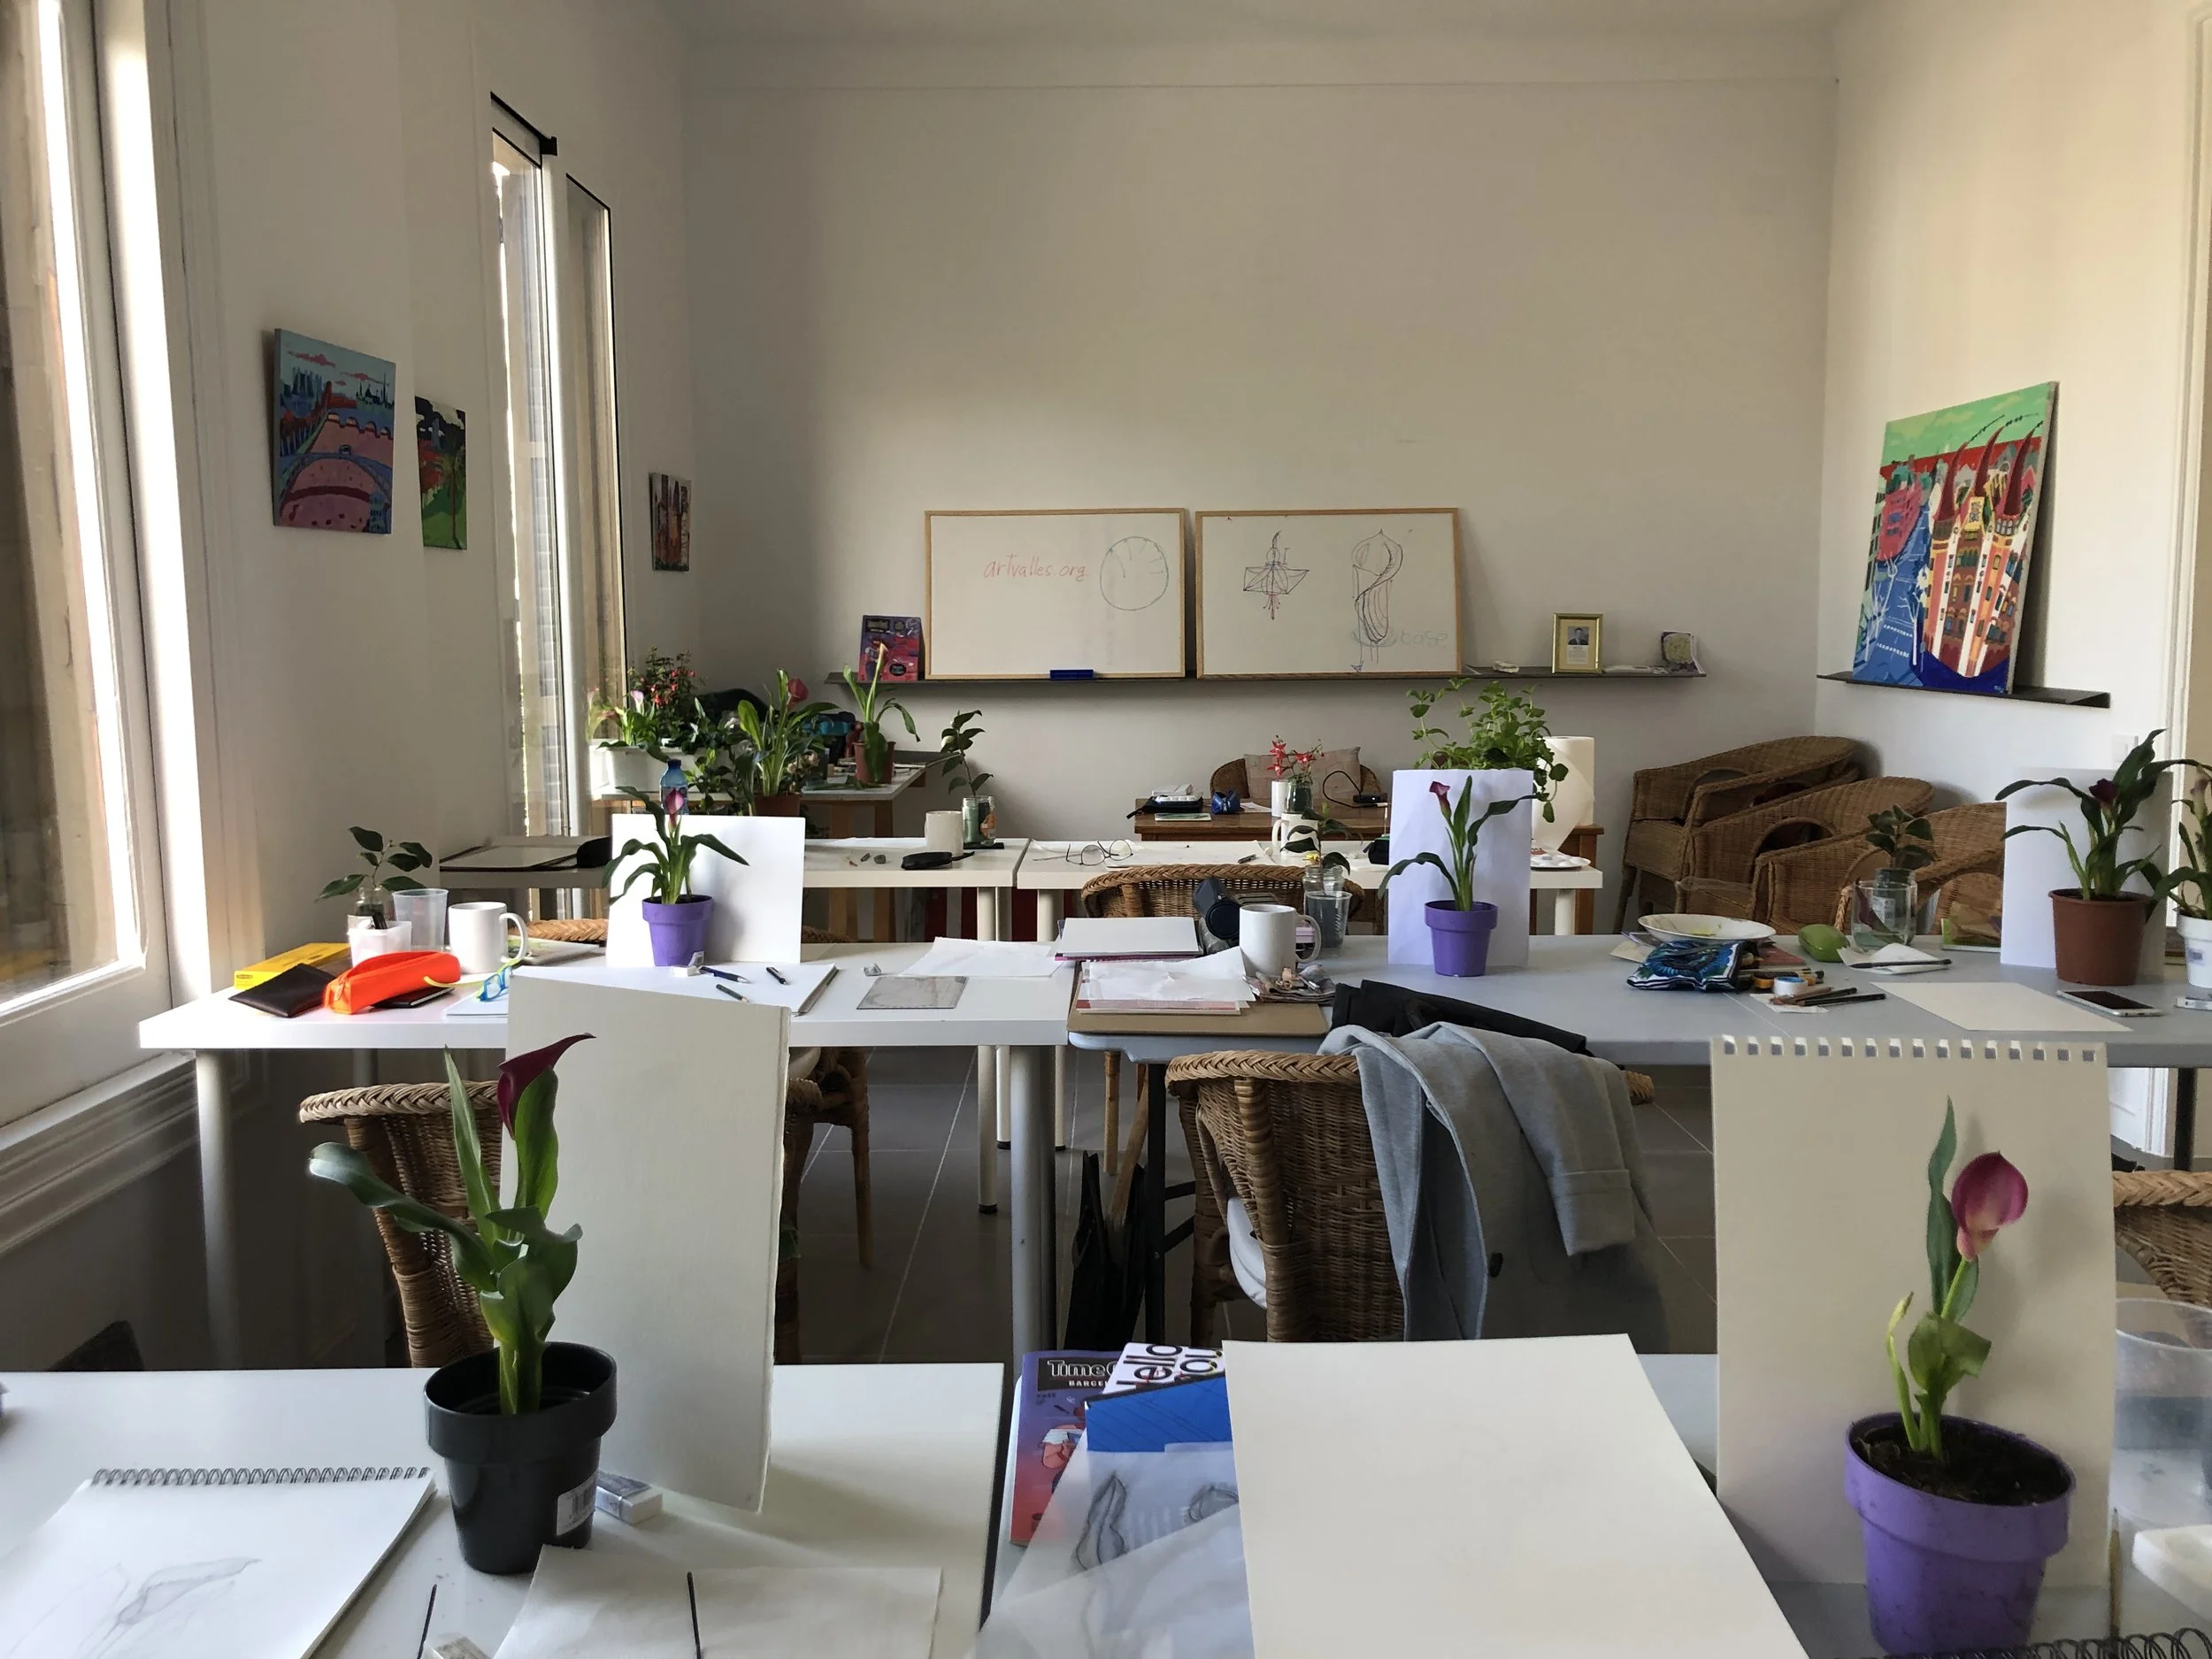
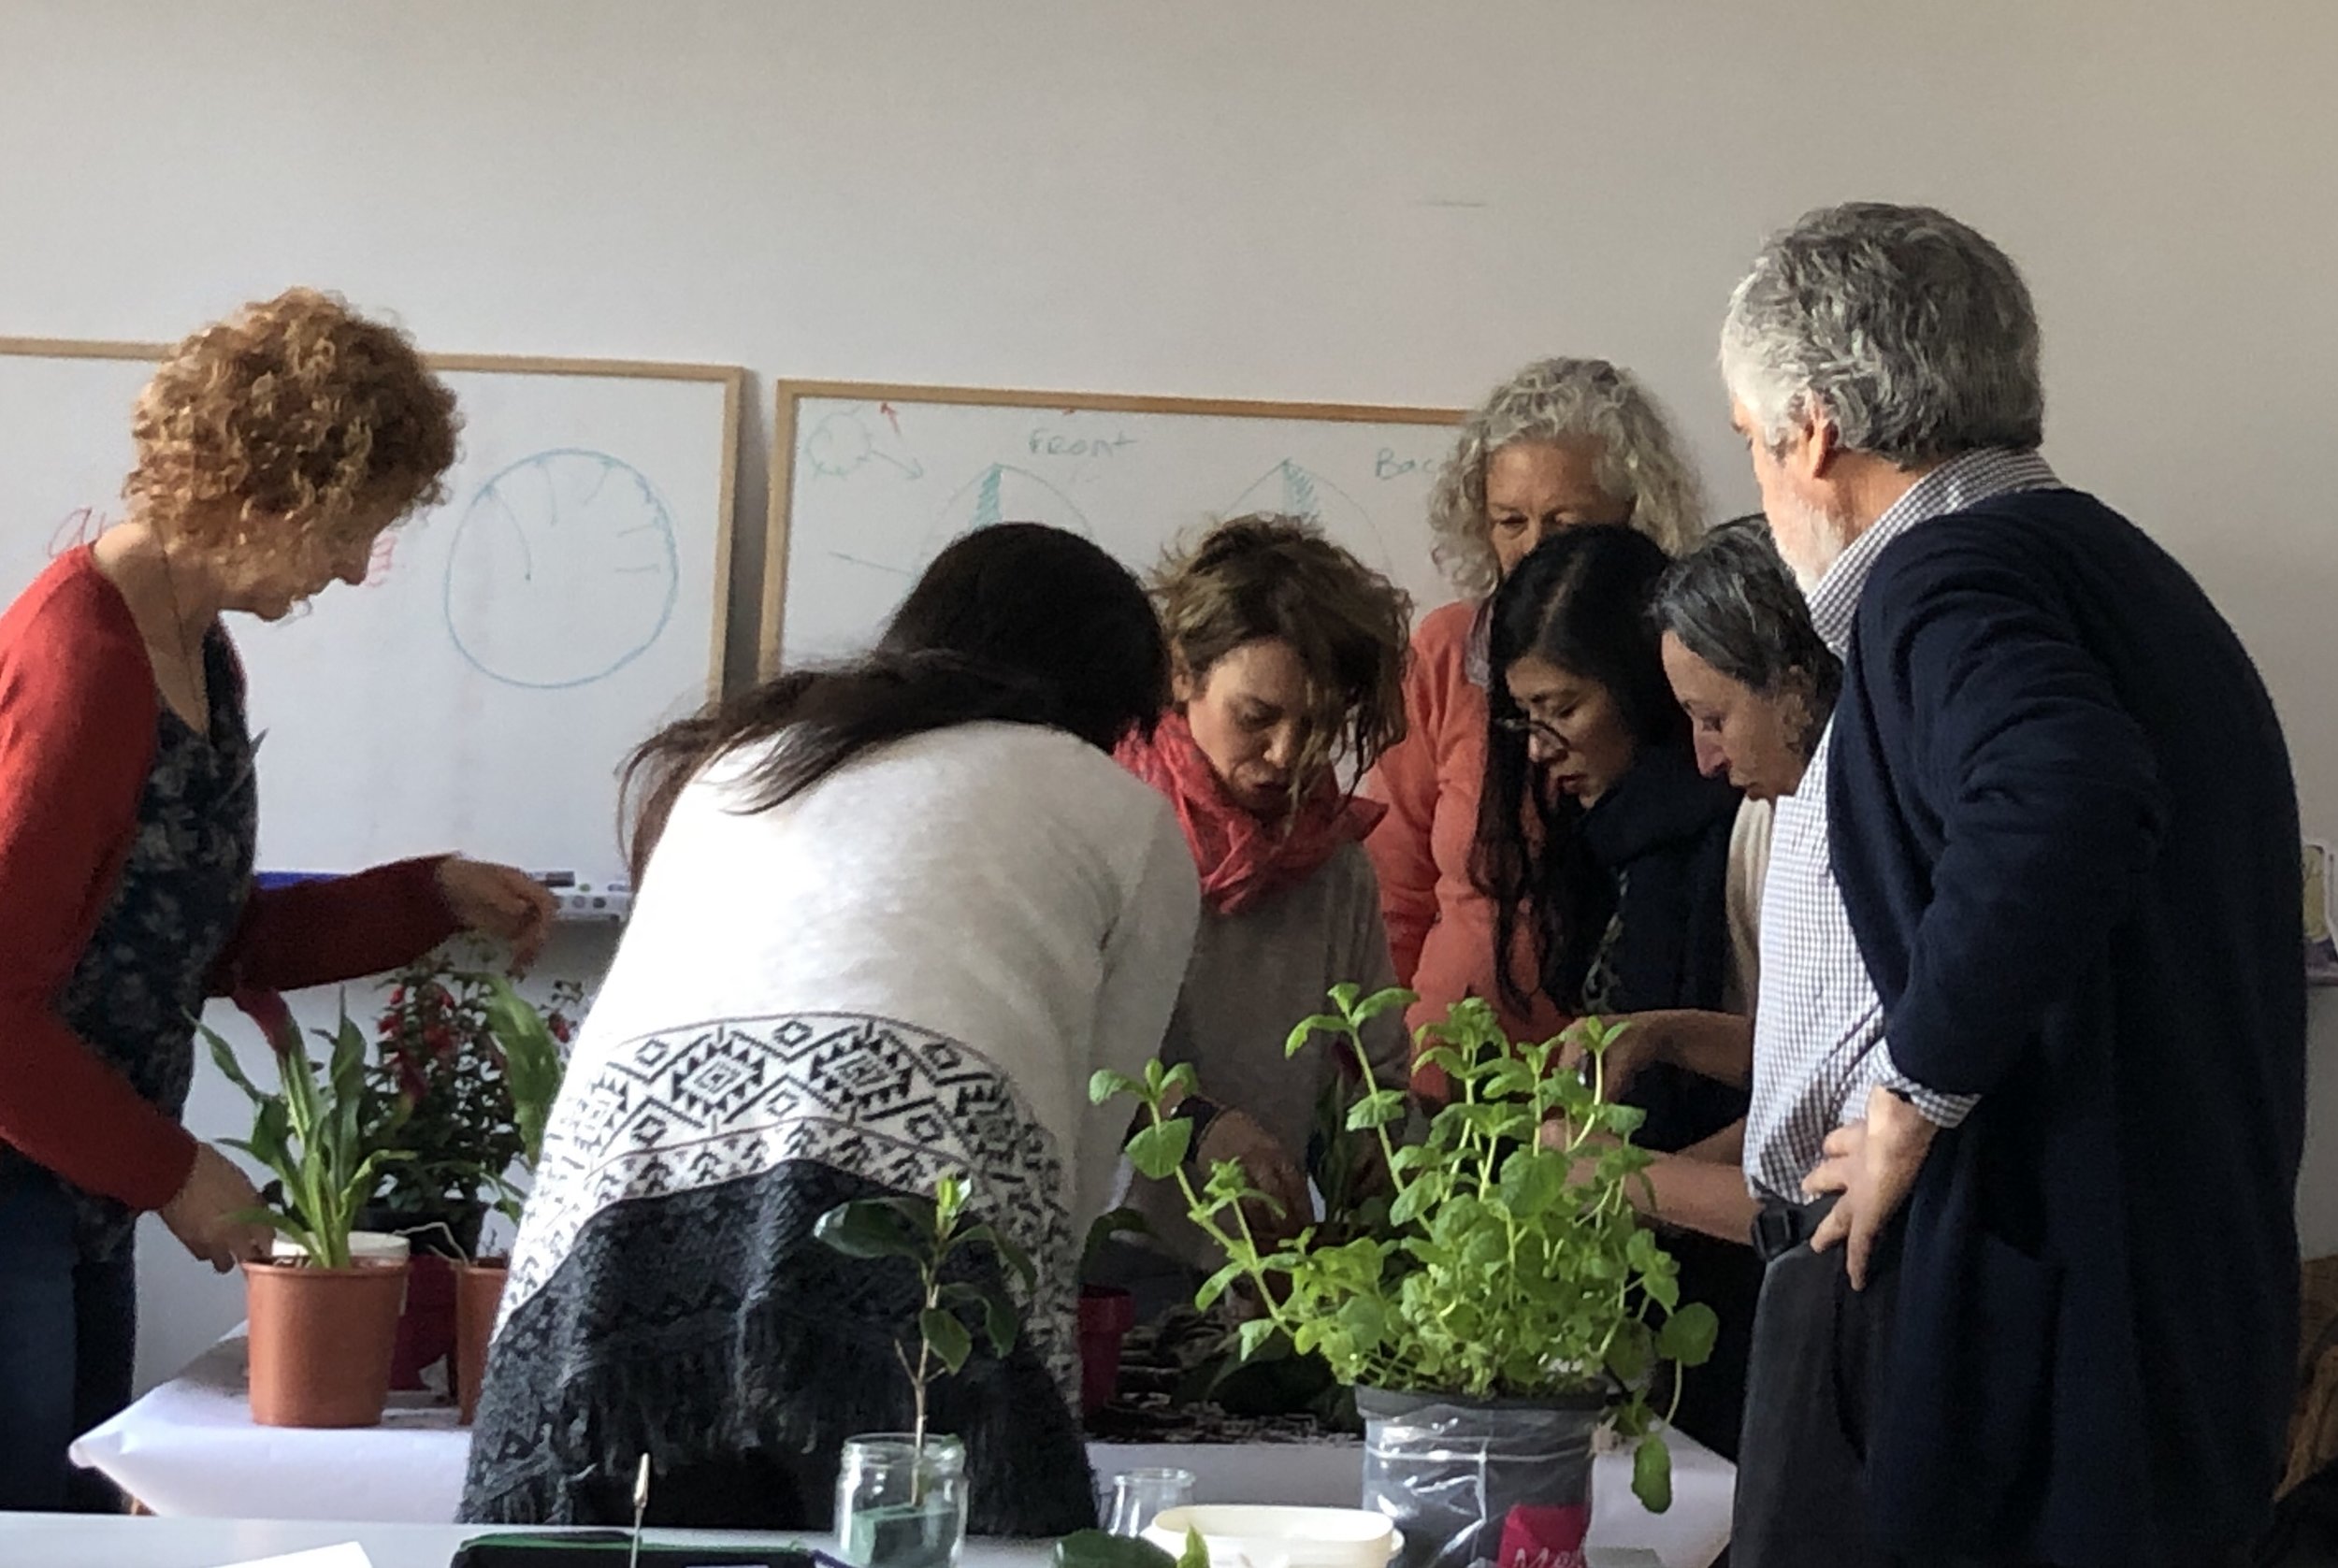
During the last class of Botanical painting and taxonomy, I asked the instructor Jess from Inky Leaves to recommend other botanical artists that I could go and learn from and she told me about a very talented Turkish artist named Isik Guner and as luck would have it she had a botanical painting class happening in Barcelona and I managed to get the last seat! I probably could have just waited until Isik taught in Edinburgh Botanical Gardens, but I figured a visit to Barcelona will give me some needed sunshine!
How to start with a botanical drawing?
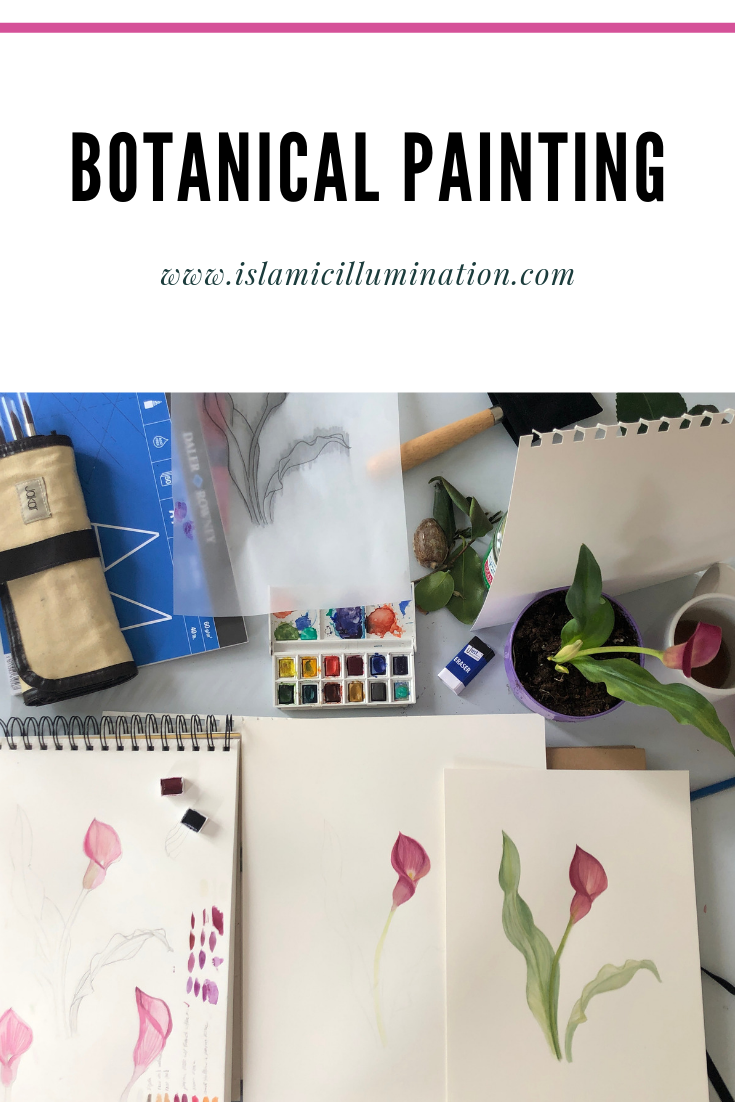
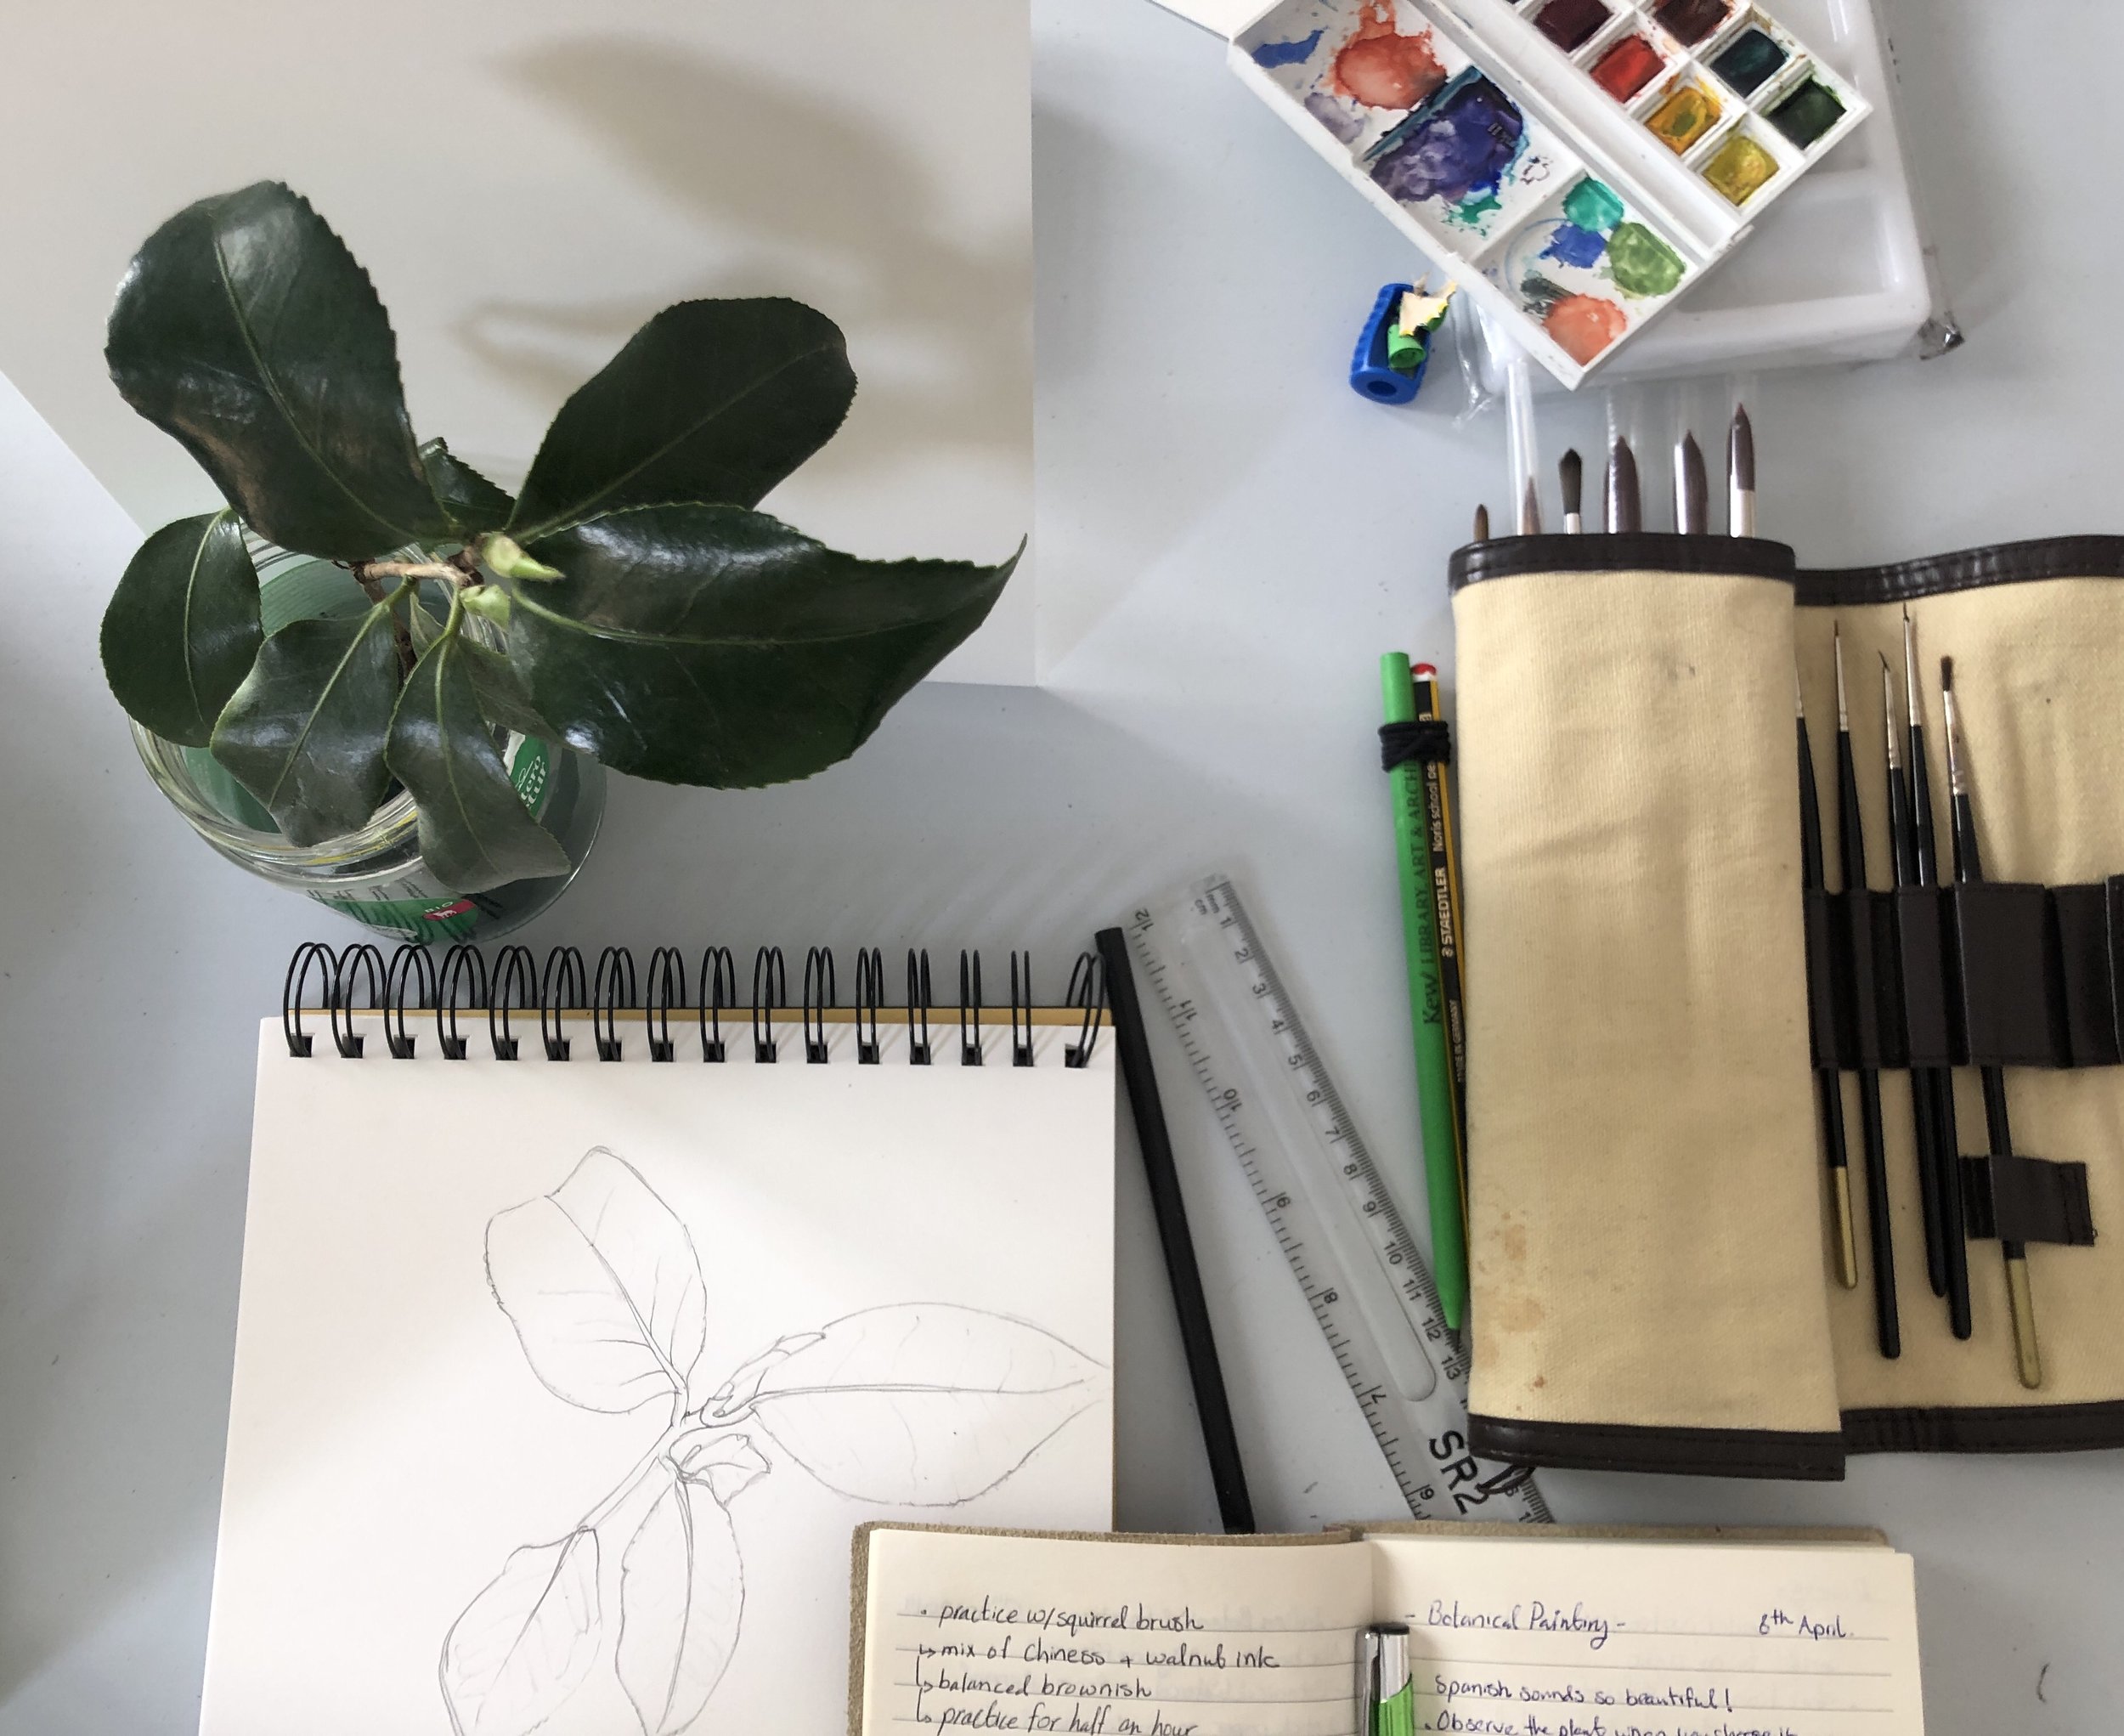
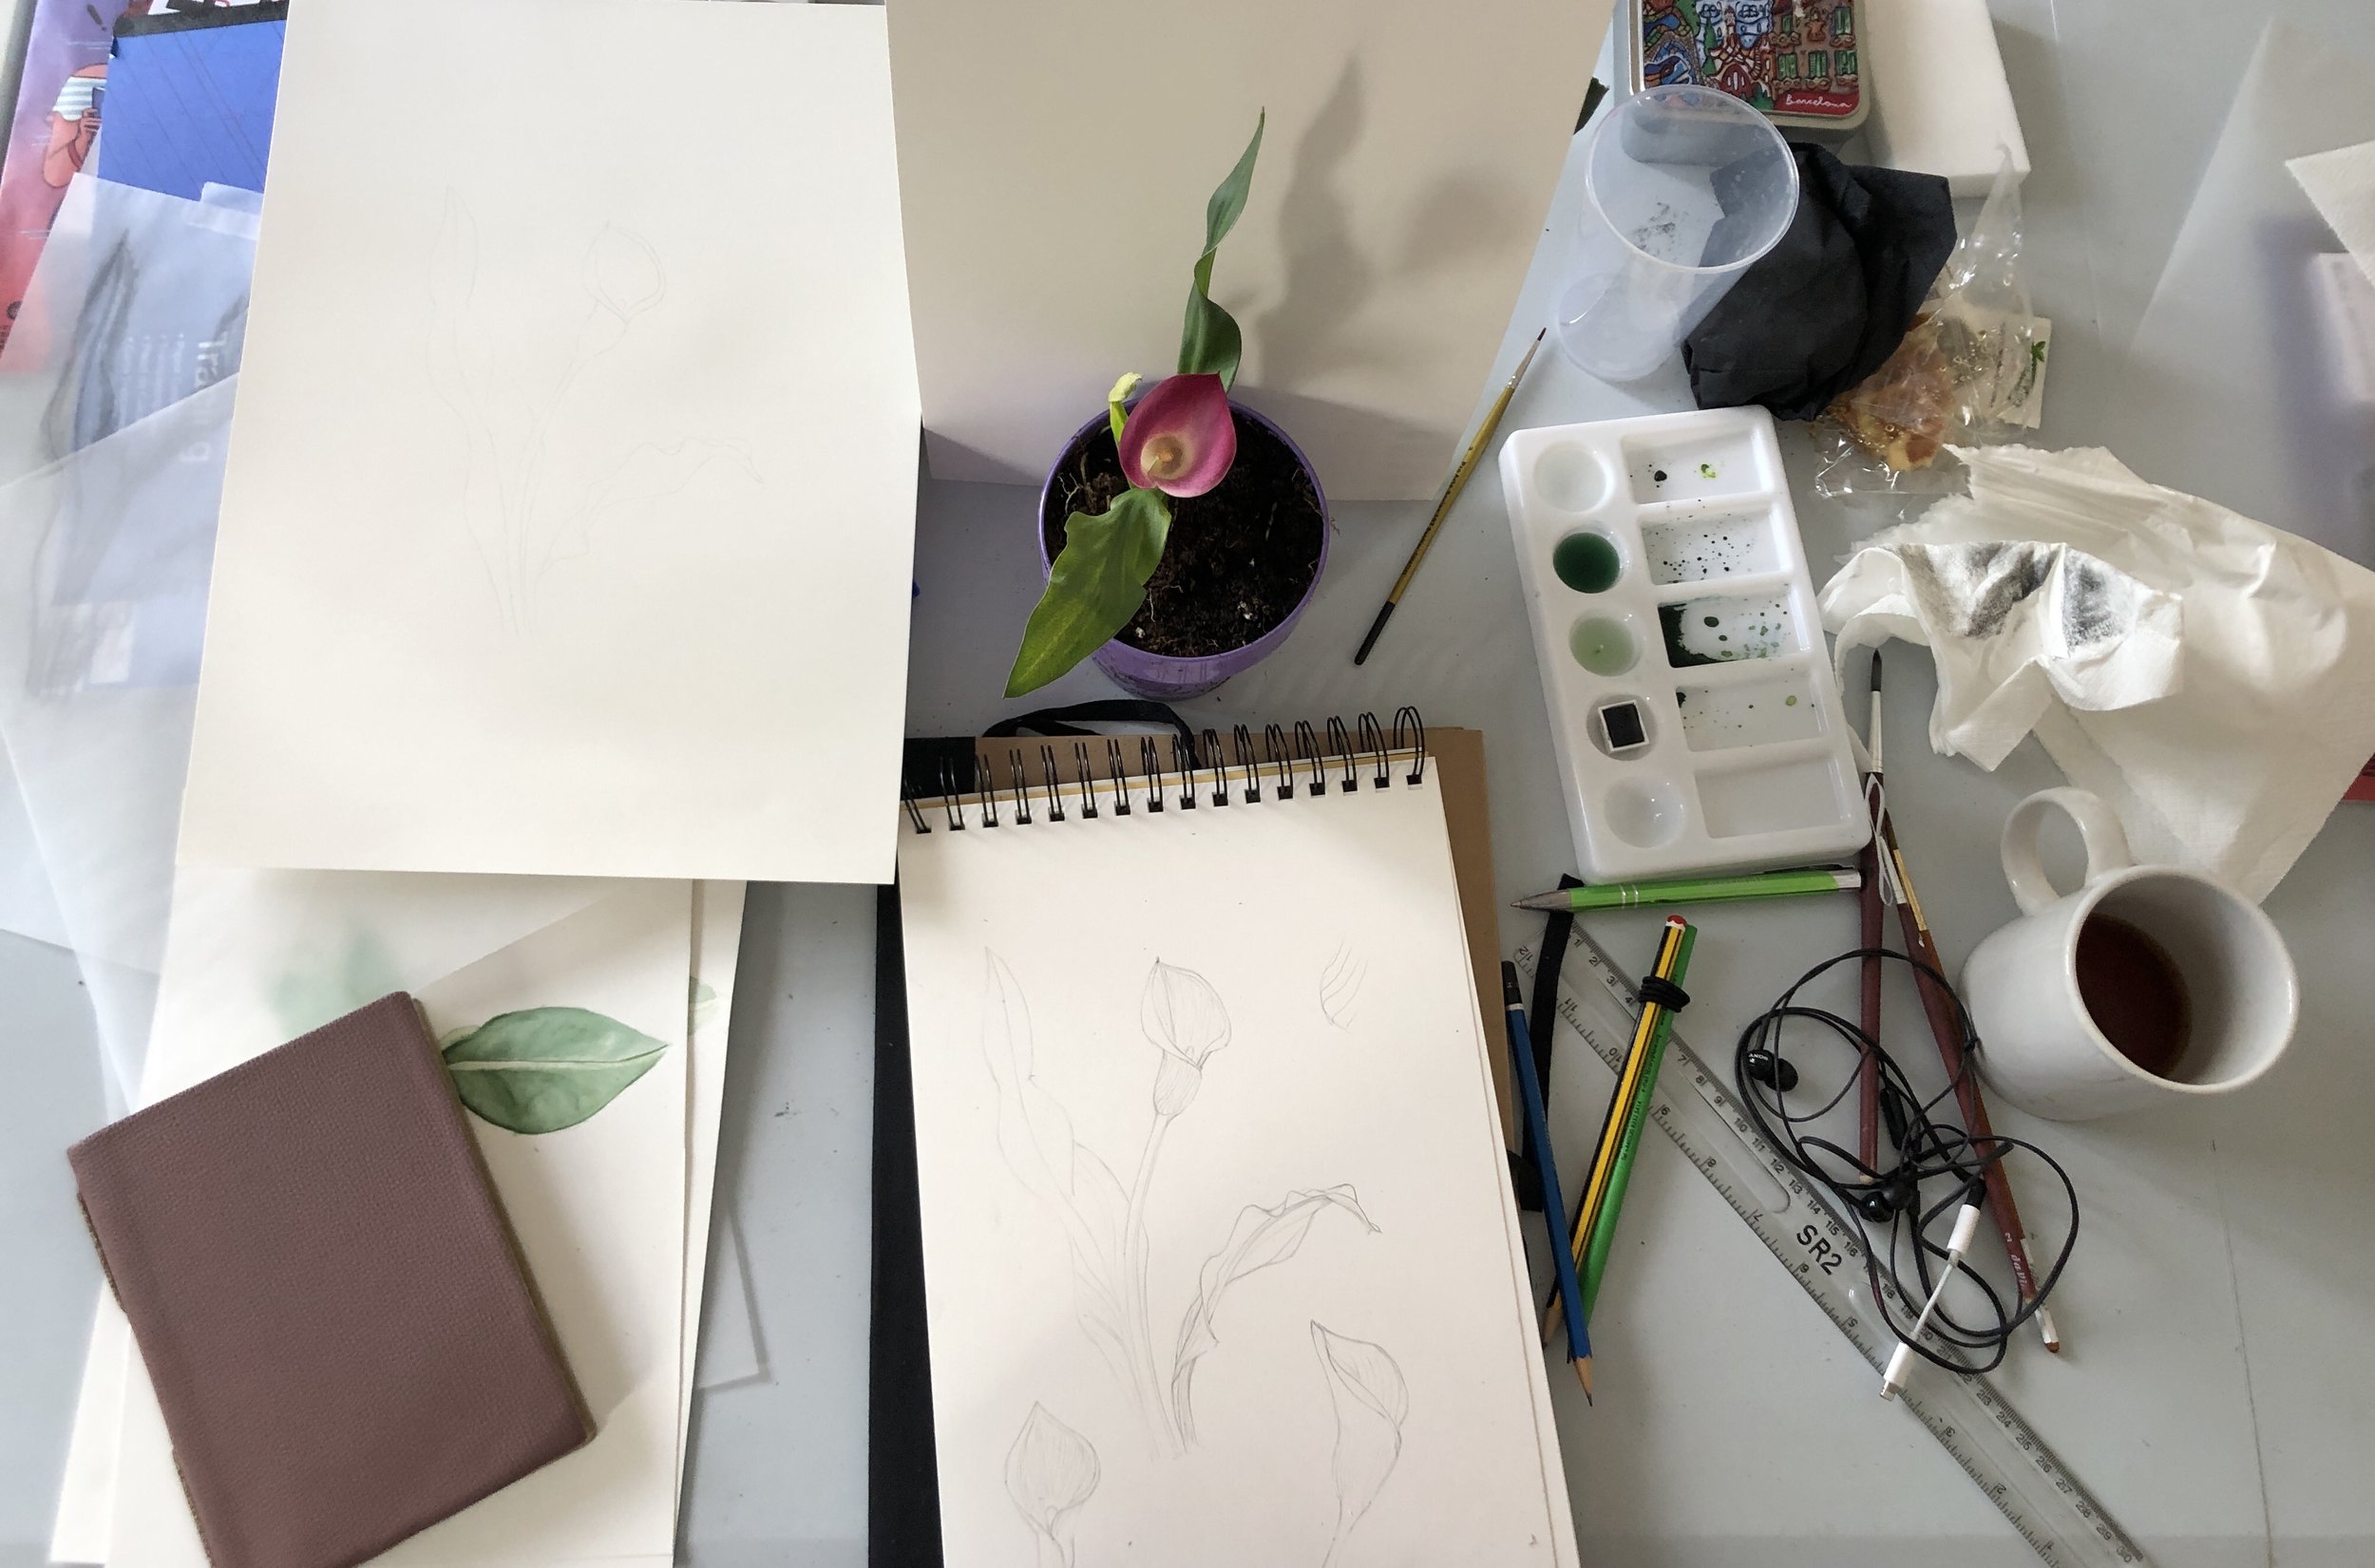
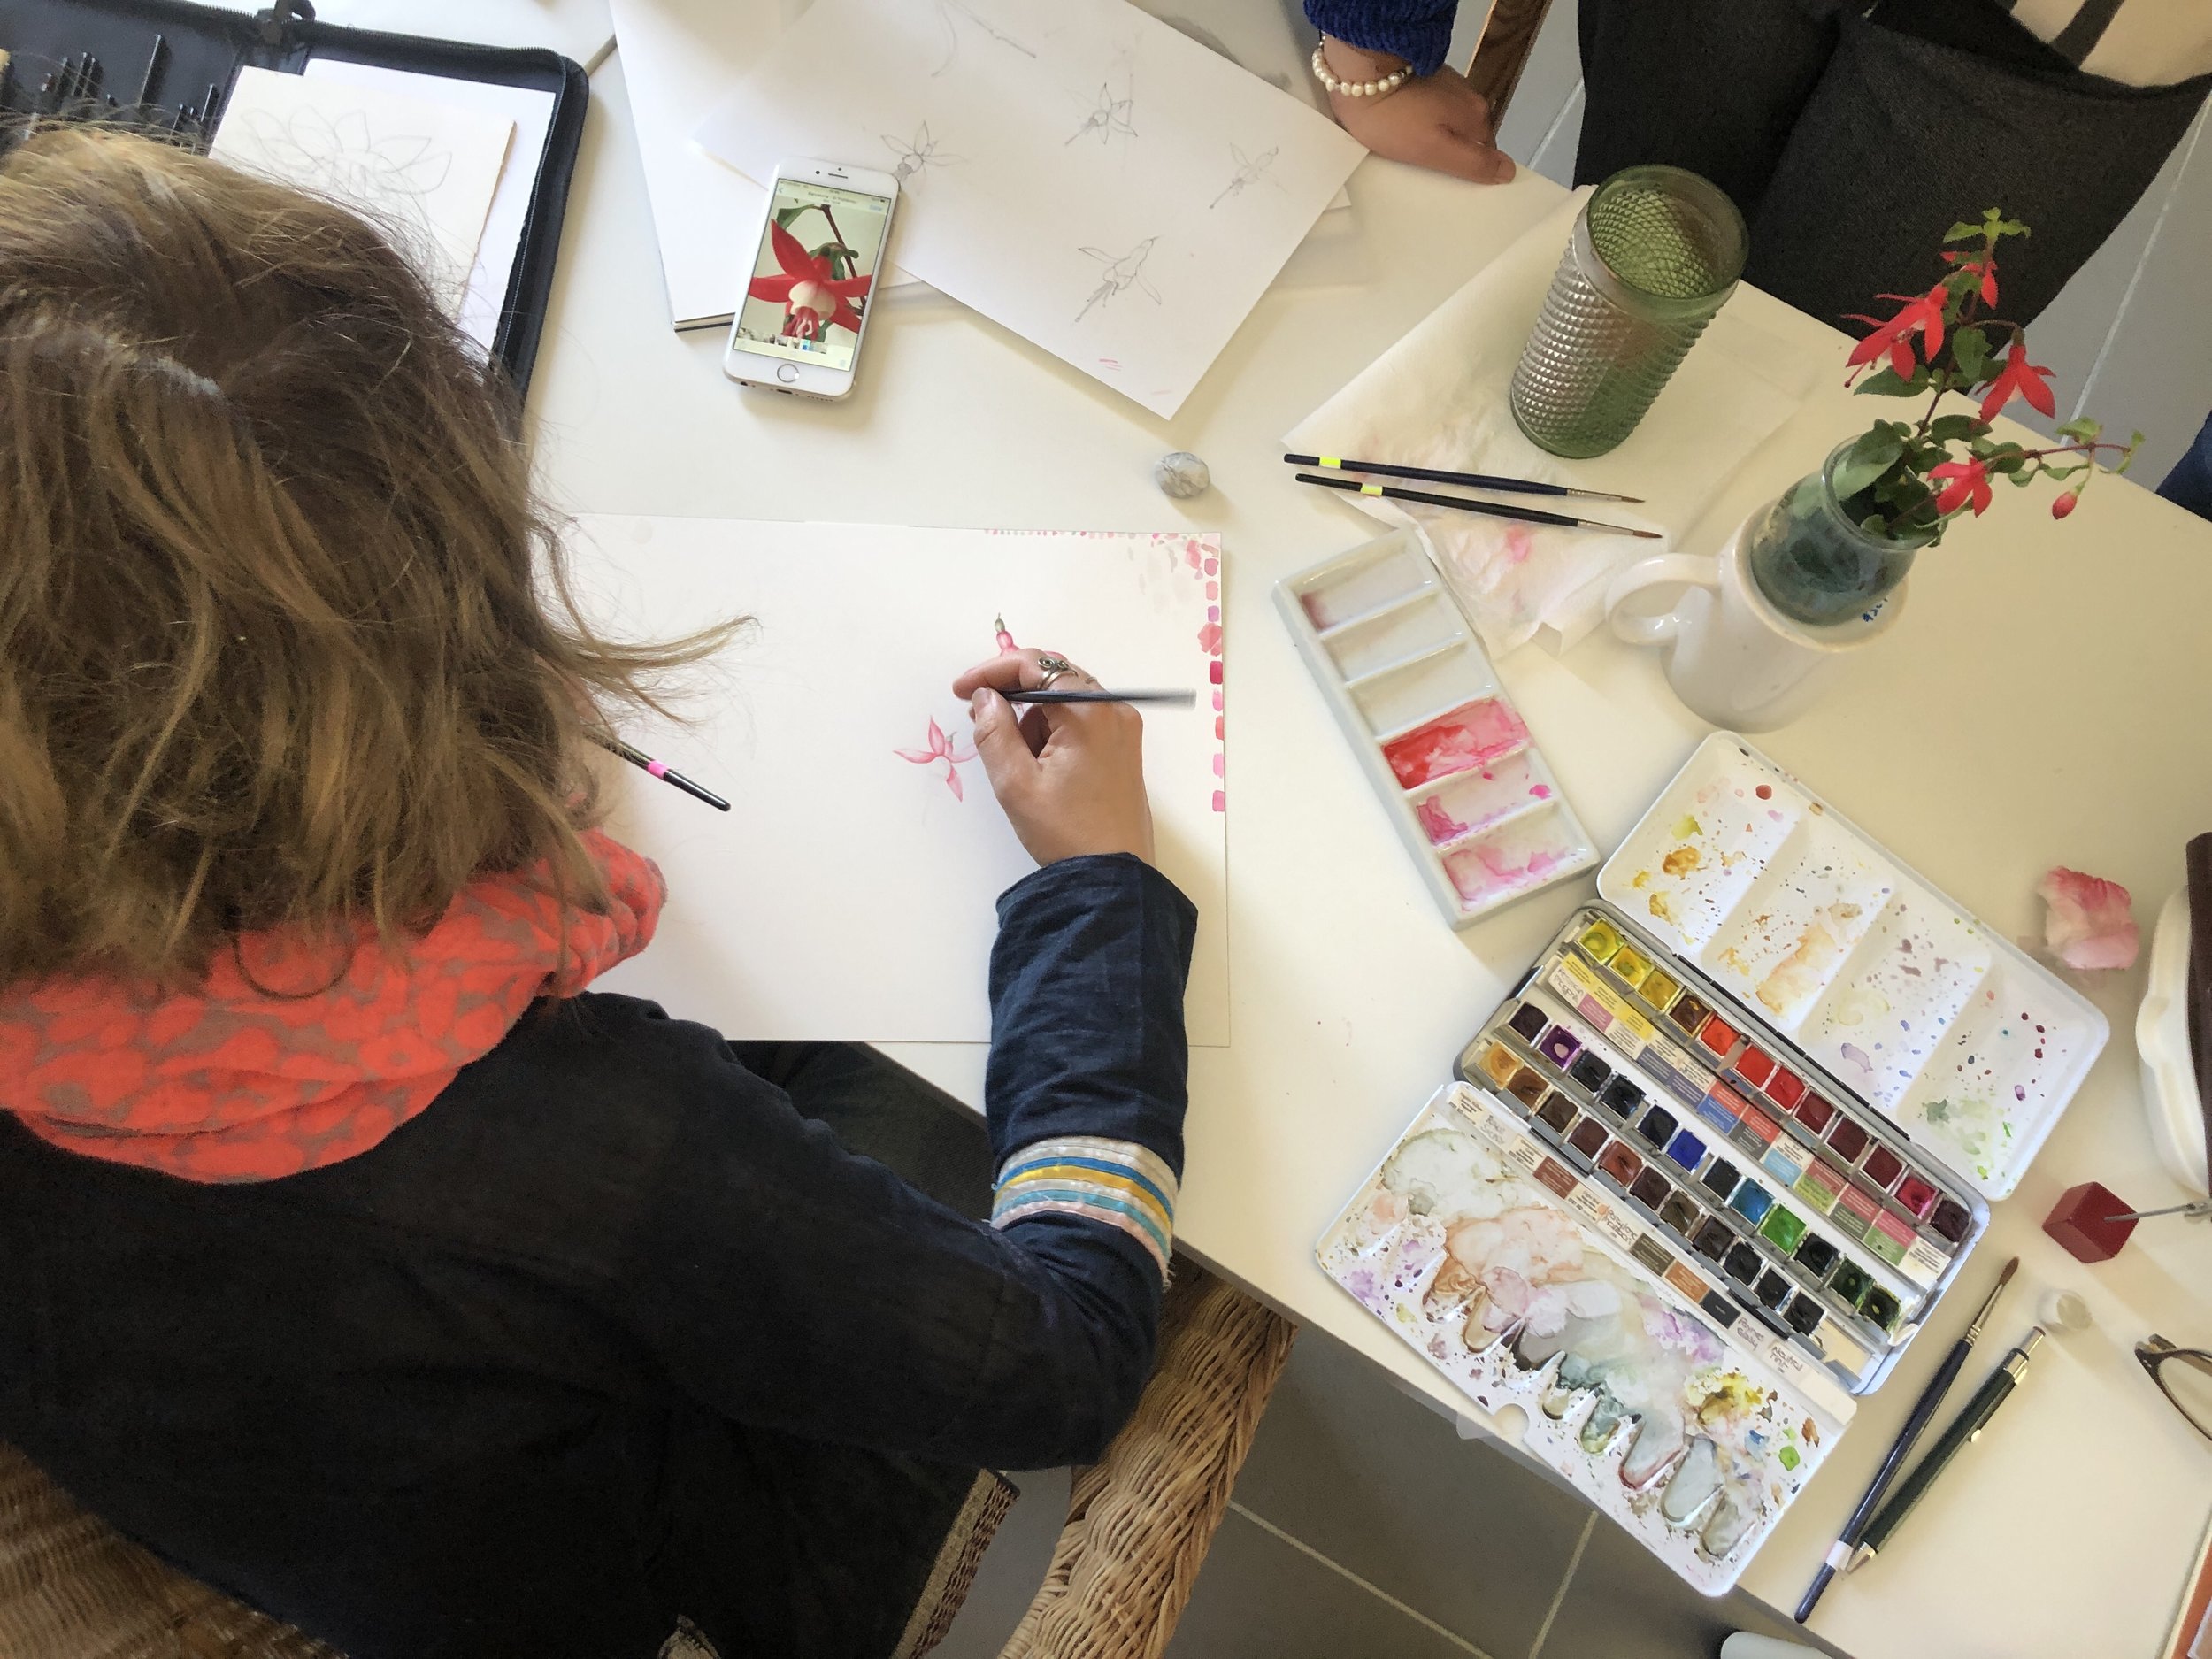
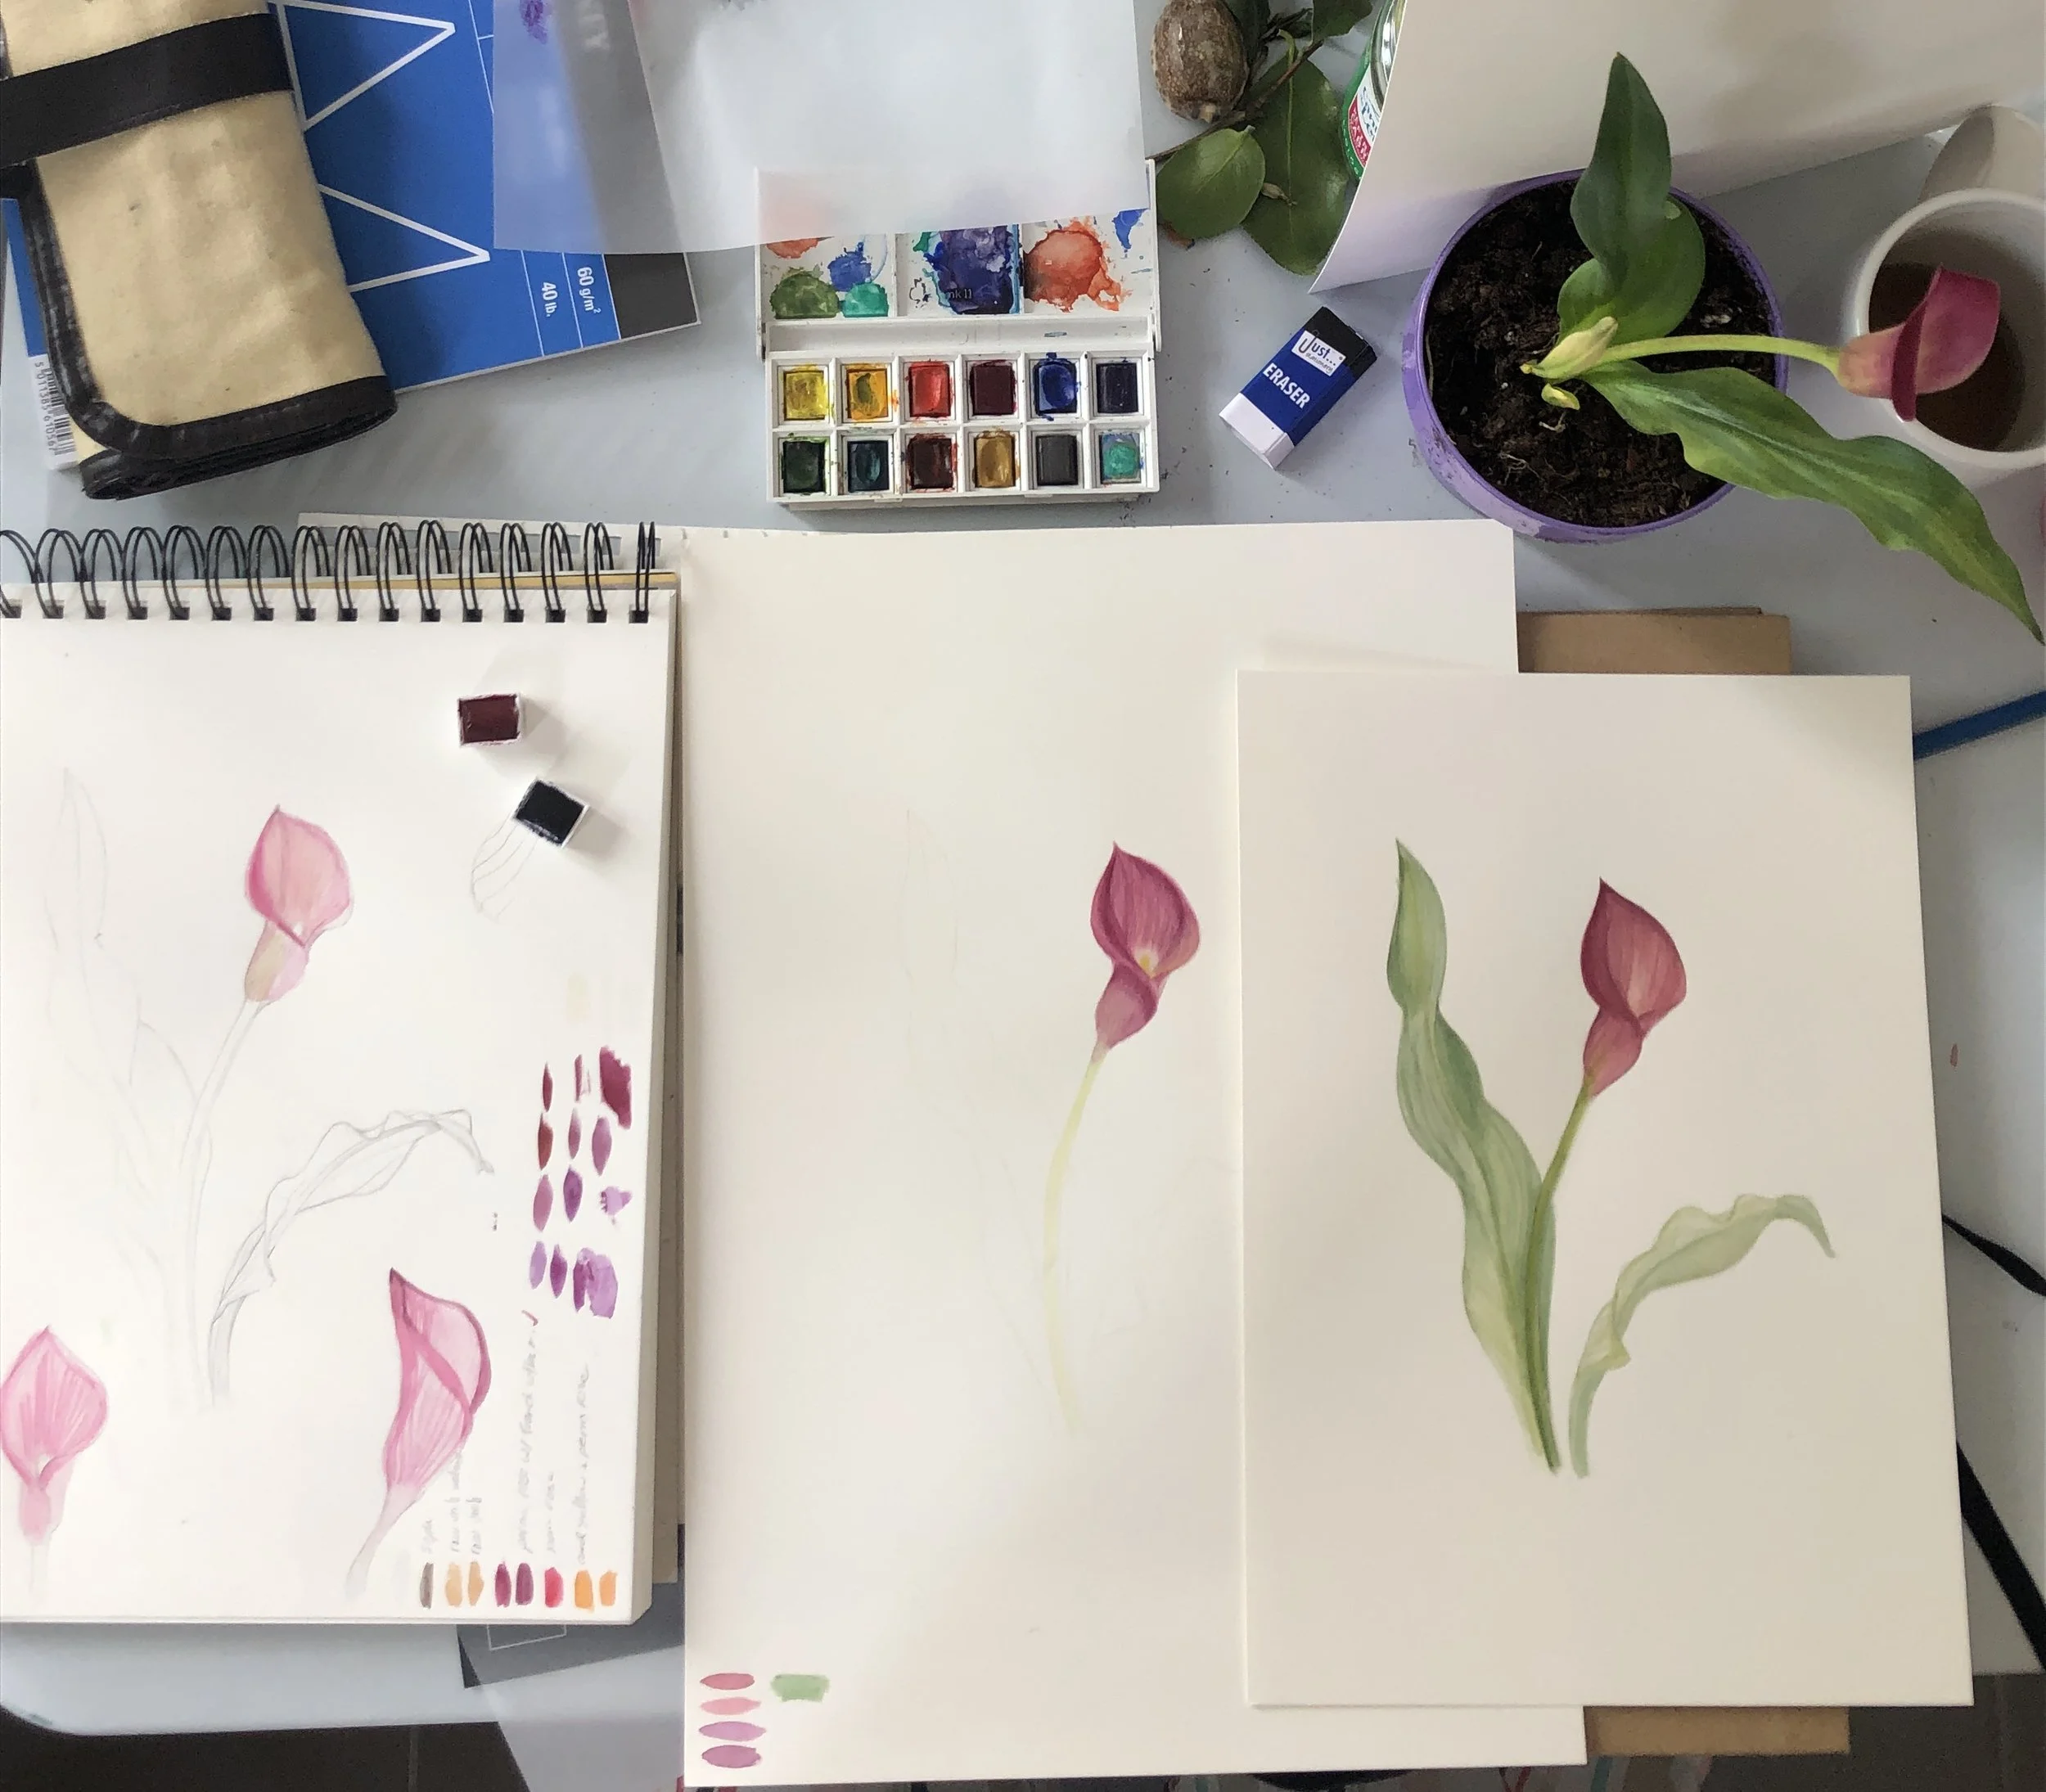
We started the class with having the plant right in front of us and we worked on a total of three plants. The first one we focused on the the leaves and in the other two, we focused on the actual flowers. The starting point was the same. The plant was placed in front of a blank white background with only one light source. Having only one light source is very essential to painting because later on, you will be following the highlight and the shadow you see on the plant. Also, we took a photo of the flower just because the natural sunlight changes. It might not seem like a big deal at first, but that slight change really matters for painting because you are following what your eyes can see. The main tool used to draw the plant, flower, specimen, subject was the pencil with the assistant of a a metal divider. You can use a compass or two pencils attached to each other with a headband (never let a lack of tools stop you!). There are two options you can take, you can follow the botanical way of accuracy, so you can deliver important information about the plant or you can do it as a creative practice. In this workshop, we tried to be as accurate as possible because botanical painting is not only about the beautiful result, it is also about conveying scientifically useful information.
How to paint botanical illustrations?
As mentioned above, you are going to aim for an accurate drawing to start with and you will take a photo as well with the right light you want to paint.
Trace your drawing on a tracing paper.
Transfer the drawing
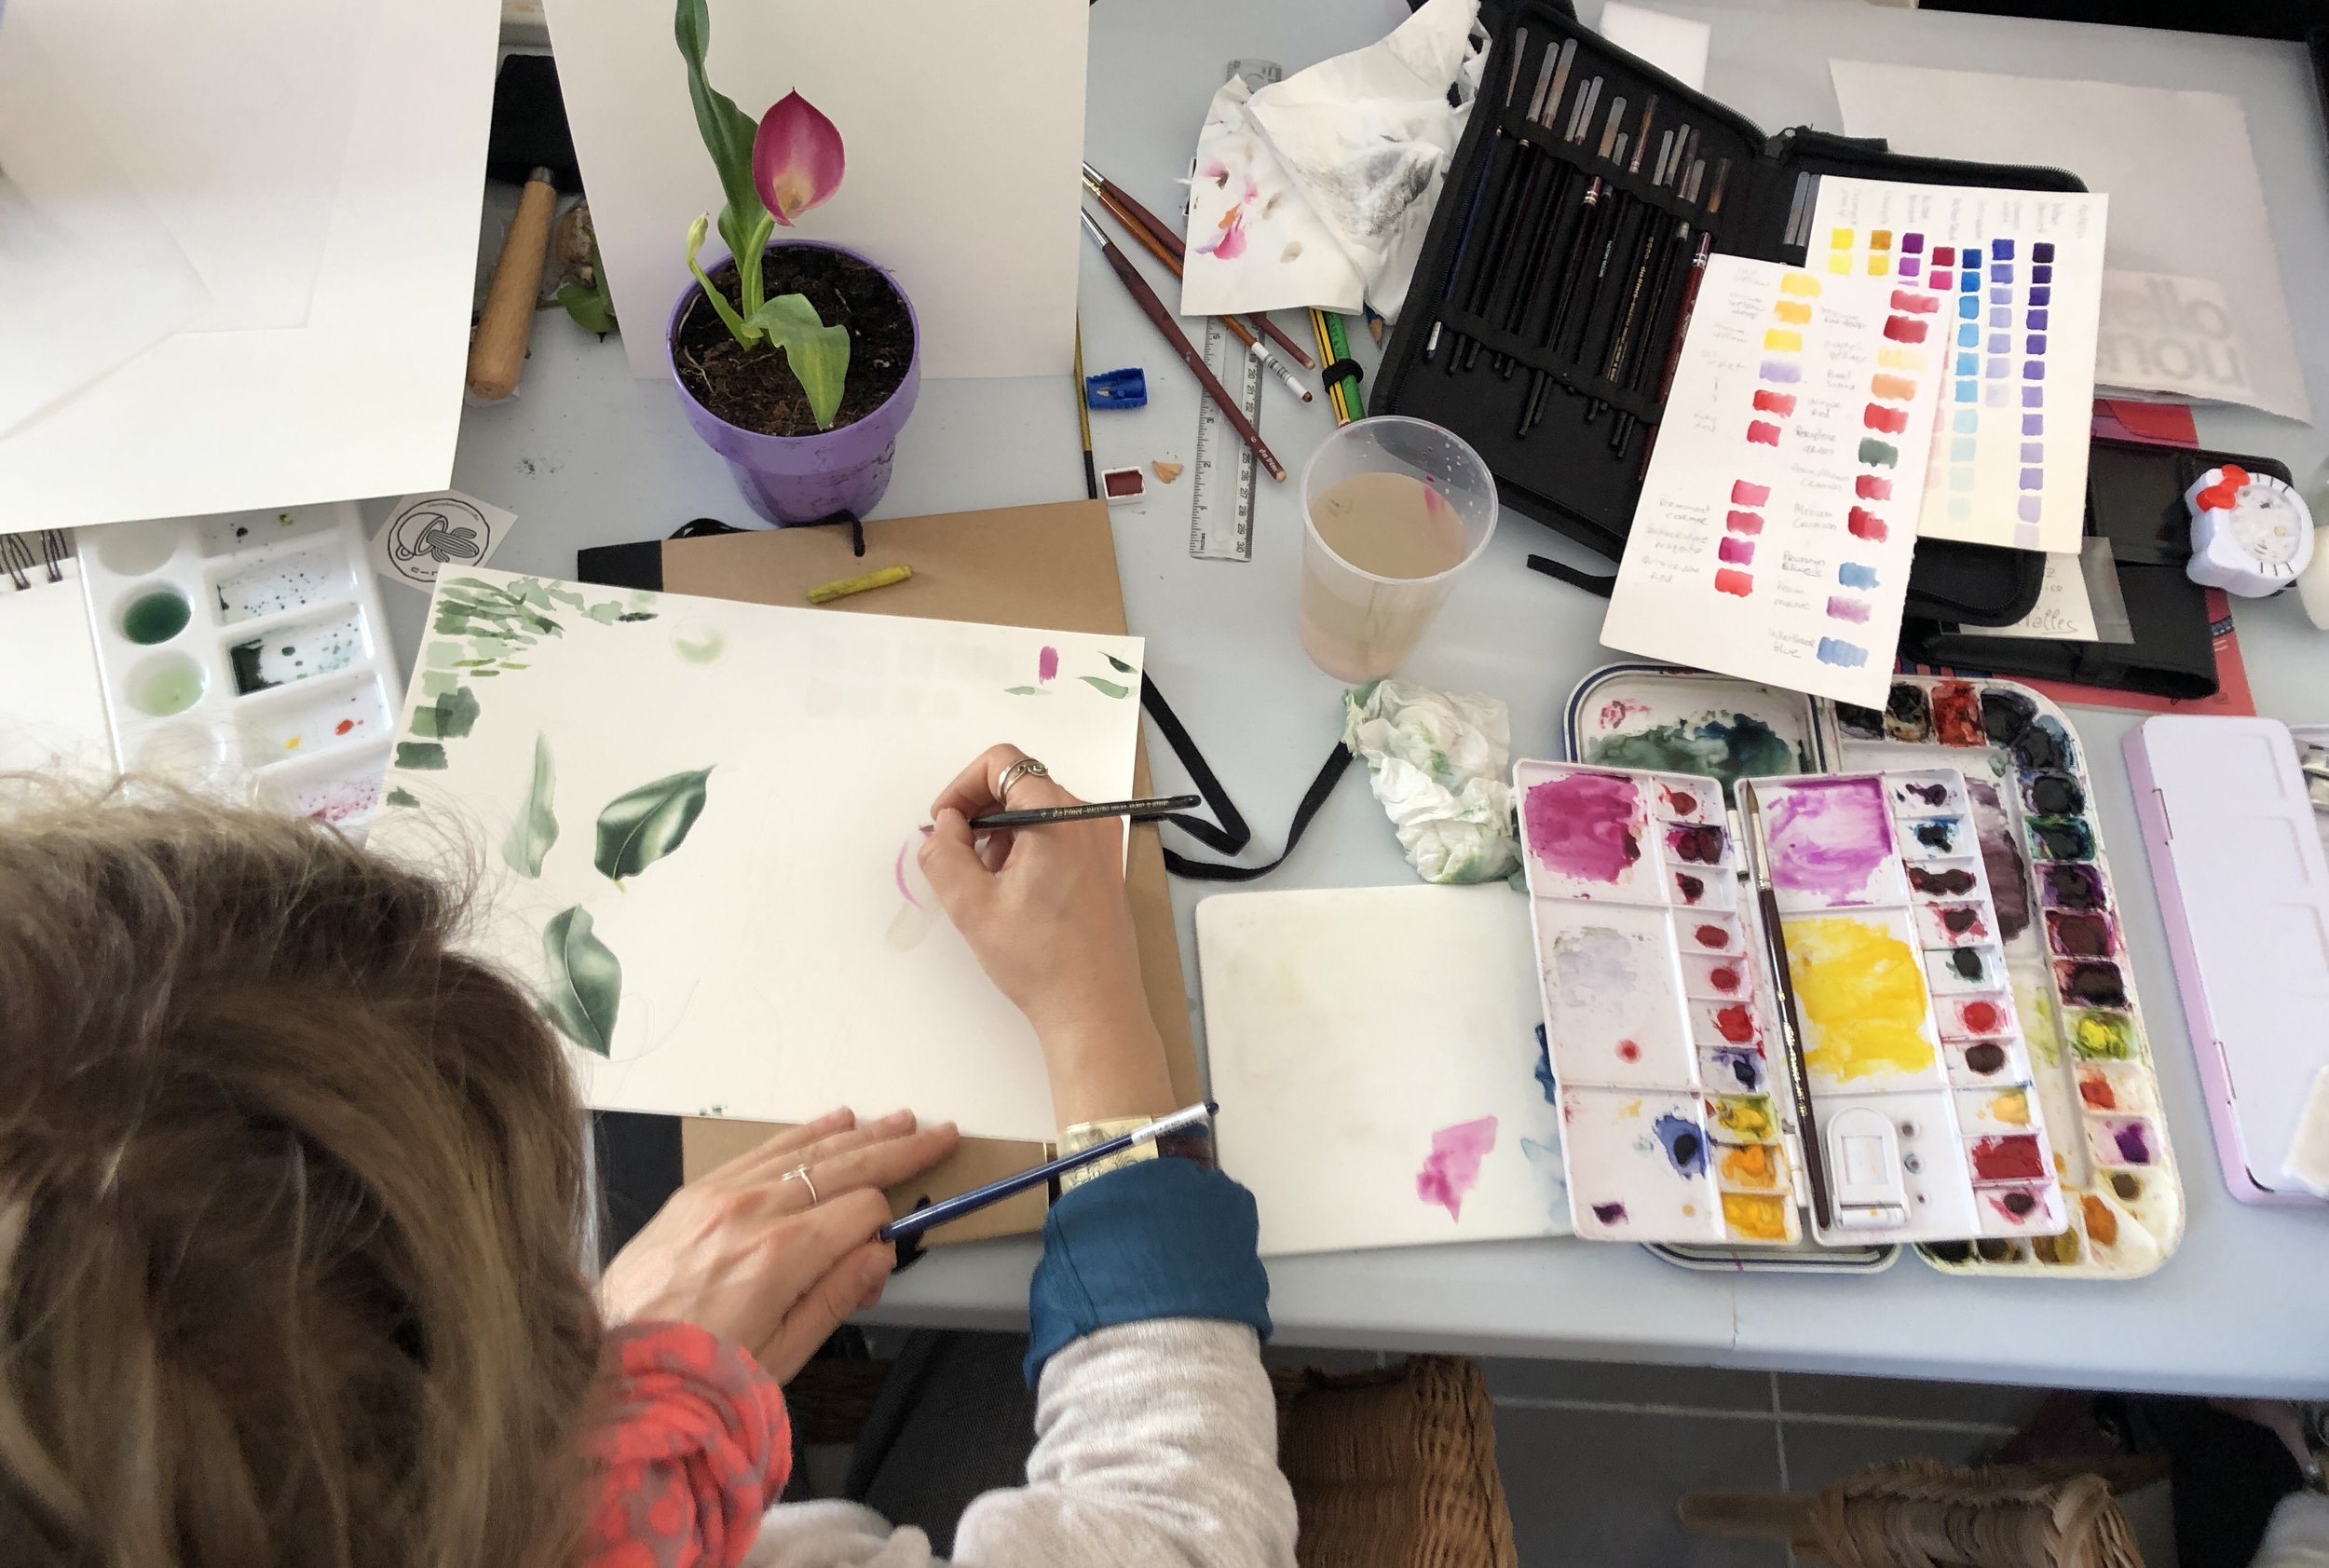
Put the tracing pencil face down into the drawing paper. There are a few ways to transfer just like I usually do with patterns of illumination. You have to make sure your pencil lines are very light because you don’t want your pencil marks to appear through your drawing.Mix your colours
With a limited colour palette of yellow, blue and reds/pinks, you will be able to mix the suitable colour. You can of course have all the colours under the sun, but when you learn mixing and what the ratio is like, you will have a really useful skill and you will understand the makeup of colour even more, which will help you later on in painting.Choose a colour palette
Once you mix the closest colours to you result and prepare shades of that same colour, make sure you paint those colour on the same paper to see how they dry. Testing on a different paper type might give you confusing results.Start with your first layer of paint
There are two styles of painting: dry or wet and the technique I learnt in this workshop was focused on wet painting, where you start with a painting a layer with a damp water brush and then applying the lightest shade of the colour. We worked with two brushes. A brush with the colour and a brush for the water to move the colour freely and to soften all the harsh edges.Wait for the paint to dry
If you keep applying wet layers, you will ruin the paper and the balance of the colours you are applying, therefor you have to be patient and wait for your paint to dry before applying the next layer. If you had more than leaf then apply that same two layers on all and that will give the painting time to dry as you work. I saw a botanical painter on instagram using a hairdryer, so that’s something for you to consider if you work fast.Build the layers from light to dark
Botanical painting is all about layer and about observing what your eyes can see from the very small details in front of you. Even the direction of your brush need to be considered and needs to follow the natural lines that appear in the leaf or the petal. Sometimes it takes 20 layers to get all the details right.Add the darkest colours last
After you build your layers, you would need some last touches and you will add the darkest colours last, but keep in mind that you might not need that exact colour to get to the result you want. For example, if all your layers were red and pink and your darkest colour is purple, you would only need some indigo instead. This is where the colour understanding mentioned above comes to play.

What tools do you need for botanical painting?
All you need is sketchbook, pencils, tracing paper, hot press watercolour painting paper and watercolour paint. The thing is that a lot of artists have special tools that they prefer and like more than others and that comes down to the artist herself.
All links below are affiliates, which give me a tiny commission with no extra cost to you, so I can continue to bring you free educational content.
For example, the teacher of the class I attended Isik, prefers Arches hot press paper 300gm , where my previous teacher Jess preferred Sanders paper 460gsm and above. As long as the paper is thick enough for the multiple layers you want and do, then that is good. You might have to get more than one paper type to test it. I bought some paper with the same requirement from a different brand and it wasn’t that great, so it is all a matter of testing to see which paper type works best for you. This goes for watercolour as well, there are various brands and each artist likes different ones, but the most popular is Winsor and Newton because they have a good reliable range, which is mostly affordable. Same goes for brushes, there is always a debate about sable brushes or synthetic. Best why to know what works for you is by trying it yourself.
Botanical painting usually starts with the eight steps I mentioned, but a lot of it has to do with observation, light and shadow and accurate details. Each flower and each colour palette will present a new challenge, but most things can get better with constant practice. Although, I have taken two painting classes now, the practice is just starting and I look forward to paint the flowers I see around me this summer!
More Blog Posts:


Find me on instagram:

![[Pigments & Handmade Watercolour]
The first time I was told about making my own watercolours from pigments, I was confused and thought why would I ever need to do that with such an abundance of choices out there in the shops, but something clicke](https://images.squarespace-cdn.com/content/v1/5723e7f53c44d8676af44a5a/1593364075353-5E6JVA2WRDFXW55RLU86/image-asset.jpeg)
![[Copyrights & watermarks] ⤵️
.
.
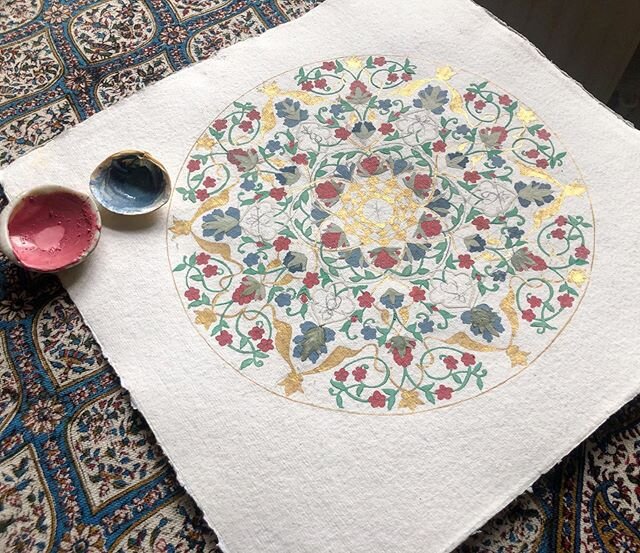
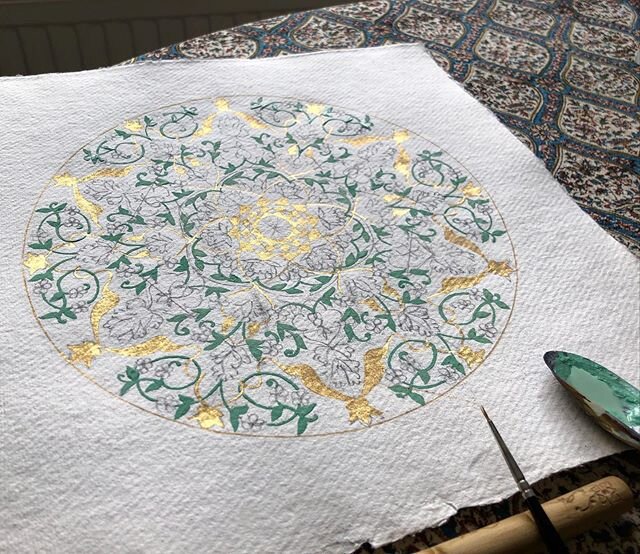
22ct gold added✨ & this lovely brush stand is made from the garden rosewood by @fidget_one 💛🙏🏻
.
.
“You should put a watermark” someone told me, but it’s not the first time I get told &ldq](https://images.squarespace-cdn.com/content/v1/5723e7f53c44d8676af44a5a/1591790274366-15MOG8GA6UAJXTH7SWW9/image-asset.jpeg)