Botanical Indian Miniature
In April 2019, I attended the Botanical Indian Miniature class in the Prince’s School of Traditional Art, PSTA, here in London. I was so excited to finally be able to attend a class about Indian miniature! It is been an area that I wanted to learn about for so long! My main motivation was the botanical subject because as you know I have already attended the Botanical Illustration and Botanical Painting classes earlier this year. I was very eager to see the technique and improve my shading to create better Islamic illuminated patterns with beautifully shaded flowers.
The class was taught by Sam Buckley, a British female artist who has trained in Indian miniature in India for a year and also graduated with a Master’s from the Prince’s School of traditional arts. She is a very good artist and a lovely person. The course was spread over four Saturdays and it was from 10am to 4:30pm with an hour for lunch. I am always worried when classes are weekly and spread over a month and a half because the weekends are usually very busy for me. I made it work for the most part, but had to miss one of the four :( sad times. So, I am not sure I will be doing Saturday classes again. They are too much of a commitment!
Regardless, let me tell you all about the class and what I learnt from it because I got so many messages about it when I shared that I am taking it! The post is going to be a review of the class and the methods I learnt.
What is Indian miniature?
Indian miniature is an art form that developed during the Mughal period in India during the 16th-18th centuries. It started as decorative elements in sacred and secular manuscripts, but then it became it’s own style. It is influenced by various arts that were already there during the time.
Read: The Art of the Mughals after 1600
Also read: The Astounding Miniature Paintings of India’s Mughal Empire
How to paint a botanical Indian miniature?
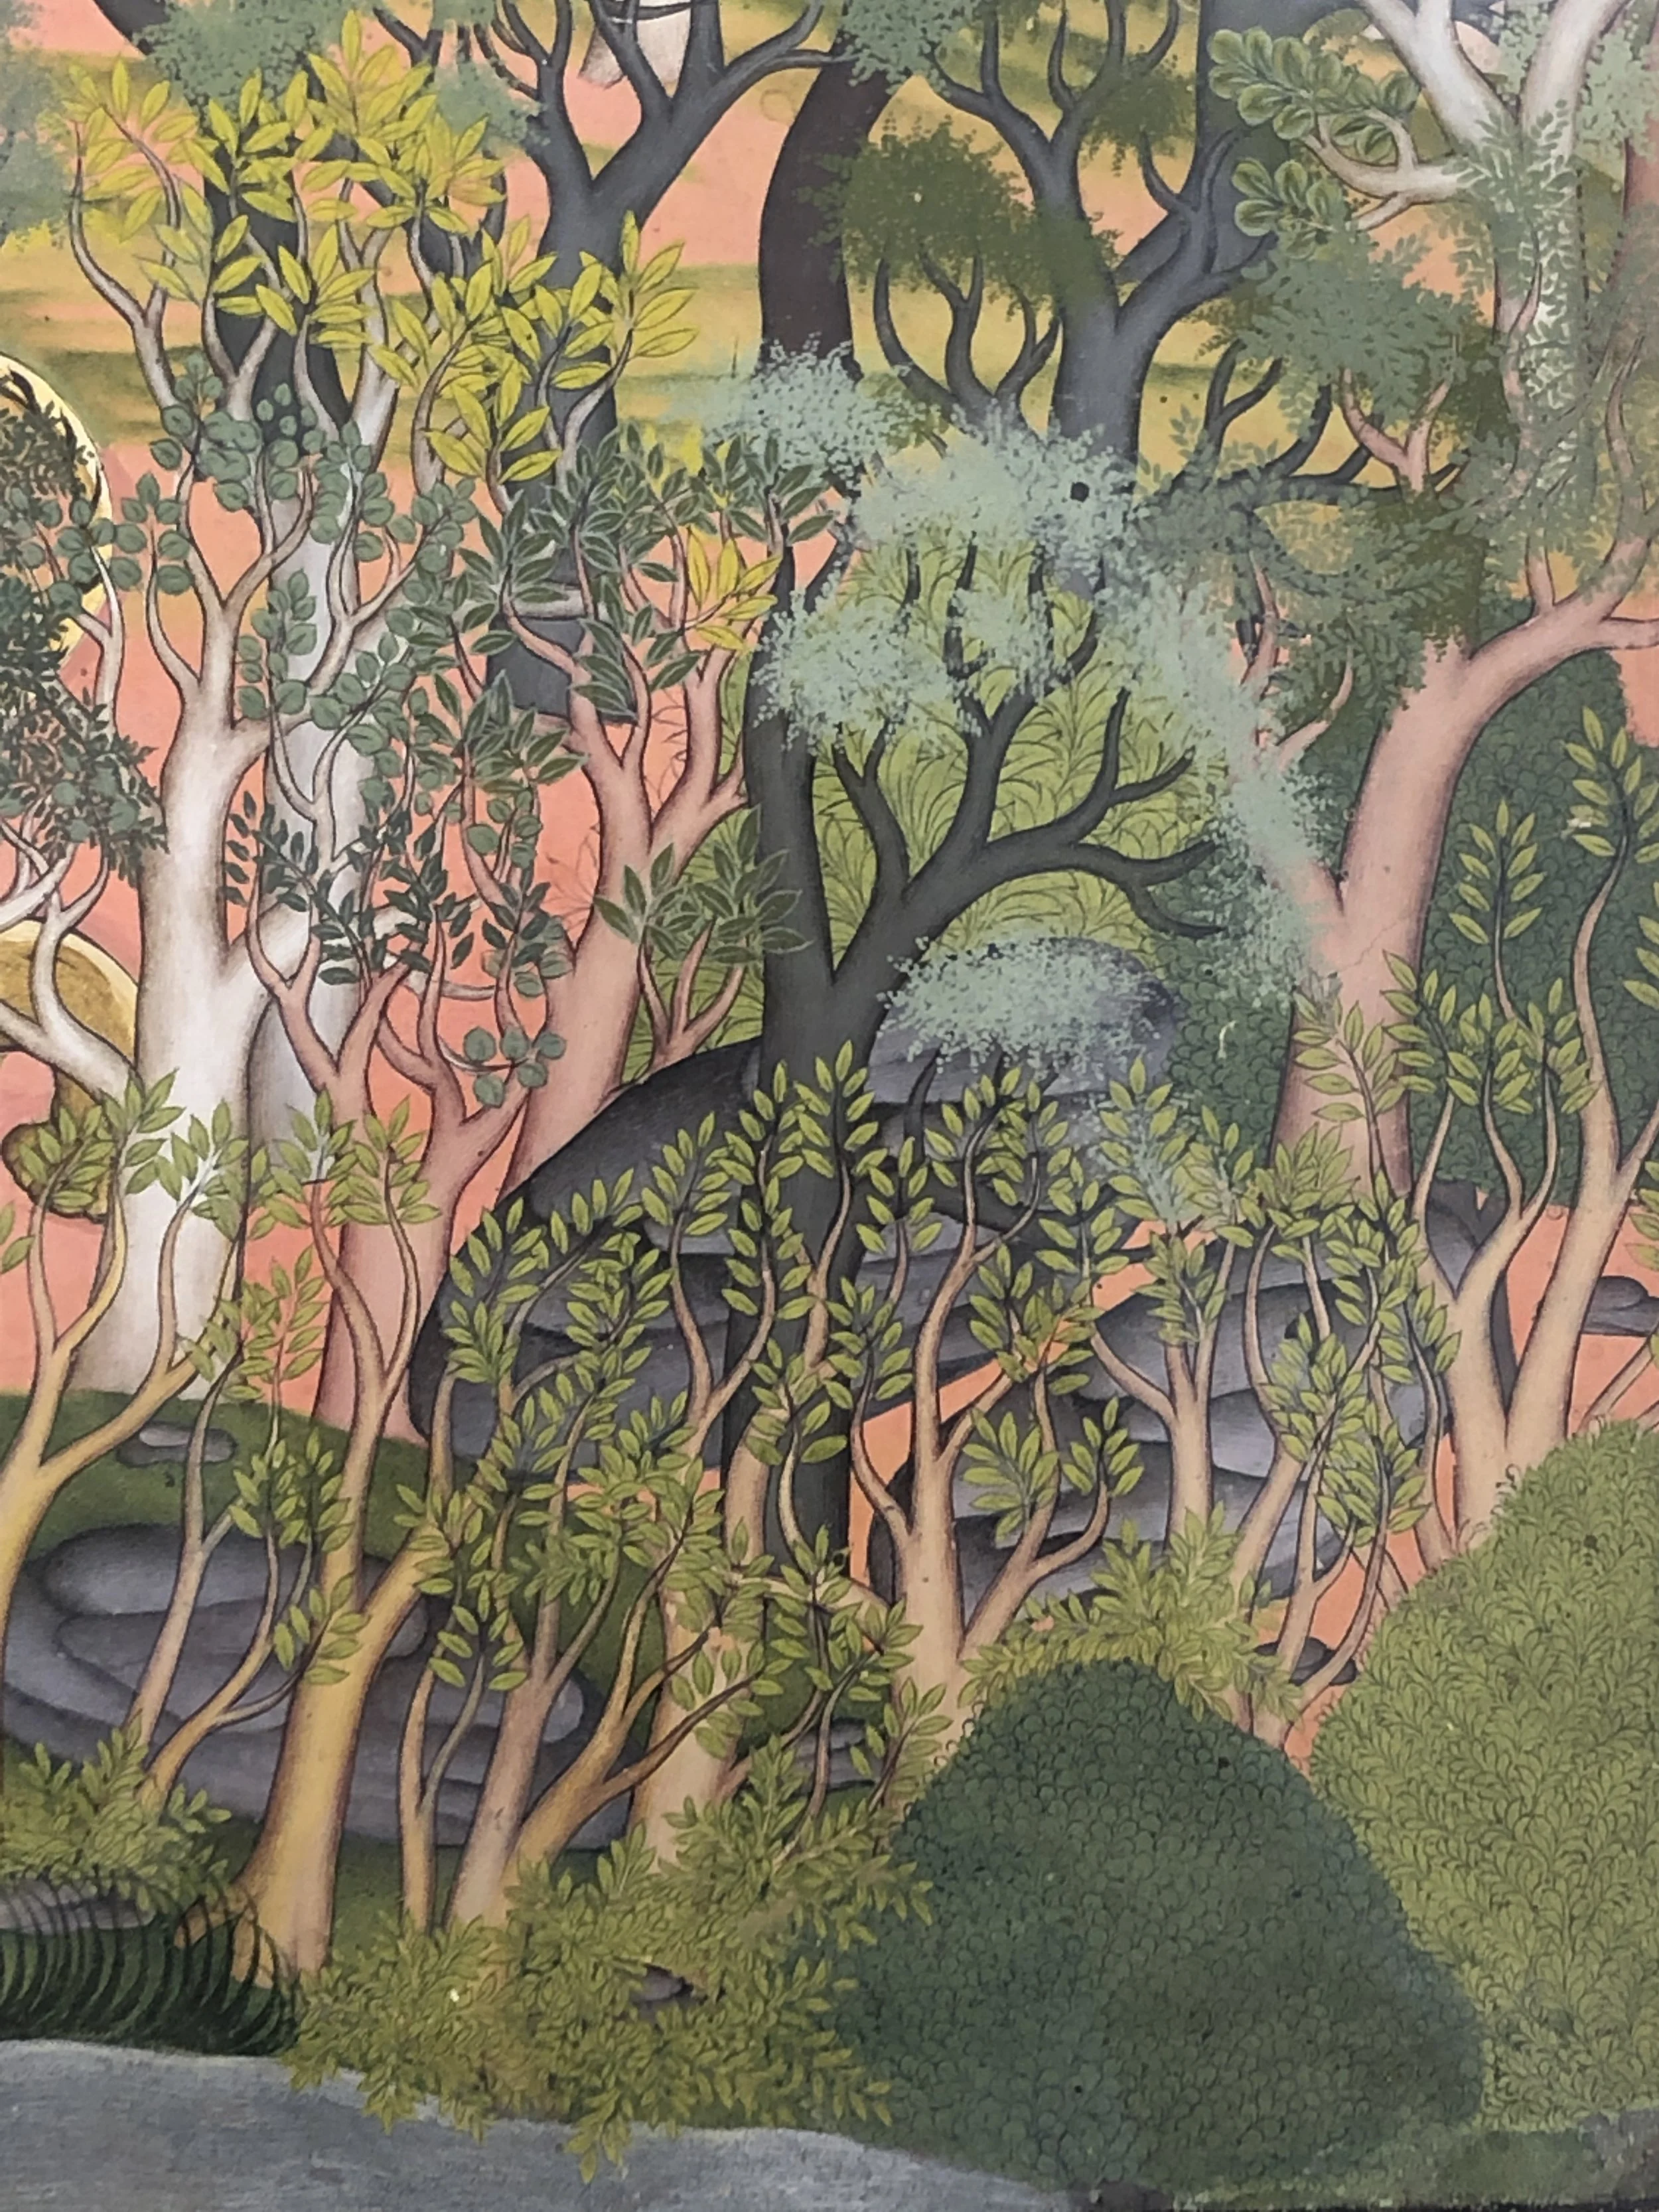
The subject of botany in Indian miniature is different than the how it is portrayed and painted in European/Western botanical studies. The subjects in Indian miniature are stylised plants and trees that are more focused on the aesthetics and the beauty of nature rather than the scientific aspect. As the name suggests a lot of the miniature work is done on a small scale with very fine brushes.
Week one of Botanical Indian Miniature
Preparing the paper
The first task during the class was preparing paper and that task lasted almost the whole morning.
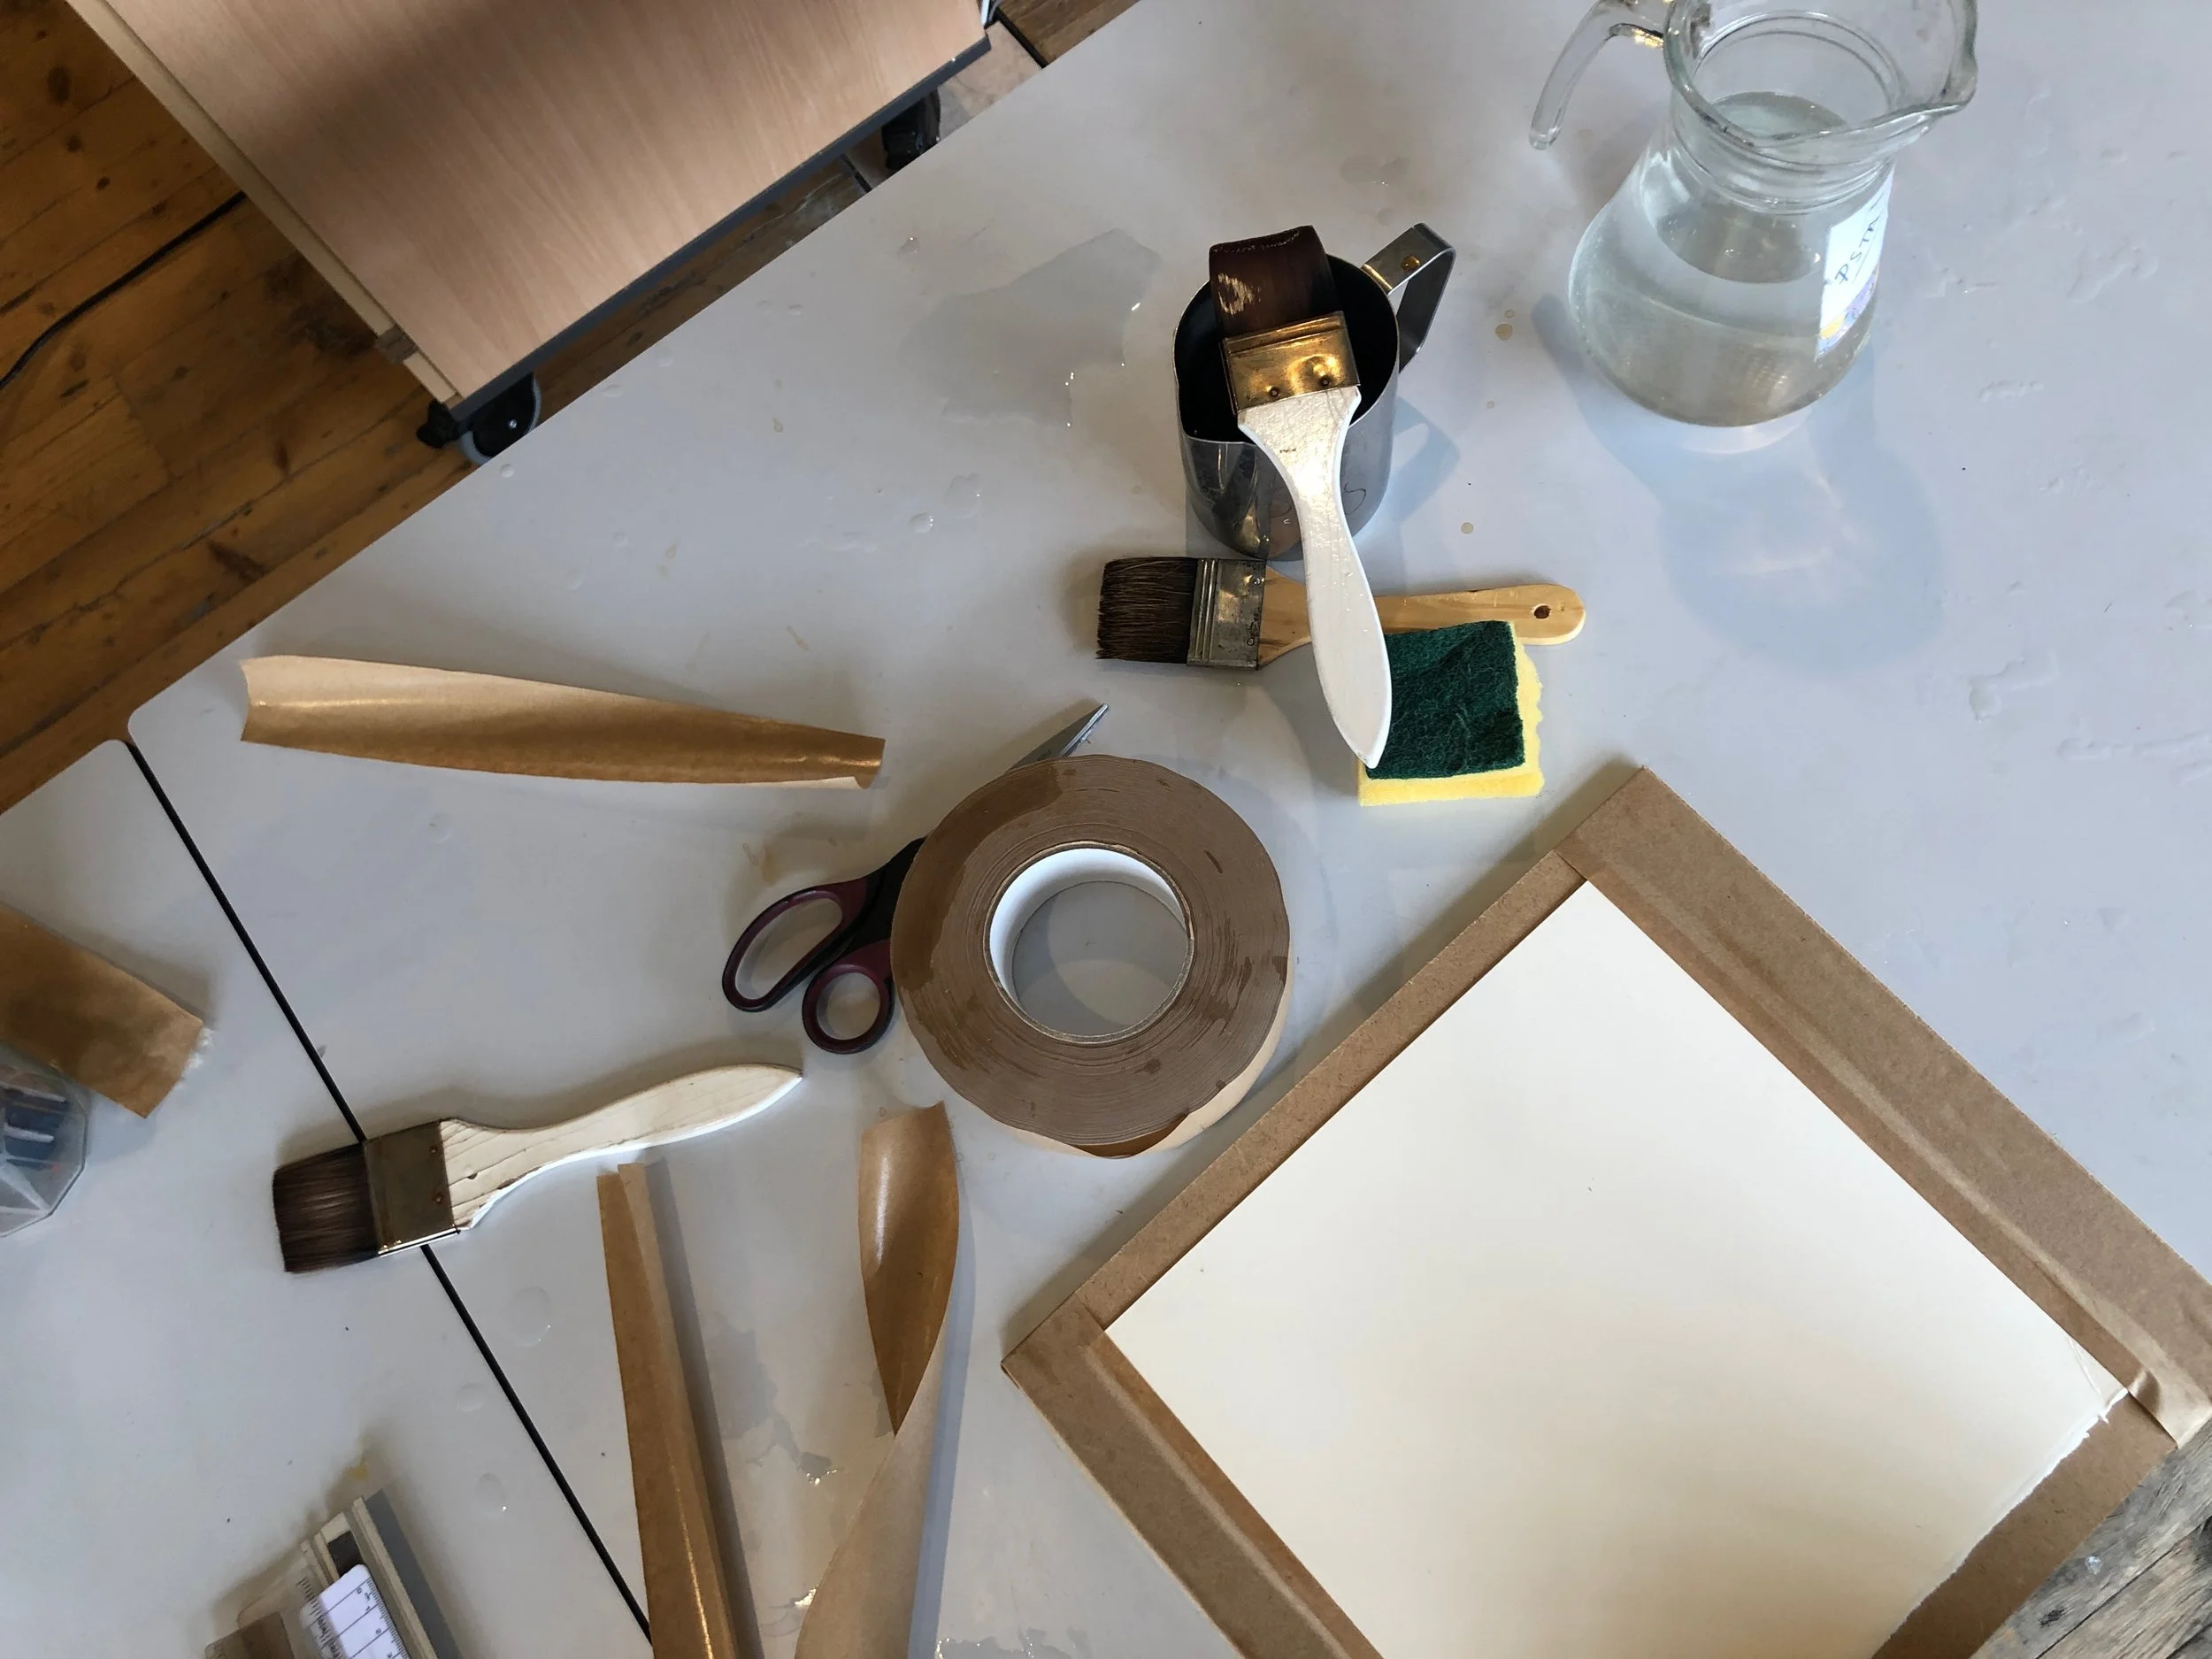
I previously spoke about paper preparation in the Persian Illumination tutorial and I also have a video about paper prep. We fixed the hot press 425 gsm Saunders Waterford watercolour paper on a wooden board to stretch it like the photo below.
We only did two things to the paper. First we stained it with tea. Second we burnished it for 40 minutes with burnishing stones, which can be replaced for smooth shells or smooth surfaces. The whole point was to treat the paper and have a very smooth surface to paint on. You have to be careful when burnishing not to do it too hard and scratch the paper. The burnishing stone was actually getting too warm from the friction, but the result was worth it.
Finding the subject
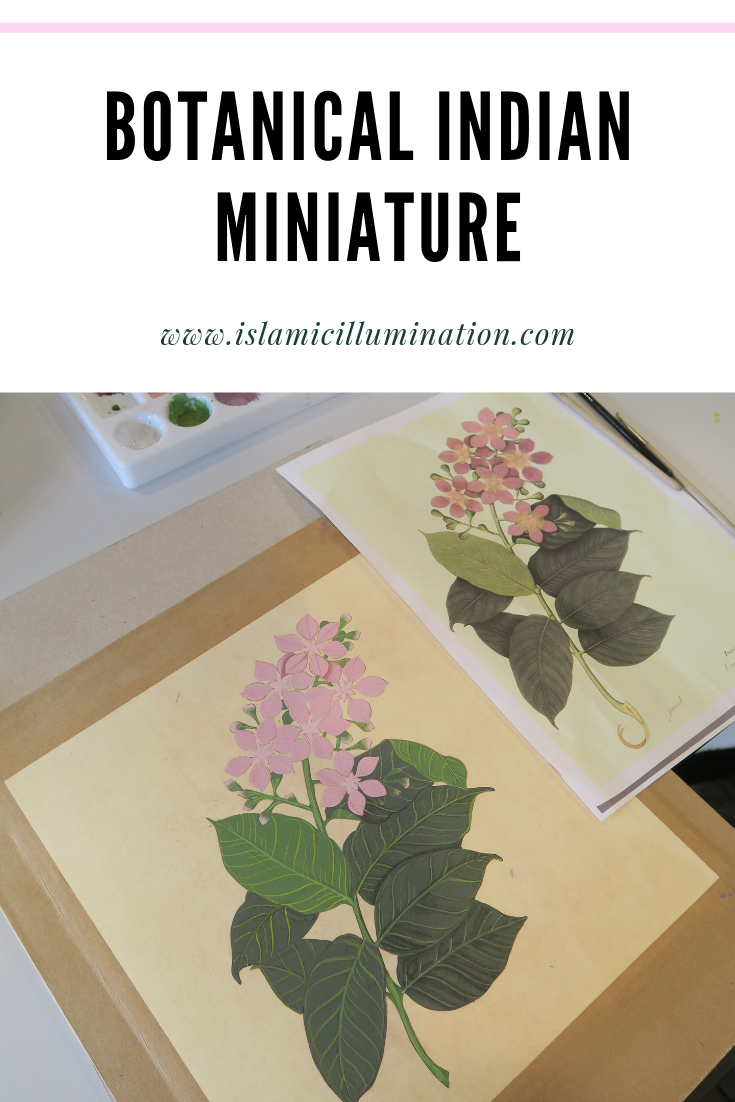
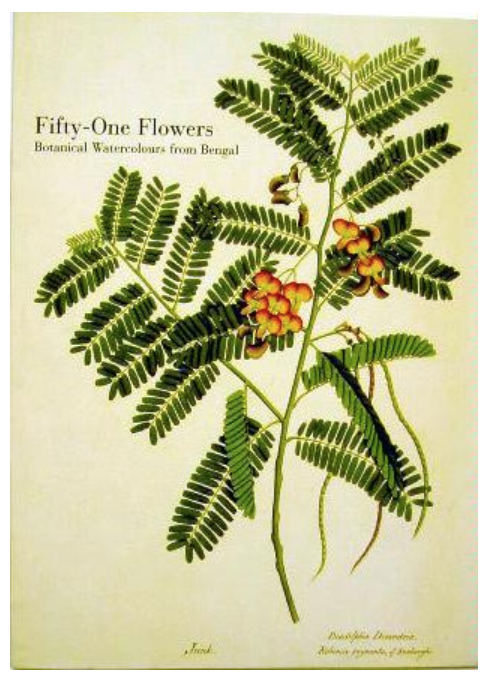
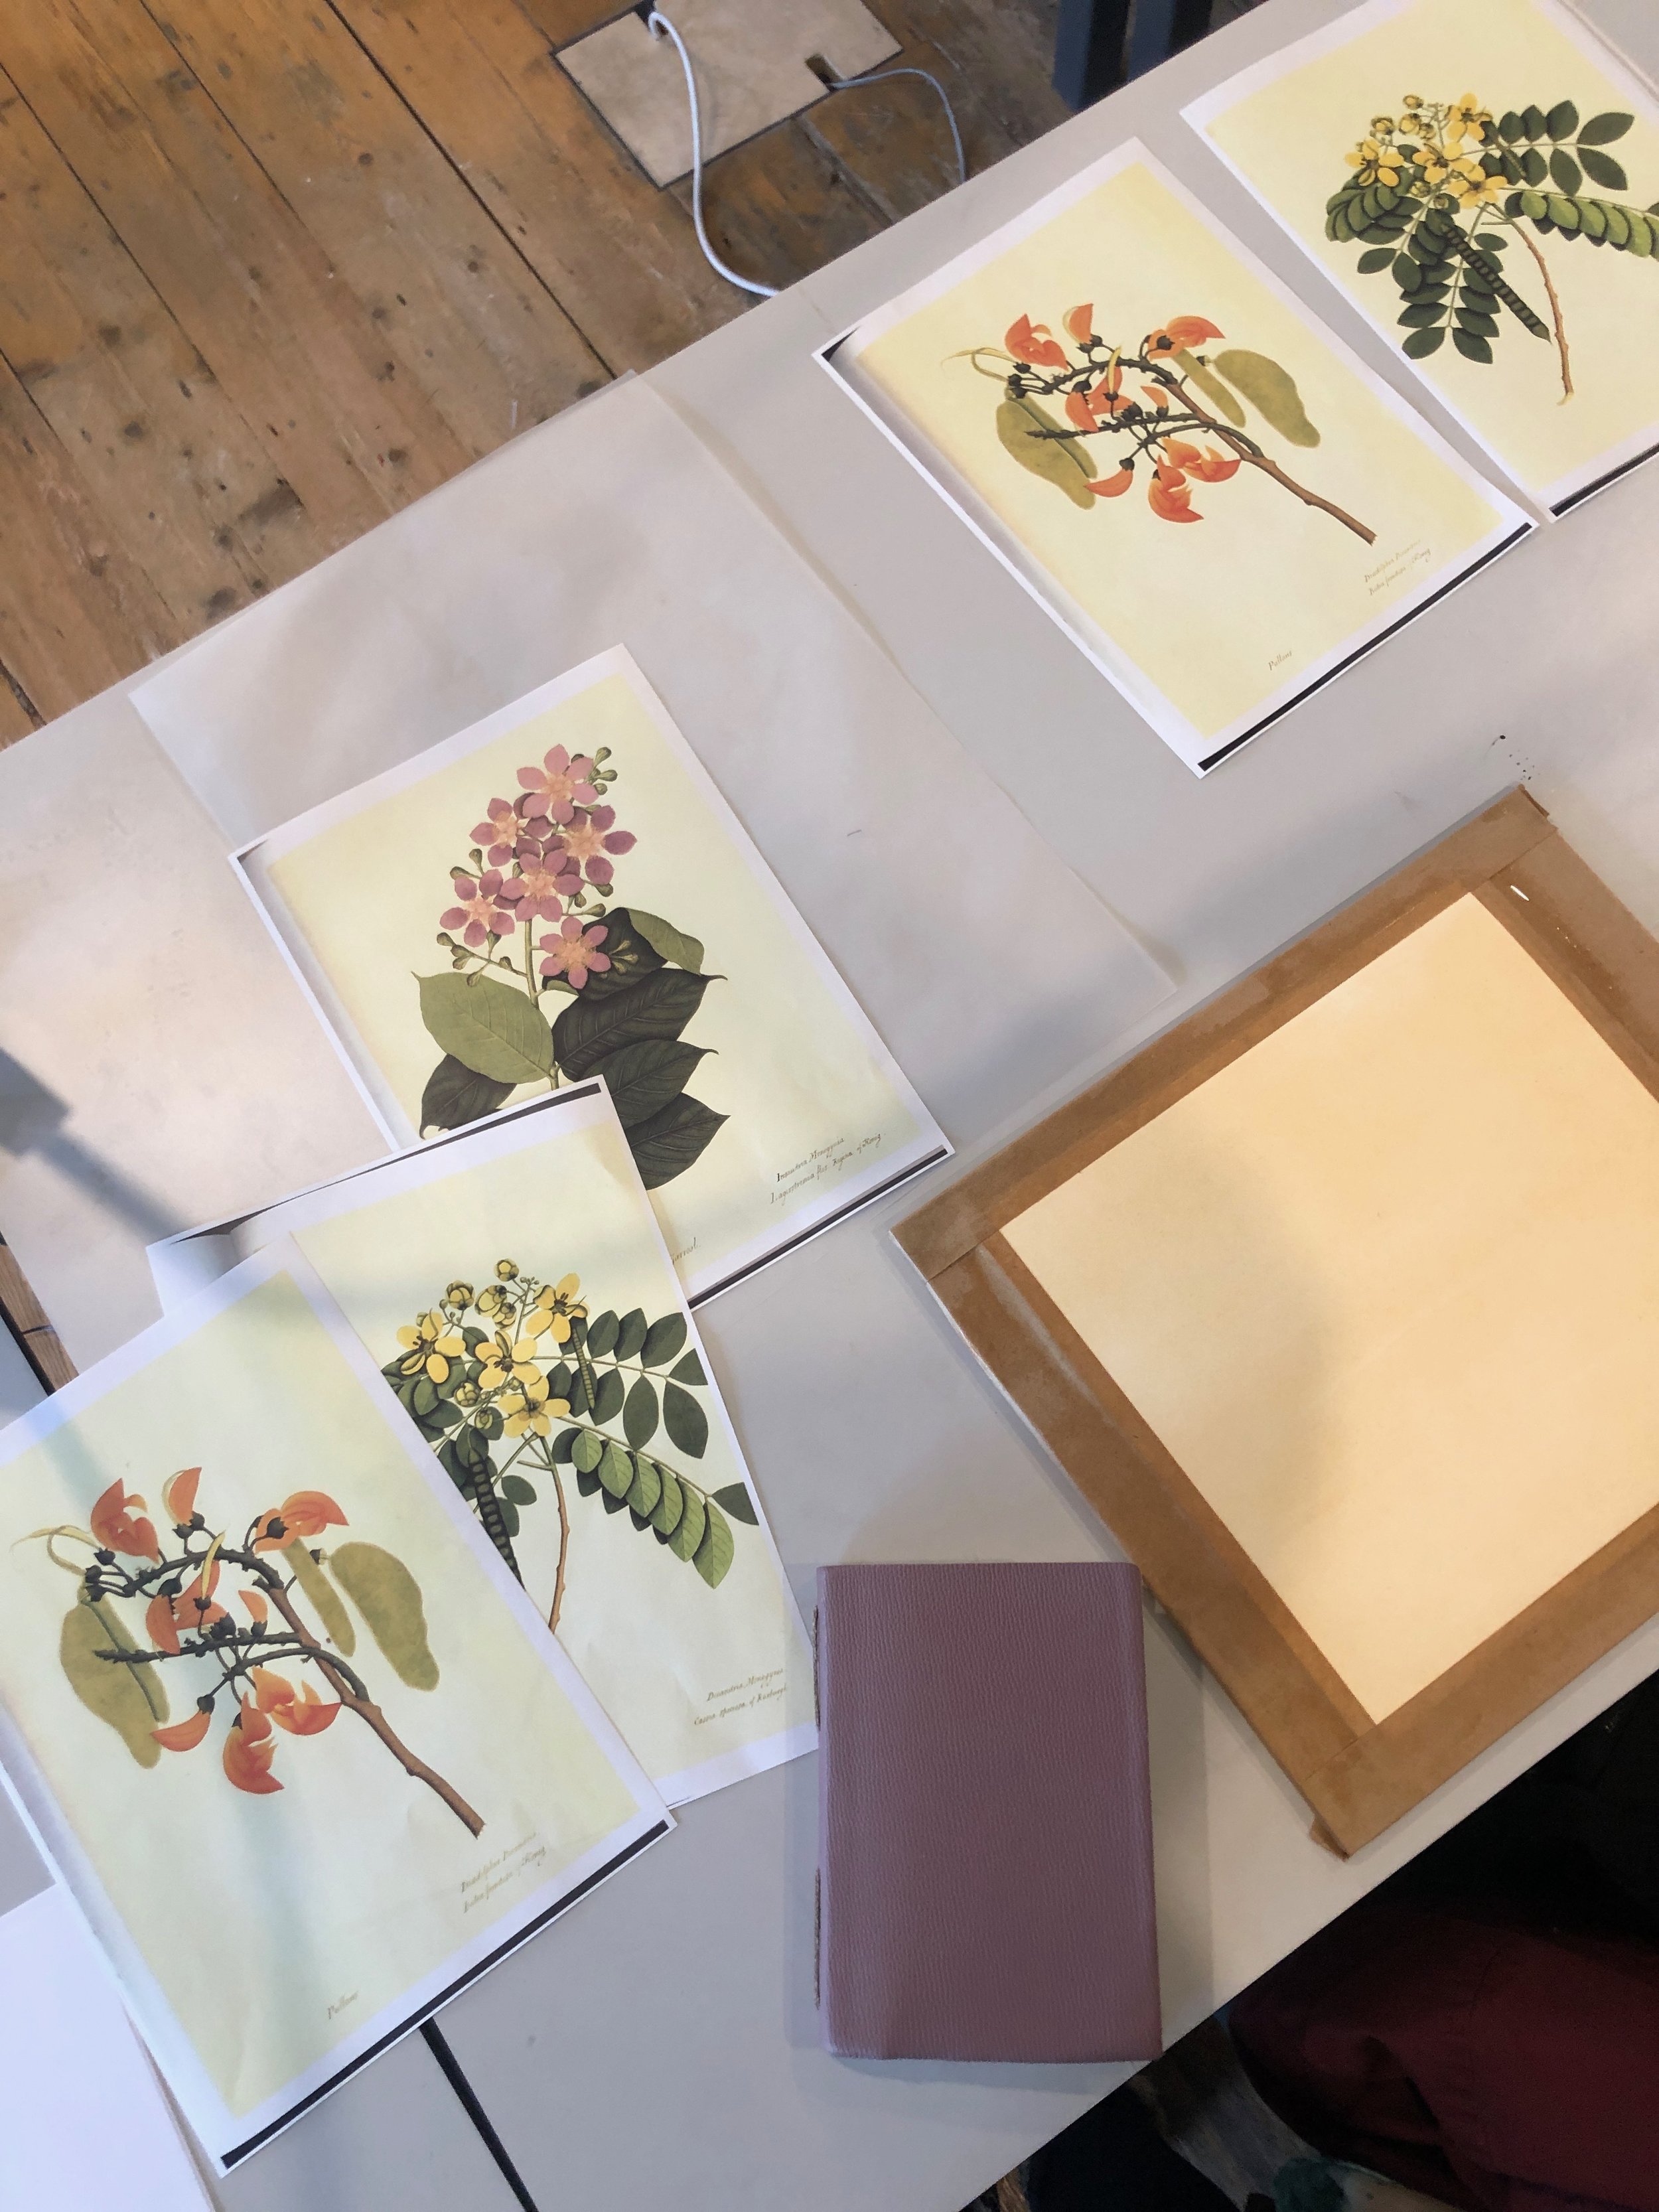
The special thing about Mughal miniature painting as I mentioned is that a lot of the botany that is used in paintings is stylised and is a flatter-result. It is very delicate though and still includes shading. The teacher, Sam, printed out images from the "Fifty-One Flowers, Botanical Watercolours from Bengal" by William Chubb. The book includes pictures of painted flowers done in the Mughal miniature style along with scientific information about the botany and where the flowers are found. The book is out of print, but can be found used. I found the flowers in it lovely, but there were only two that I liked enough to attempt painting.
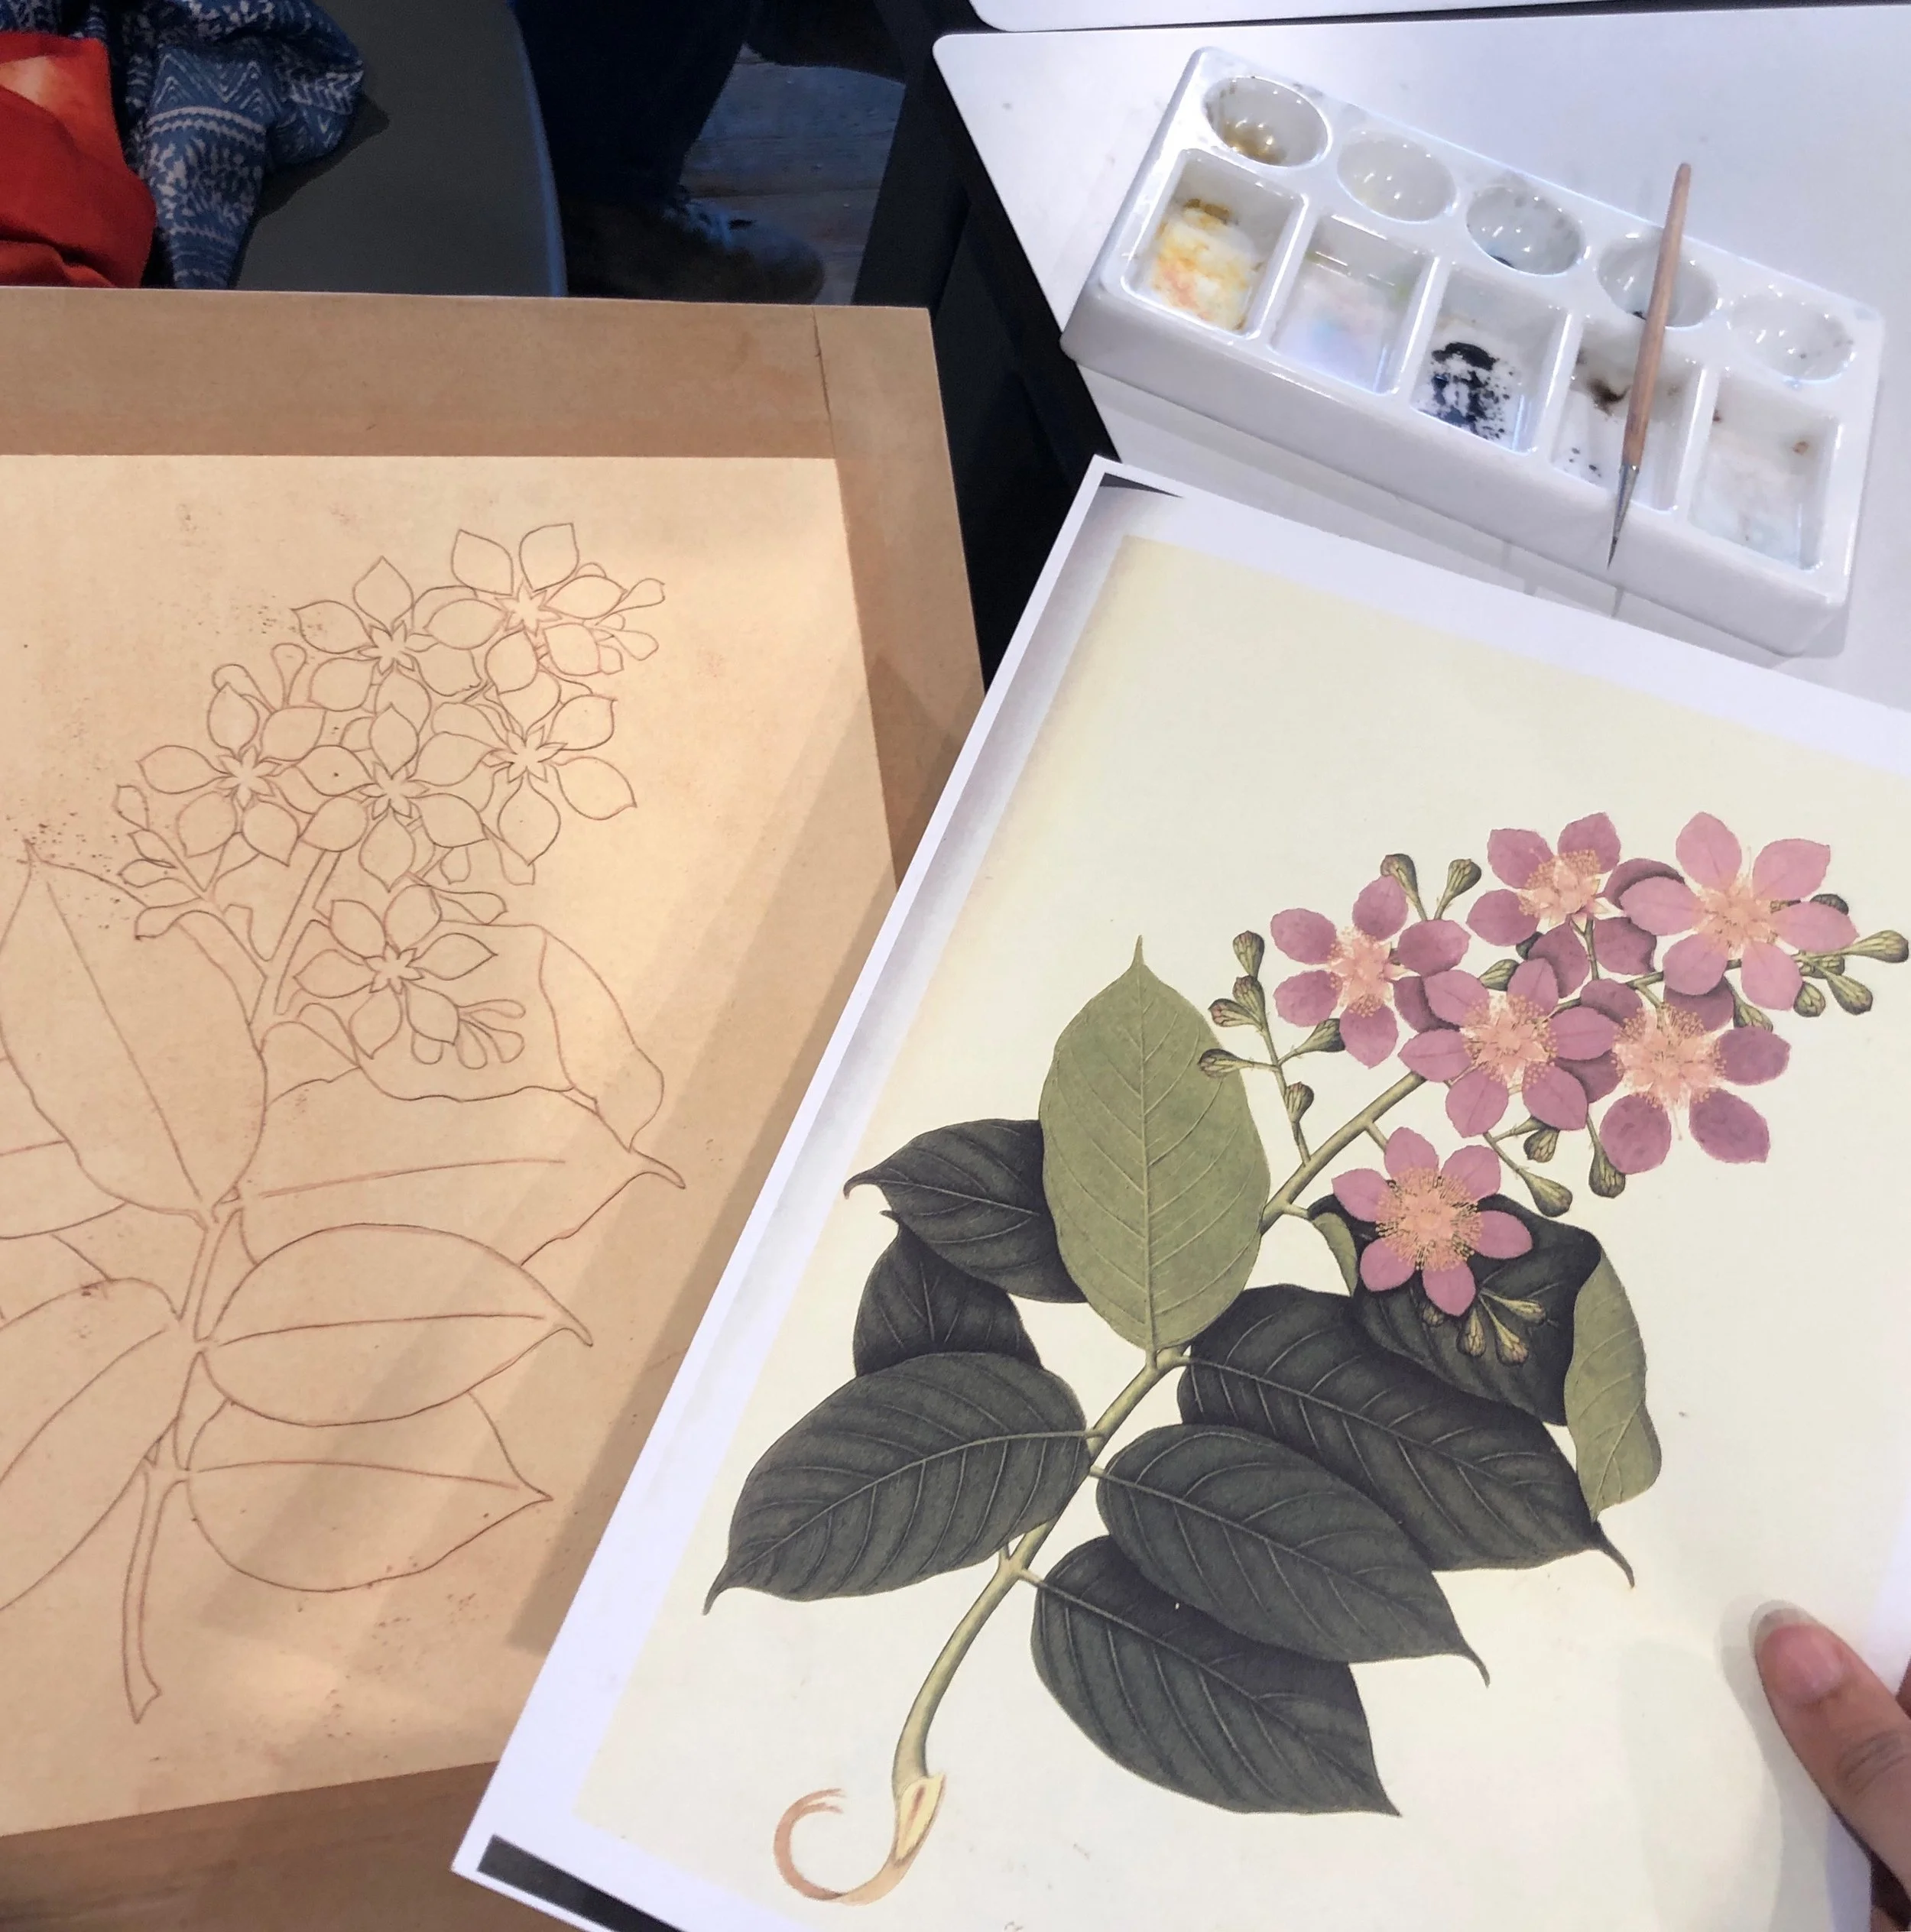
Copying and Transferring the design
After the paper was ready, we traced the provided design with pencil and then we applied red pigments into the tracing paper to transfer the design to the final paper. Very similar to carbon paper. I found the pigment method to be messy and the red pigment remained even after painting, which was very disappointing. I prefer the just pencil technique.

Marking the design in walnut ink
In the second half of the class we finally moved from paper prep and tracing to outlining the design with a mix of walnut ink and Chinese black ink. We used a squirrel brush provided by the school at this stage. The great thing about those brushes is that they hold a lot of ink and you can keep outlining without any interruptions like other brushes I tried. In theory, those brushes should be cruelty-free, where you just get some hairs from a baby squirrel without harming it, but who knows what really happens. I read a few posts online sharing some negative stories, so you might need to do your own research first. Additionally, finding these brushes is very difficult in the UK or even in the Middle East. Hussain Art Supplies online provides some good brushes and pigments if you don’t mind the items being shipped from India.
It would have been nice to learn the technique on brushes that we can easily buy just so we can practice right away without the need to wait and research because even the teacher herself didn’t know who supplies these brushes.
Having previous experience with the preparation and the tracing stages, I felt like the first week was wasted with only those two things. All I wanted was to get into the painting, but I had to wait a whole week before I was even able to do that. I finished extremely early the first week and wanted to start tracing and transferring another flower, but I wasn’t allowed any extra paper, which was sad and very cheap of the school considering how expensive the PSTA classes are.
Week two of Botanical Indian Miniature
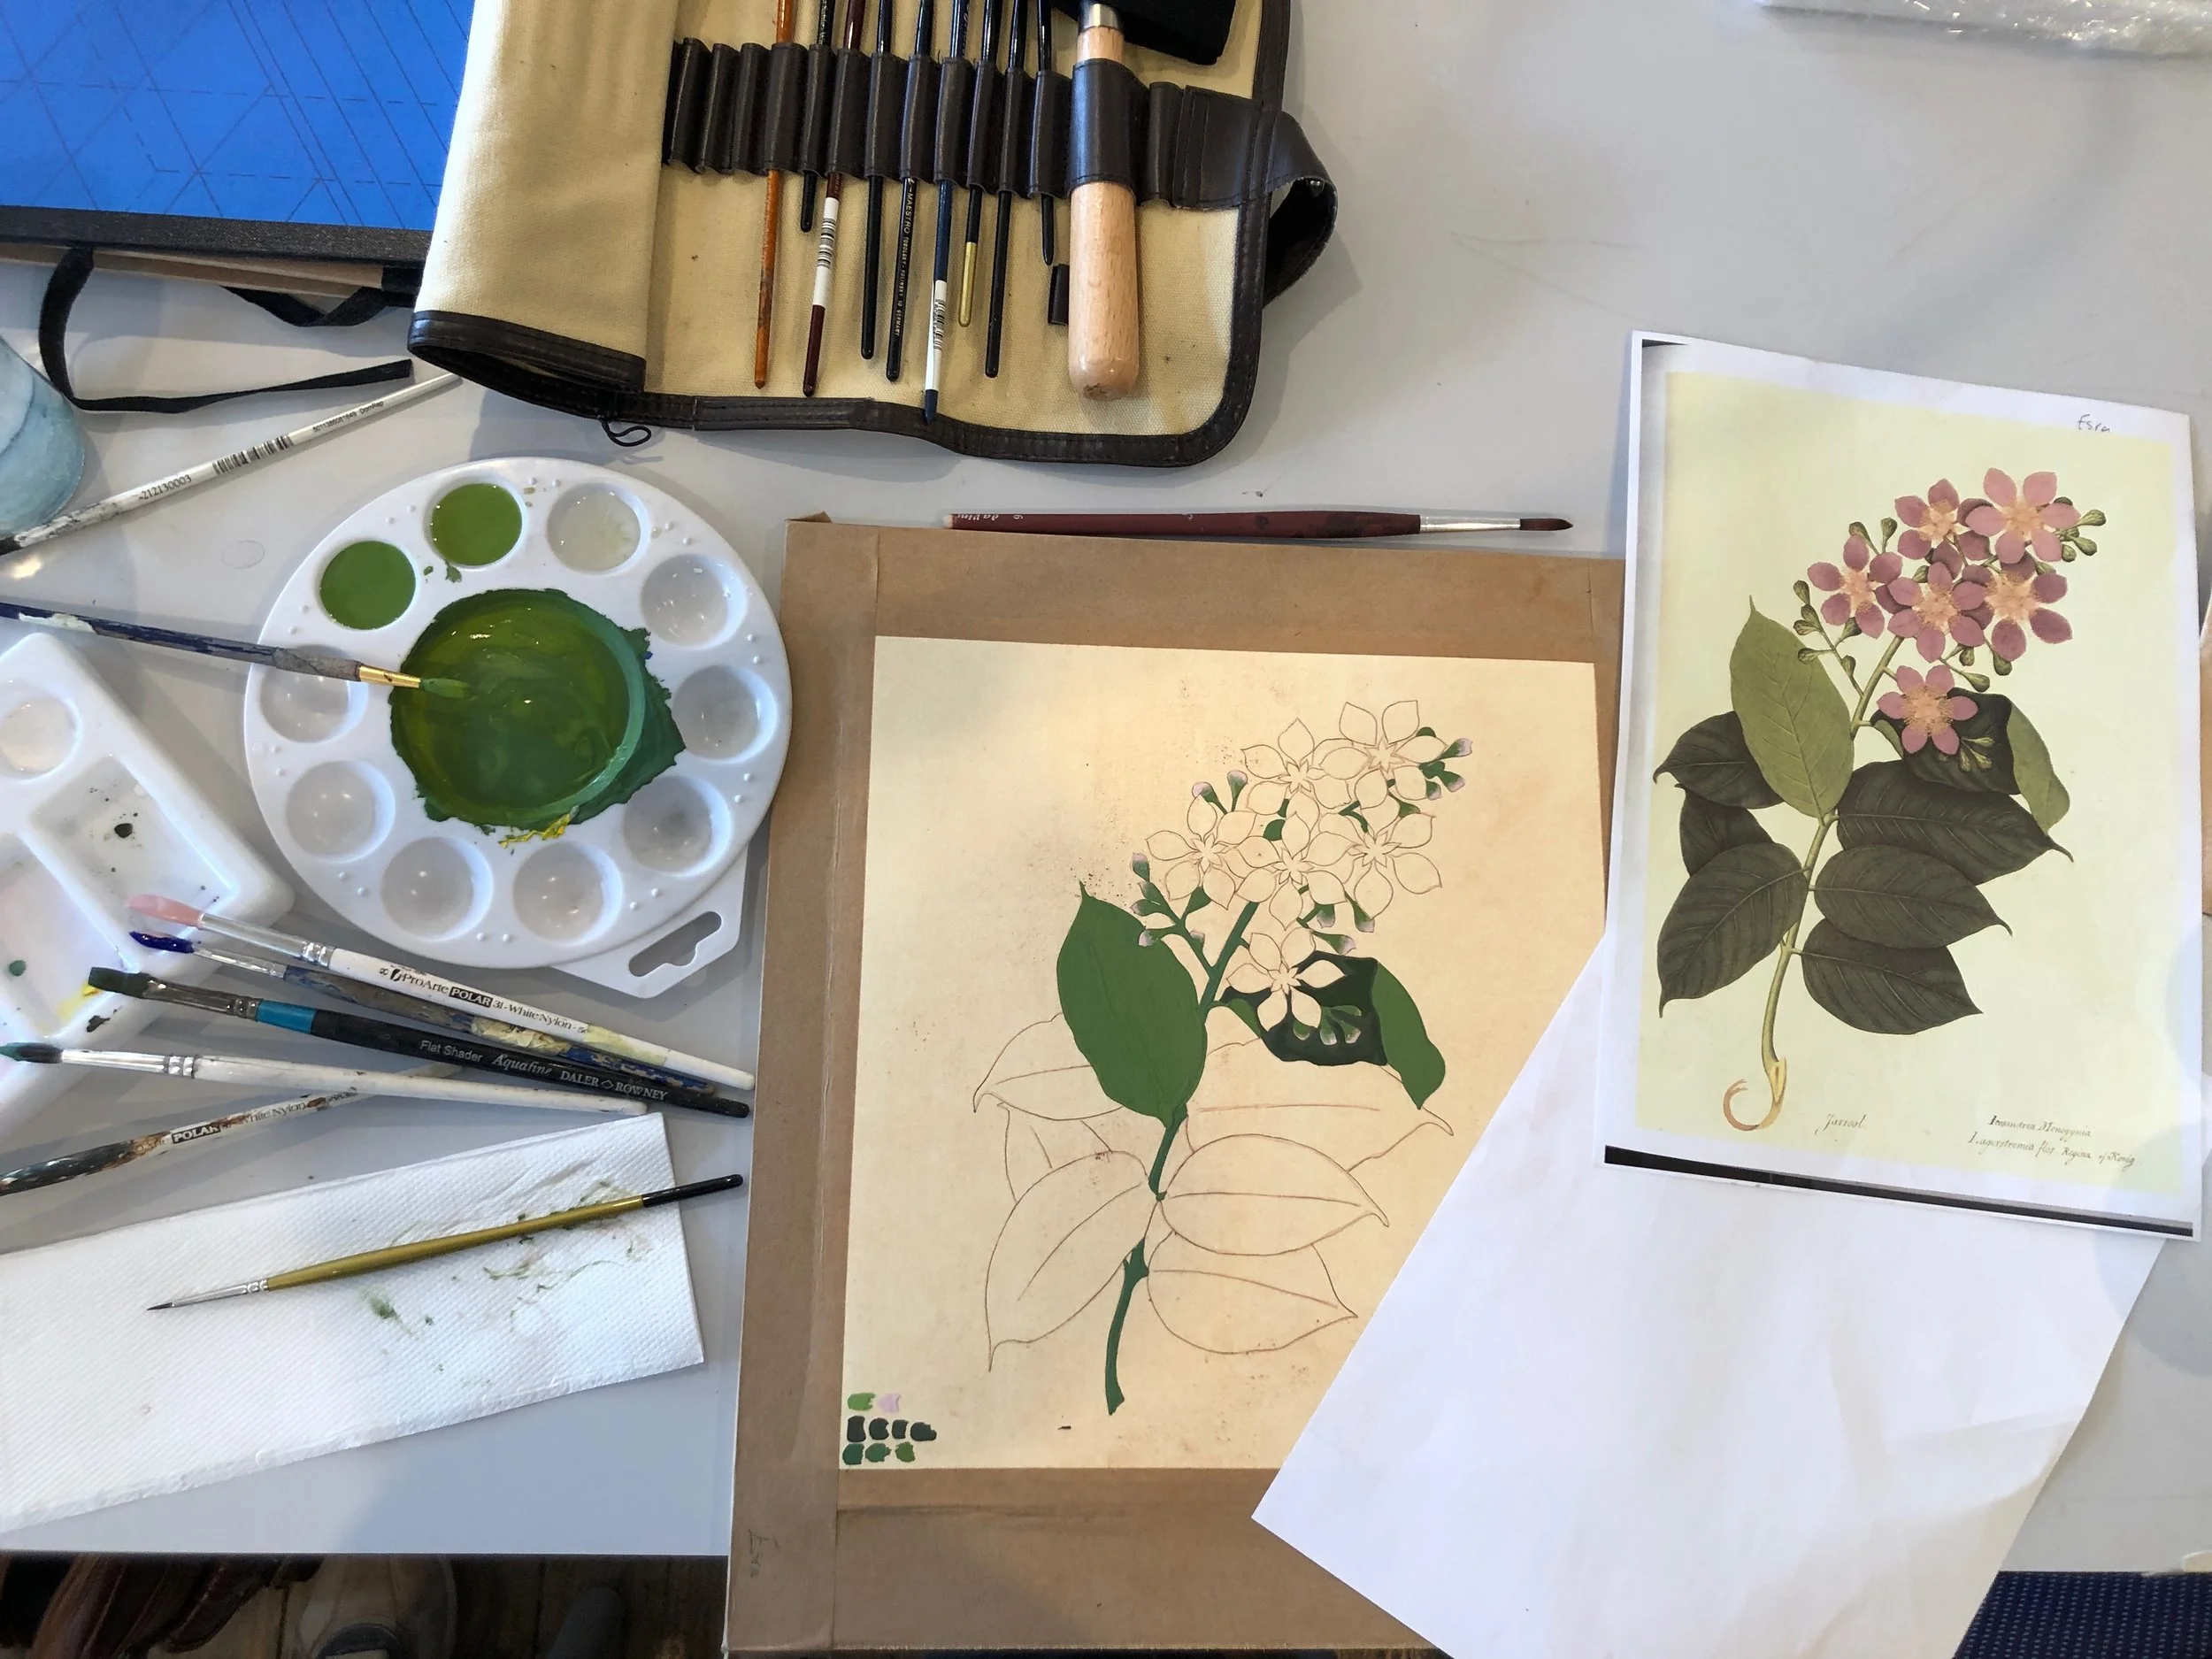
Preparing paint from pigments
This is when the fun begun. We worked with already powder pigments, which you can find in Jackson’s Art or Hussain Art Supplies.
Pigments are kind of pricey especially if you want to get the nice mineral ones, but there is a range to choose from. We didn’t talk about the qualities of pigments or focused on any of that, but we concentrated on making them from the powders and reconstituting older ones that were done in a previous class.
We didn’t work with a specific recipe, so I can’t tell you exactly how to make it, but we used the powdered pigment + some water + few drops of gum Arabic. We made sure that everything is mixed well and crushed them using a muller and a glass surface. You can also use granite surface. I know this is not going to help you much in terms of making your pigments, but I am planning to write another post especially on pigments after another special workshop I took.
The paints we made were are all considered watercolour, but our application of them was very thick and treated them like gouache to start.

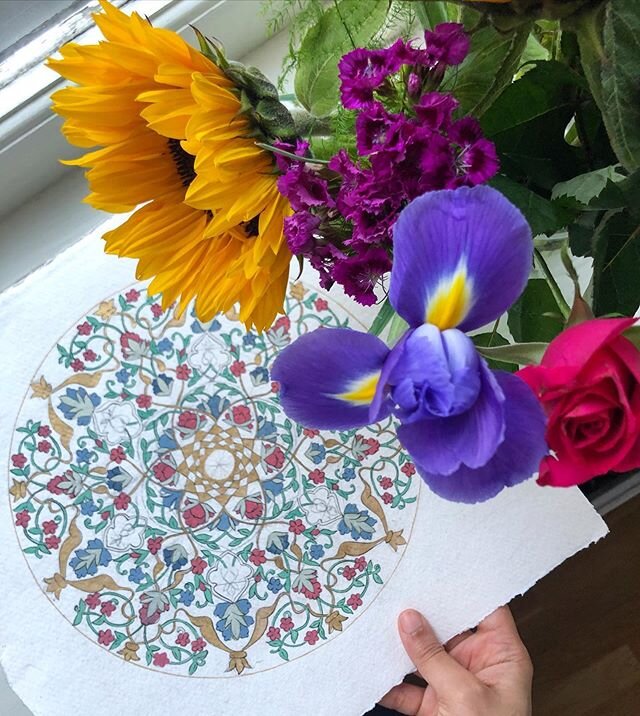
Painting the main colours
After our colours were ready, we mixed a few shades and matched them to the picture we have chosen to get a close colour to what was in there. It was a very different method from the botanical painting class I previously attended, where we built up the layers. We started with the main blocks of colours right away. That process didn’t take long either. So, I finished early once again and just had to leave early because there wasn’t anything for me to do.
Week three and four of Botanical Indian Miniature
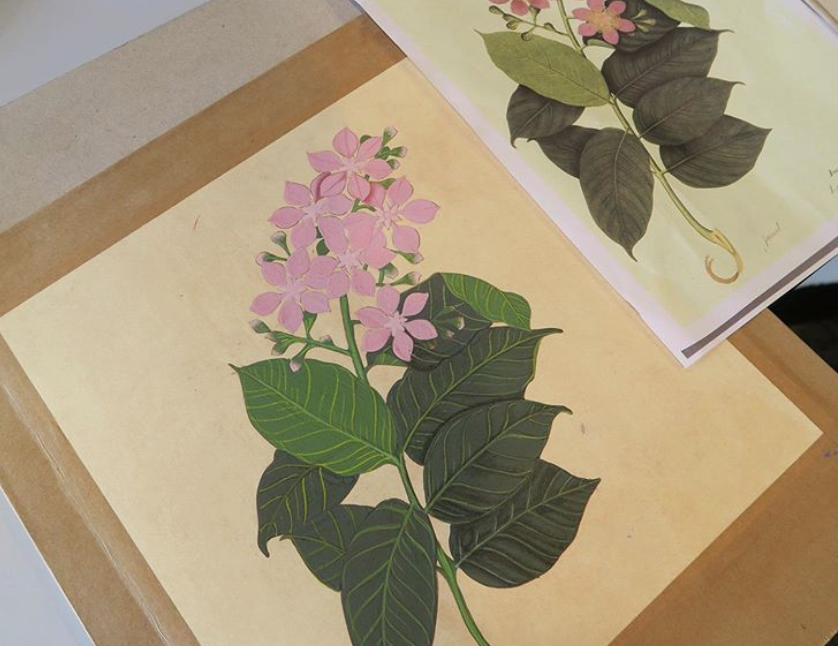
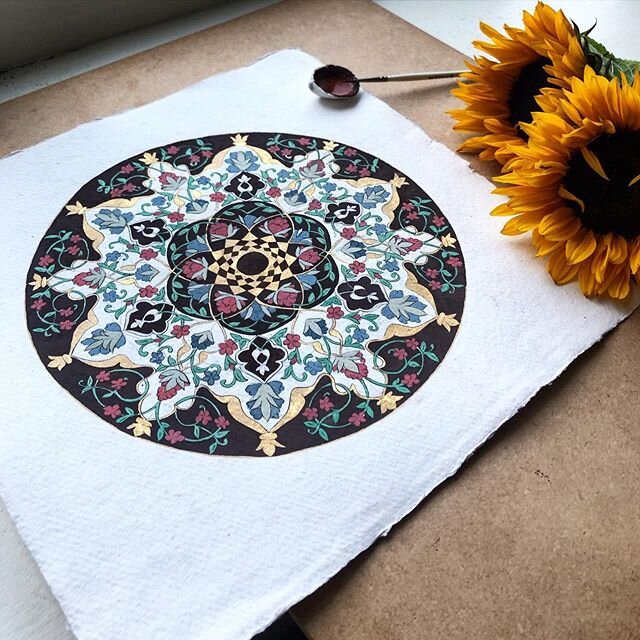
Shading
I sadly had to miss week three and that held me back a little bit. I don’t think two sessions were enough to learn shading and I would have loved so much more information on it because that’s the area where I need help the most! Basically, the main technique we learnt was called “invisible shading.” We mixed a really light shade of walnut ink, Chines black ink and a tiny bit of the subject we wanted to shade. I actually found it very difficult and not to mention VERY slow! Much slower than my usual style of shading illumination. I tried to find a Youtube video of this style, but I didn’t find any that are similar, so once I master this, I will share a video with you.
In the shading stages you do build up layers of very tiny tiny lines to give the paintings the depth they require. It took me a whole hour to shade one leaf and I wasn’t very excited about the result. I need so much practice at it. It really makes a huge change and I can’t wait to do more of it in the coming months.
Hope this post helped you know a little more about botanical Indian miniature and will share more on this traditional art form.
More Resources:
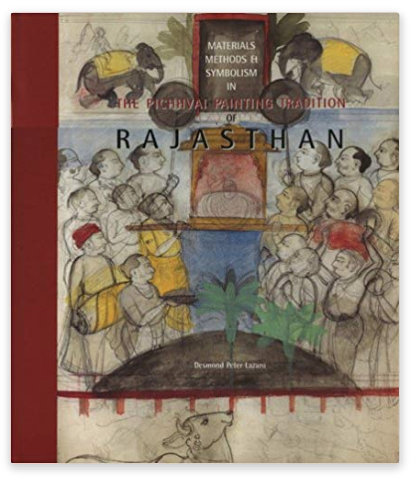
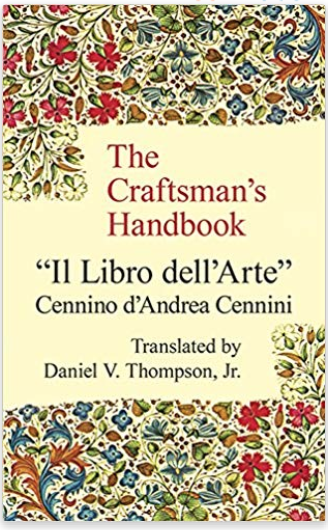
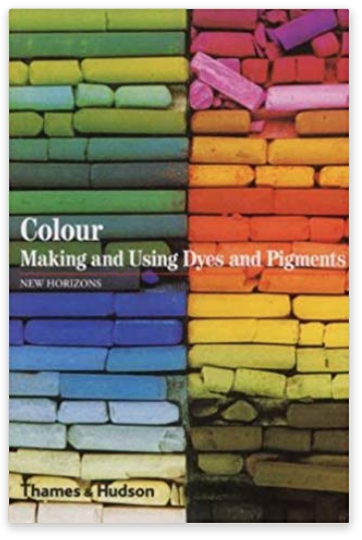
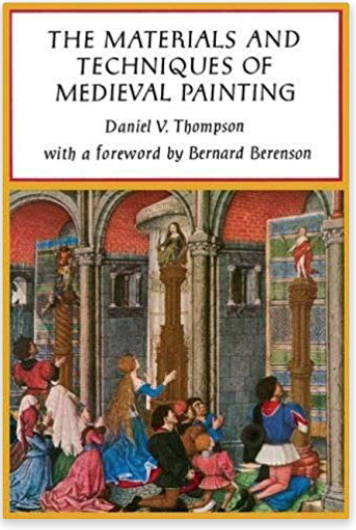
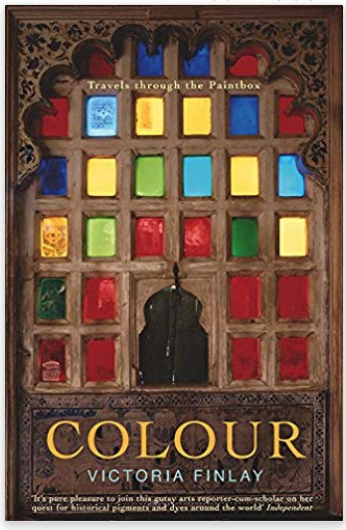
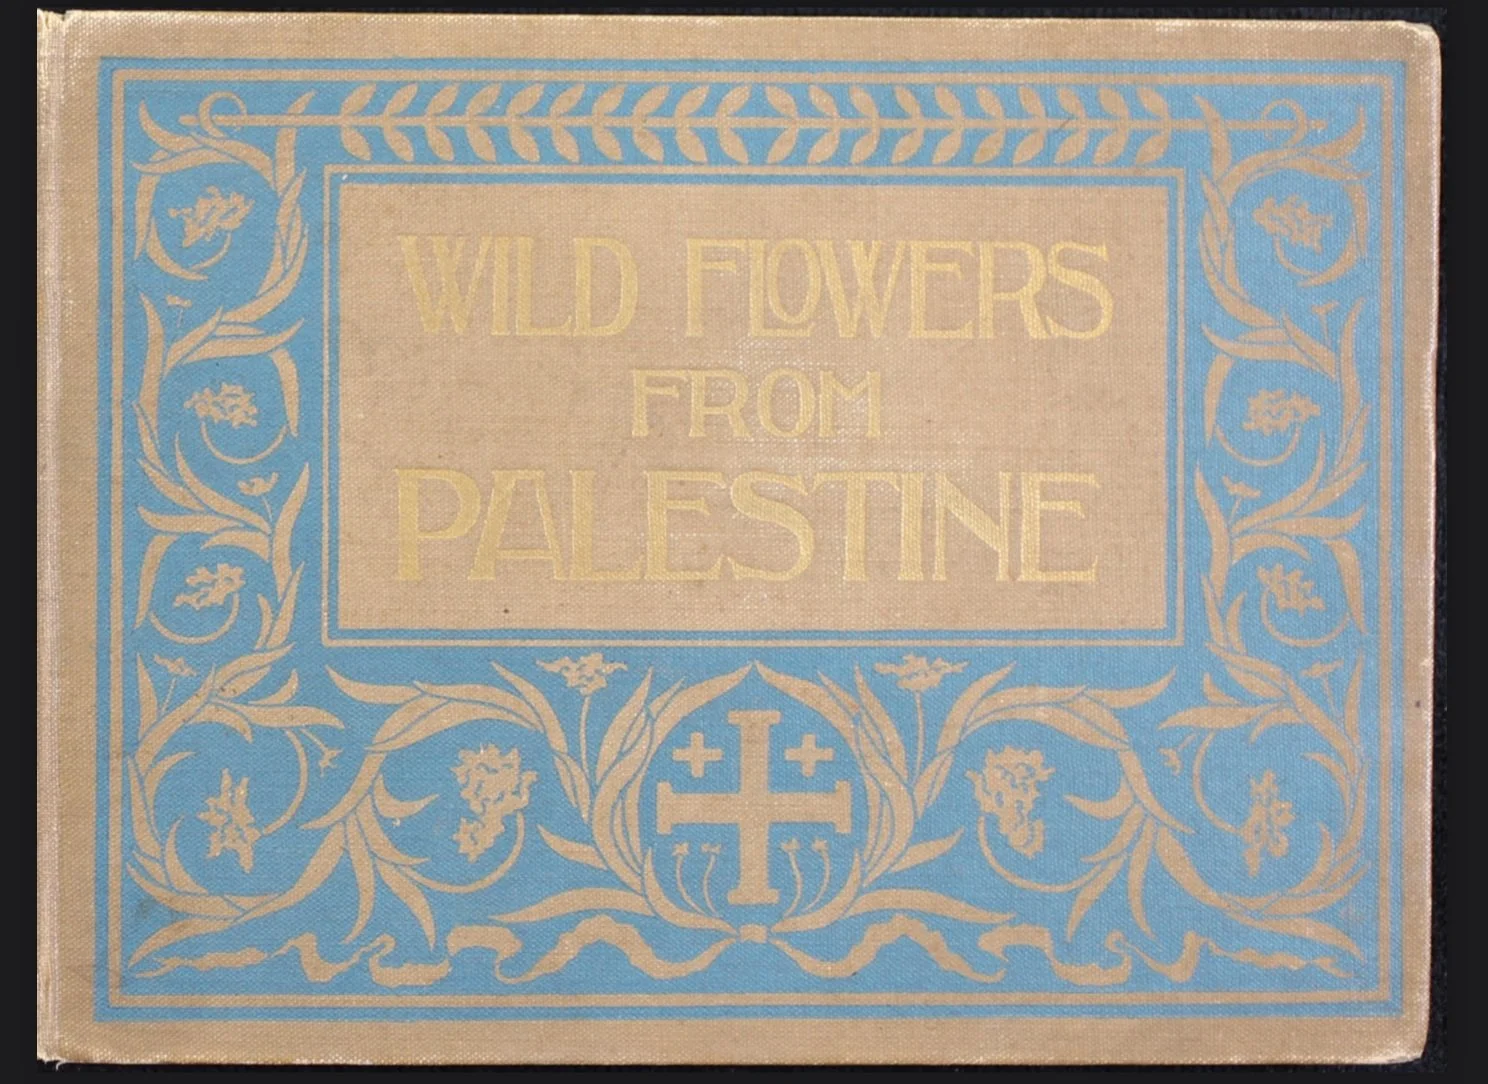
If this post has sparked your interest in Mughal paintings and Indian miniature, it might help you to read the resources below and some of them are about pigment making too, which will be handy if you are planning on making your own colours too. I am hoping to read some of them in the near future and will tell you my thoughts on them when that happens.
Click on the image to buy it from Amazon.

More Blog Posts:


Art Inspiration for your instagram:

![[Pigments & Handmade Watercolour]
The first time I was told about making my own watercolours from pigments, I was confused and thought why would I ever need to do that with such an abundance of choices out there in the shops, but something clicke](https://images.squarespace-cdn.com/content/v1/5723e7f53c44d8676af44a5a/1593364075353-5E6JVA2WRDFXW55RLU86/image-asset.jpeg)
![[Copyrights & watermarks] ⤵️
.
.
22ct gold added✨ & this lovely brush stand is made from the garden rosewood by @fidget_one 💛🙏🏻
.
.
“You should put a watermark” someone told me, but it’s not the first time I get told &ldq](https://images.squarespace-cdn.com/content/v1/5723e7f53c44d8676af44a5a/1591790274366-15MOG8GA6UAJXTH7SWW9/image-asset.jpeg)